
How to Homebrew
(aka, throwing a tea party for many million tiny friends)
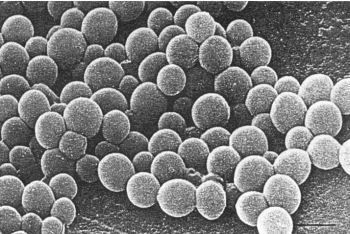
Say hello to our little friends… Saccharomyces cerevisiae. They’re actually the ones that do all the hard work of making beer. Brewers just cook them up a tasty barley tea full of natural sugars and the yeast, plus time and temperature, do the rest.
Of course, there’s a lot of art in the choices that a brewer makes: what kind of barley tea (“wort”) you make, adjuncts (like unmalted grains), flavorings, water chemistry, yeast strains, temperature manipulation, and more, that let you turn this ancient crapshoot of delicious alchemy into a repeatable science.
A Step-by-Step Guide to Brewing Beer
1. Invent agriculture, specifically, grain cultivation.
- This one takes awhile. Go watch your goats and check back later?
- Let’s say, about 6500-9000 BC for mixed grain agriculture including barley in the Levant, or earlier if you want to make some gluten-free brews in sub-Saharan Africa, maybe 2000-3000 BC (first sorghum, then millet)?
- In the meantime, go hunt down some watered down fizzy honey in a hollowed out tree stump, or snack on some fermented fruit if you want that sweet sweet alcohol. Mmm, tasty.
2. Harvest, dry, and thresh your grain. Pick hops (or other bittering herbs).

4. Malt and toast your grain
- To malt, you first moisten and sprout your dried grains (usually barley, but sometimes also wheat or rye) to activate the sugars and enzymes in the grain.
- Then, toast and dry them to stop the malting process (otherwise, you’ll be making wheat grass or baby barley plants?) and caramelize the sugars.
- Different levels of toasting will create different flavor profiles, aroma, color, and body in the finished beer.
- Blending and choosing different types of malt is one way that brewers coax so many different styles of beer out of the same basic ingredients!
5. Crush grain with a roller mill
- You want to crack the hulls so water can leach out the sugars while not pulverizing the grain- too fine and you will be swearing later, trust me
- Most homebrewers skip all or most of these steps, and buy malted and often pre-crushed grains, or even dry or liquid malt extract.
- If you turn into a big ole nerd or open a brewery, you’ll want your own mill – freshly crushed grains get stale fast, and you will want to vary the crush size based on the recipe and type of malt.
- Almost no one malts their own grain, but you can if you want to try (NERD)!
6. Mash
- You do the monster mash! This is the tea, as the kids say… do the kids still say that? Alas, am I Cringe? IDK. Probably. (Signs point to yes.)
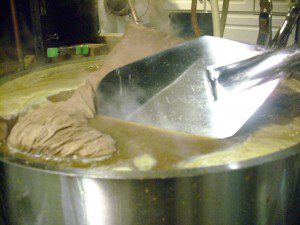
- Anyway, add hot water to your grains to steep and get those enzymes going, converting more of the starch in the grain into fermentable sugars- this grain tea is called wort.
- The temperature of the water will vary depending on your brewing grains and the recipe you are following, but it’s super important!
- If you mess up the temperature, you can end up inactivating those enzymes you need, or not converting all of the grain starches into sugar to feed your yeastie-beasties.
- Like little bear’s porridge, you can mess this up by making it toooo hot OR tooooo cold. You want it JUUUUST right. This gets easier with practice (and a bit of kit).

7. Sparge
- “Sparge” is a fancy word for rinse. You want to carefully leach out all the sugary goodness from the grains, without diluting your wort too much or leaching out too many tannins from the husks.
- This can be as simple as removing and rinsing your mesh bag of grain in a BIAB system (Brew In A Bag), a series of coolers with valves and false bottoms added, or can be a fancy automated process with recirculating pumps and sprinklers and whatnot. We keep it simple around here!
- Check specific gravity (the density of the liquid- use a hygrometer- I’ll post an explainer later but this will be important to determine the potential alcohol content of your brew as well as when fermentation is complete).
- Write this down in your brew notebook. I also like to use painter’s tape and a sharpie to put important details on the fermentation containers (you can transfer these or re-write them when you rack).
- You don’t have a brew notebook? Use a napkin, and then tuck it in your brew notebook. You’ll want a brew notebook.
- Otherwise, you will make the best beer you have ever had and have no idea how to do it again (the same advice applies when you inevitably, eventually, make the Worst Beer Ever. It happens.
- Learn from your mistakes and repeat your successes!)

8. Boil
- You boil the wort to concentrate and reduce the liquid, caramelize more of the sugars, and extract the flavors from the hops and any other flavorings added to the boil
9. Chill out
- (and perhaps oxygenate the wort)
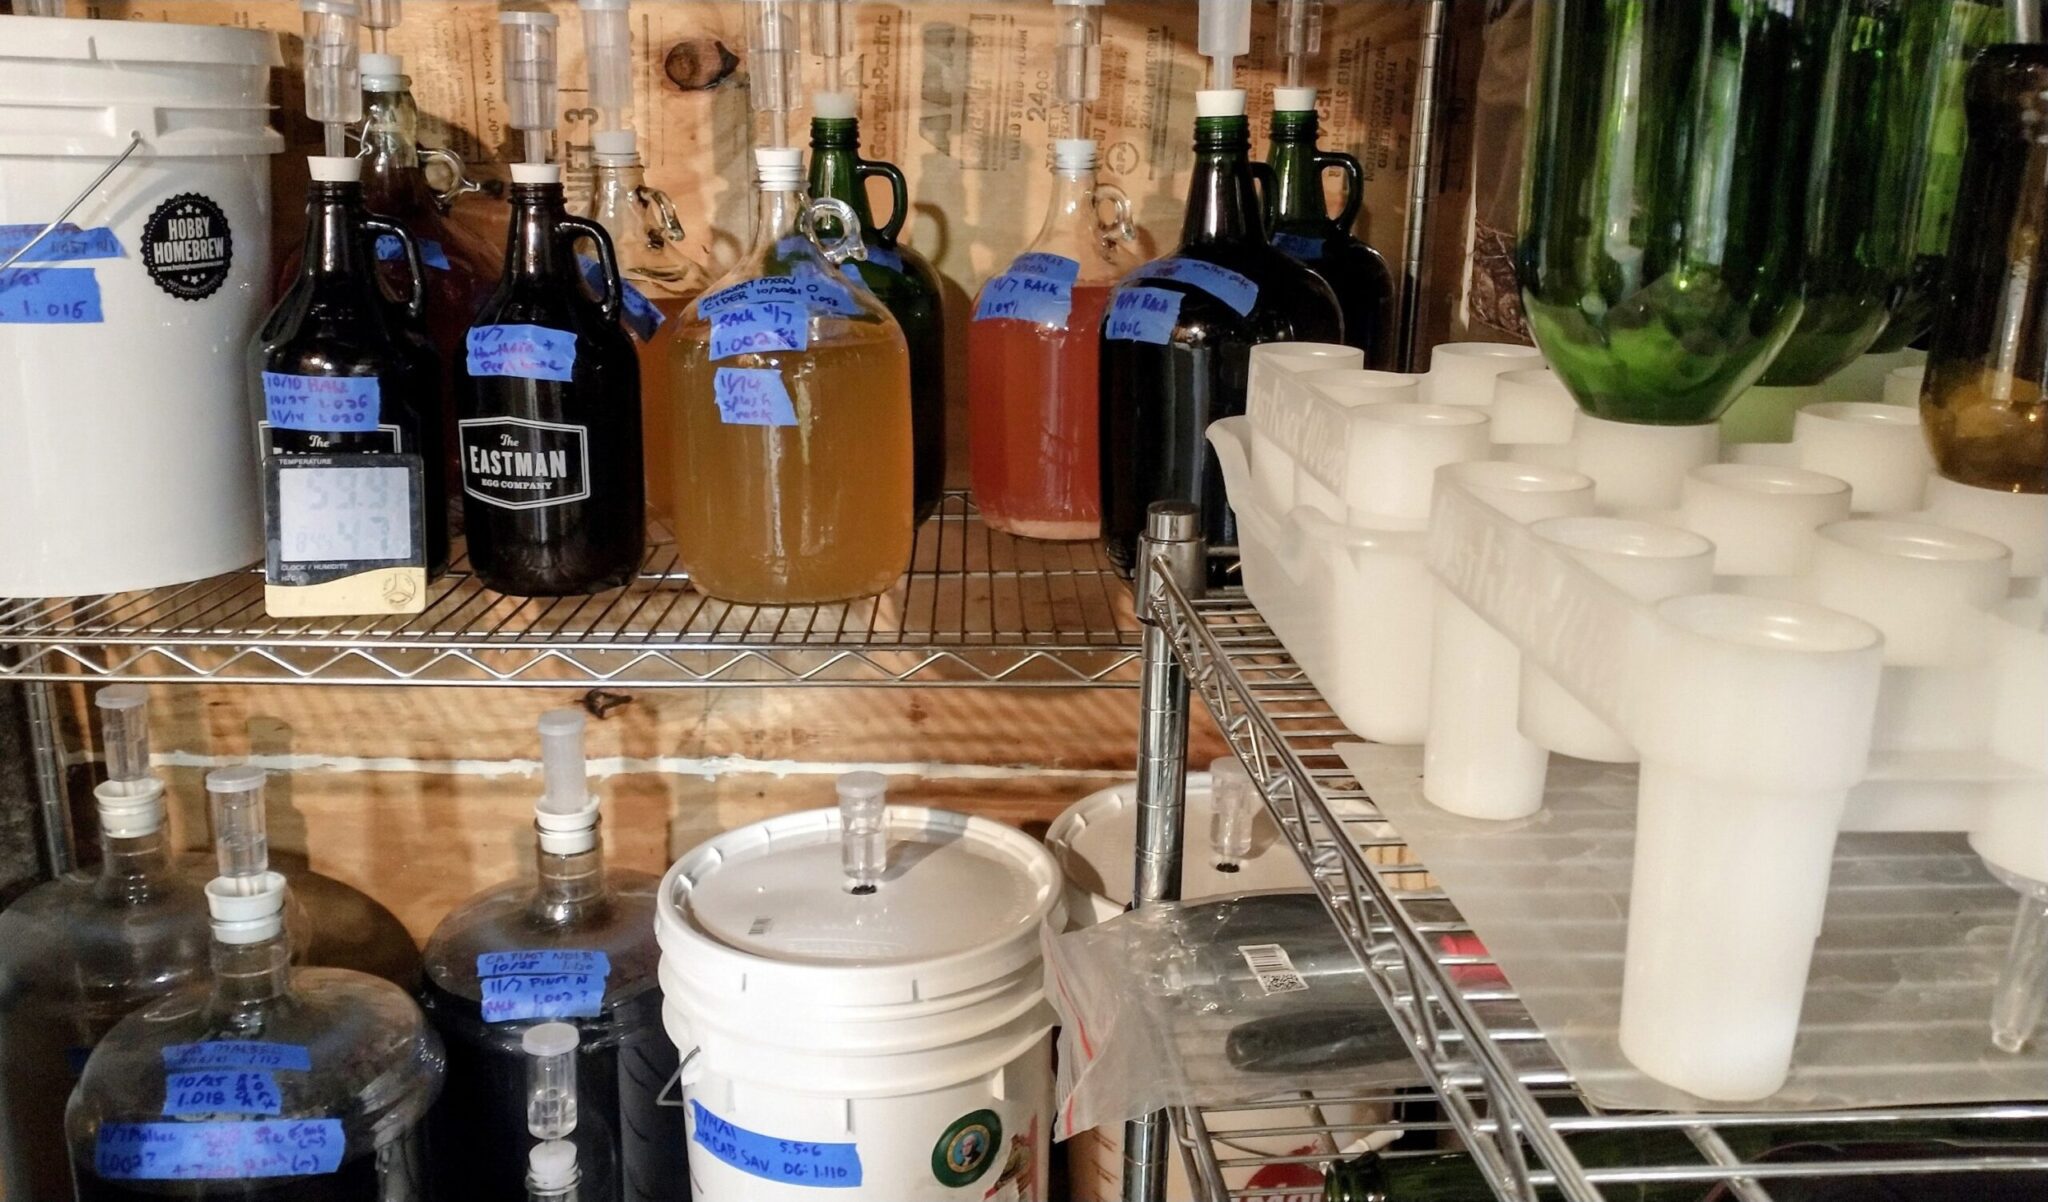
- Transfer to your primary fermentation vessels (either a food-grade bucket with an airlock, or a large carboy with room at the top for the krausen (foam) to expand).
- Check your specific gravity again (adjust for temperature if necessary).
- Use time, an ice bath, or a chiller to cool down your wort to the proper temperature for fermentation.
- Too hot, and you’ll cook & kill your yeast. Too cold, and you may stunt them or slow their growth.
- If you mess up and catch it within a day or two, you can add more and pretend it never happened (but ouch if you bought expensive liquid yeast!). Too slow, and you risk unfriendly wild yeast or bacteria crashing your party. Boooooo.
10. The first pitch!
- Throw a party for your fungal friends! Literally, you throw them into the party that you just spent several hours planning for them…
- “Pitch”, or add your yeast or starter culture to the cooled wort.
- You can pour in your liquid yeast or starter culture, sprinkle in your dry yeast, or re-hydrate your dried yeast first in a bit of sterile water or water with yeast nutrient added… (follow your recipe or your yeast manufacturer’s instructions).
11. Ferment
- Maintain a good fermentation temperature (this varies for different yeast strains and brewing styles) and check your airlocks or blow-off tubes.
- Check your specific gravity and when it has hit the target gravity for your beer style (or wine), and stopped dropping for several days or a week at a time, you’re done!
12. Rack and Package
- “Rack” or siphon the beer off the sediment in the bottom of your fermentation vessel.
- Secondary fermentation:
- Many brewers rack more than once, especially for a big beer style, or one where you are dry-hopping, adding oak chips, or other late additions.
- Siphon your beer or wine carefully from your primary fermentation container into another carboy or smaller bucket, and let it bulk age for anywhere between a week or two for some beers, to months or more for big barley wines, fruit wines, and meads.
- Rack again off any sediment (lees/trub… mostly dead yeast cells) as needed.
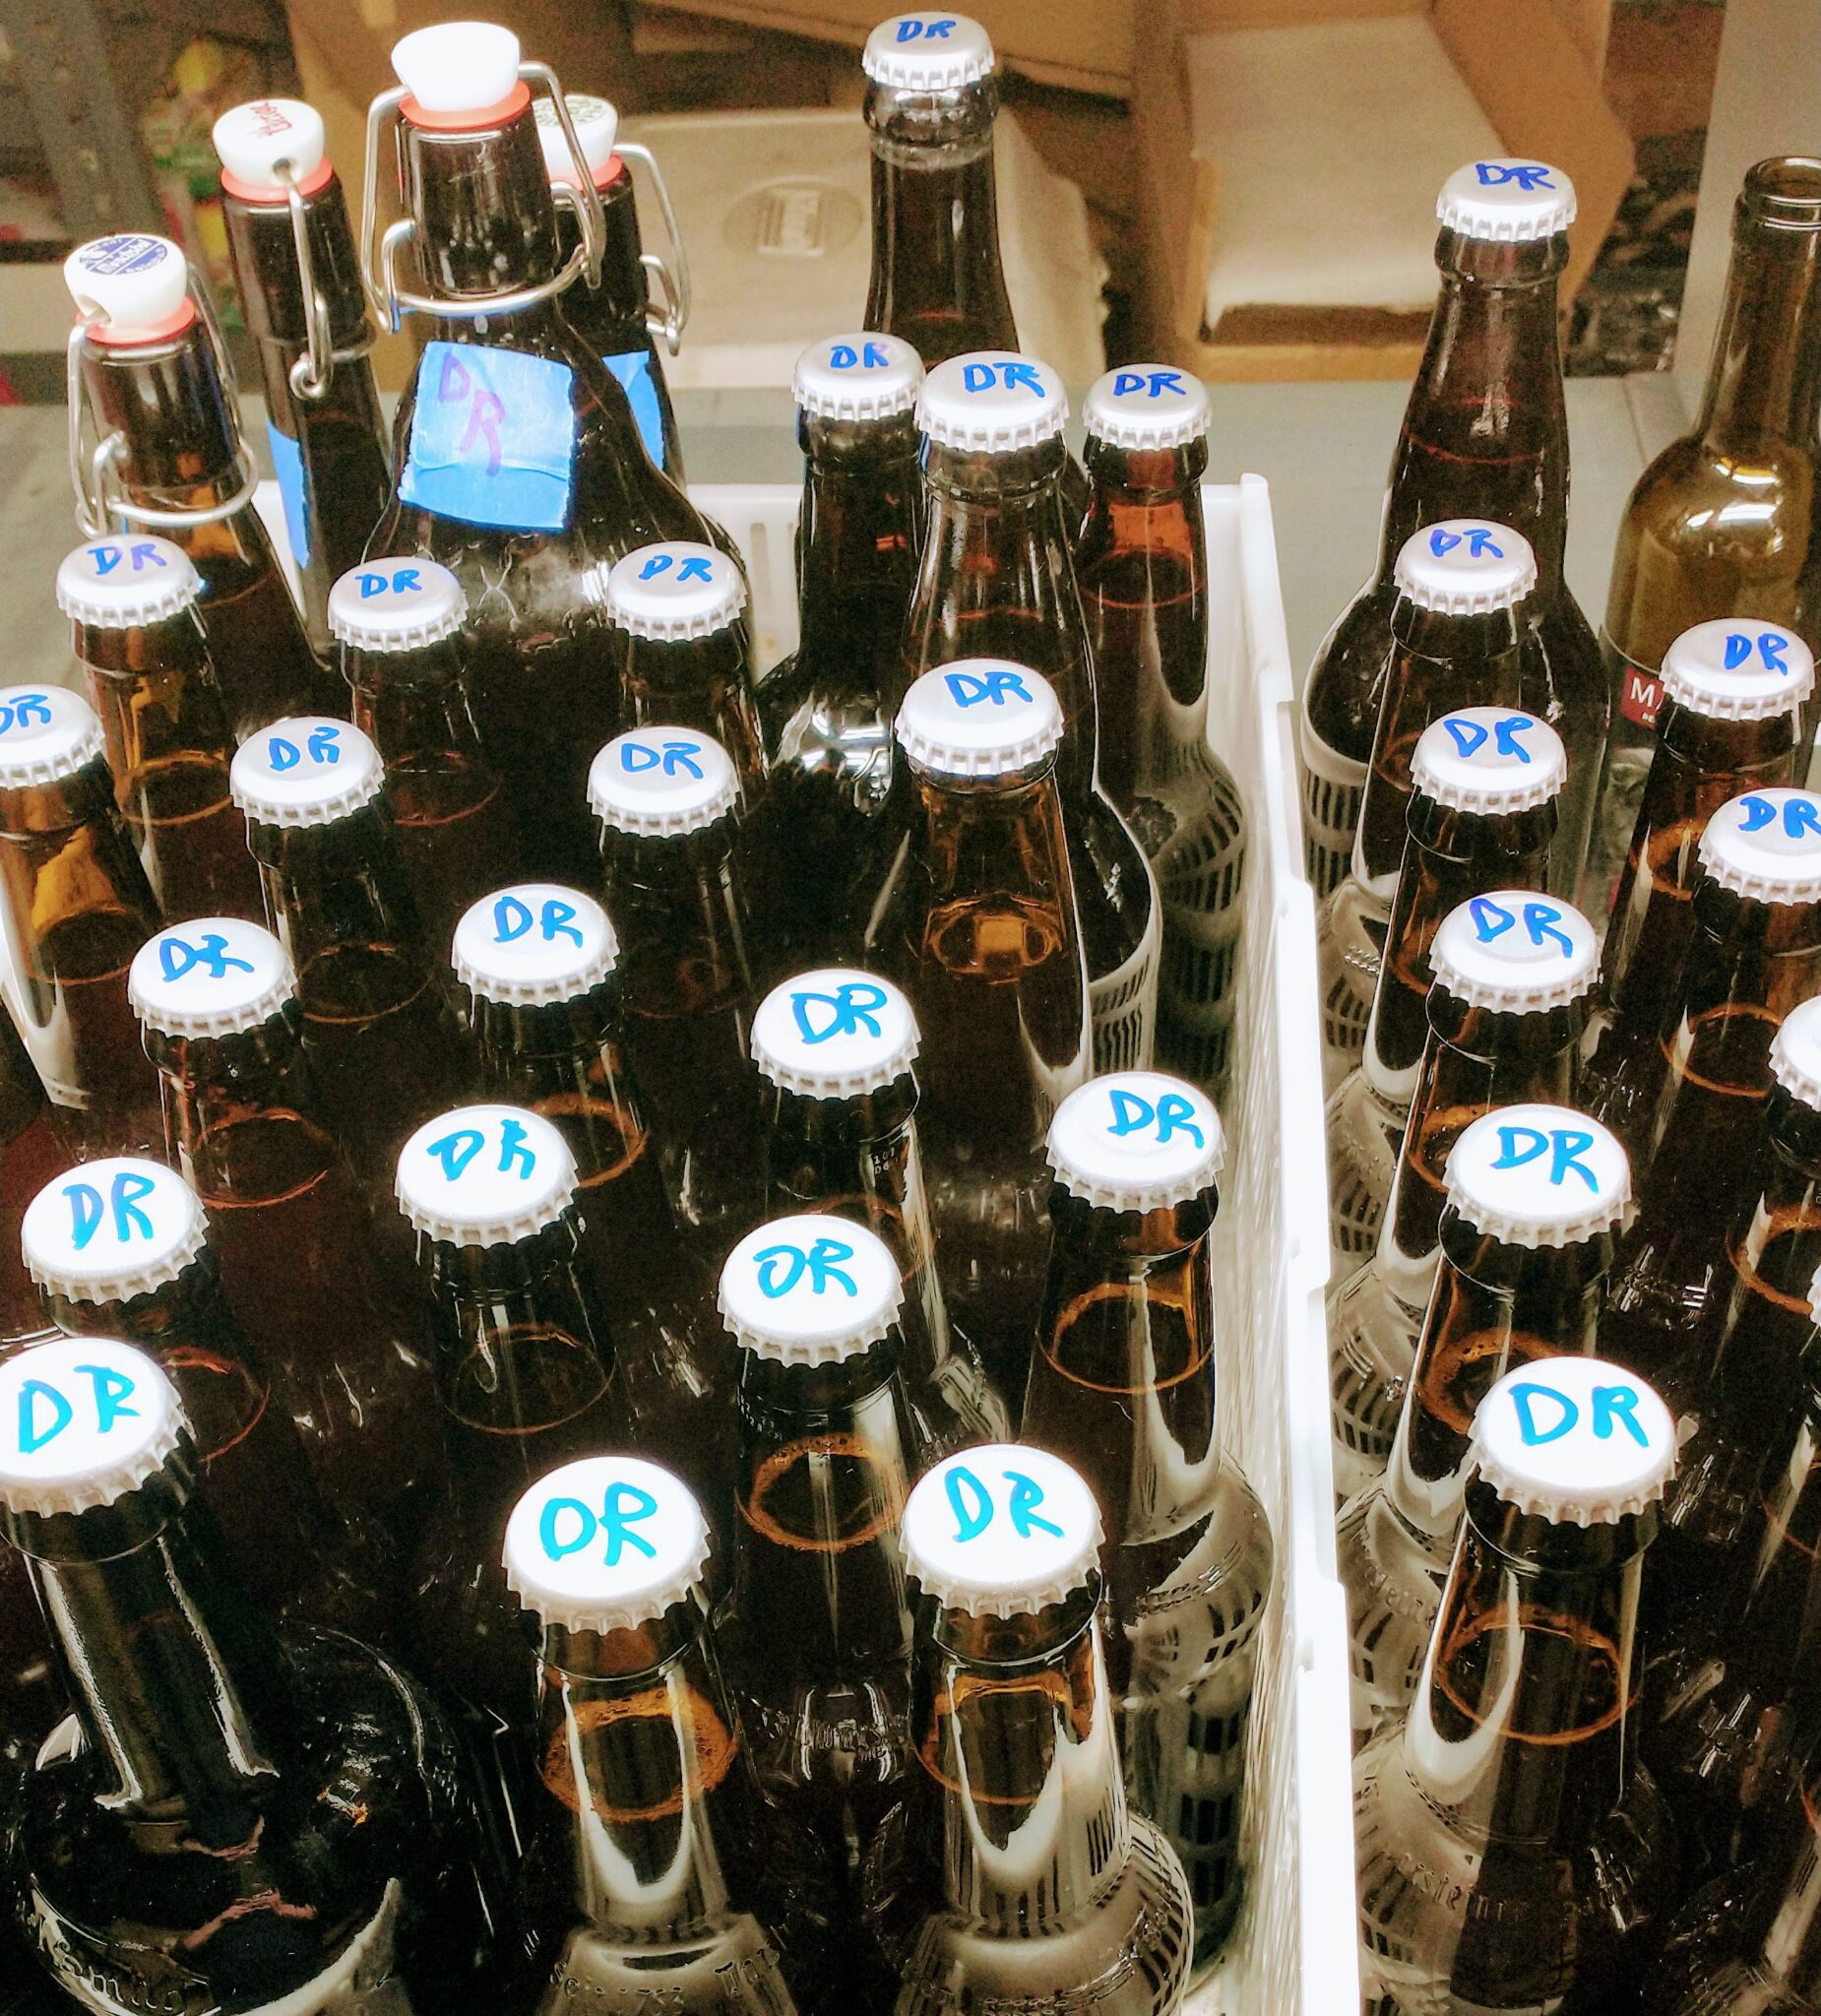
- Bottle (or keg) and carbonate your beer.
- You can let your beer carbonate naturally by adding a bit of “priming sugar”. This small, measured dose of fermentable sugar is more food for the yeast- when they consume it, the CO2 produced will be trapped by the sealed container and make your beverage fizzy.
- Use too little, you have flat beer. Too much – you made hand grenades. Aaaaaa. The dose matters!
- Use a priming sugar calculator like this one to be safe) or skip the sugar and force carbonate (hook a keg or plastic growler to a CO2 tank and regulator or soda CO2 chargers to introduce the fizz into the beer, until you reach the desired volume of dissolved CO2).
- You’ll need a bunch of swing-top (Grolsch) style bottles, or regular beer bottles with crown caps, new caps, and a capper (bench-top or hand-held).
- Kegging your beer with 3-5 gallon Cornelius (soda) kegs is a lot faster and easier than bottling… if you brew a lot or have limited time, it’s a great option!
- It’s more expensive to get started with kegging, and you’ll need a CO2 tank, regulator, hoses and taps, and probably a kegerator or spare fridge to chill your kegs. If you’re considering this, you’re probably already pretty far down the rabbit hole of homebrewing!
- You can force-carbonate your beer kegs with CO2, so that it’s ready to serve and drink in days, instead of waiting weeks for your bottles to carbonate.
All of The Alewyfe’s Home Brewing Recipes!
How NOT to Brew
Scroll down for a brew blooper reel from whoopsie doodles in the distant past… it happens! I thought YOU were watching the siphon tube… doh. This, my friends, is why you don’t do brewing chores in a carpeted room.
Common Mistakes to Avoid:
- Poor sanitation:
- Clean and then sanitize all of your brewing equipment on the “cold side” (anything that will touch your wort or wine must after it has cooled down from the boil)
- Use brewing specific cleaners and sanitizers for your equipment.
- Dish soap or other detergents have scents and dyes that can leave residue on your brewing equipment & lead to off-flavors in your brews.
- Ditto for using bleach as a sanitizer… use an acid-based or iodophor sanitizer, or no-rinse brewery cleaner to avoid this! Many wine-makers use sulphite-based sanitizers instead. Either way, don’t use chlorine bleach (which can also pit and damage your expensive stainless brewing equipment)!
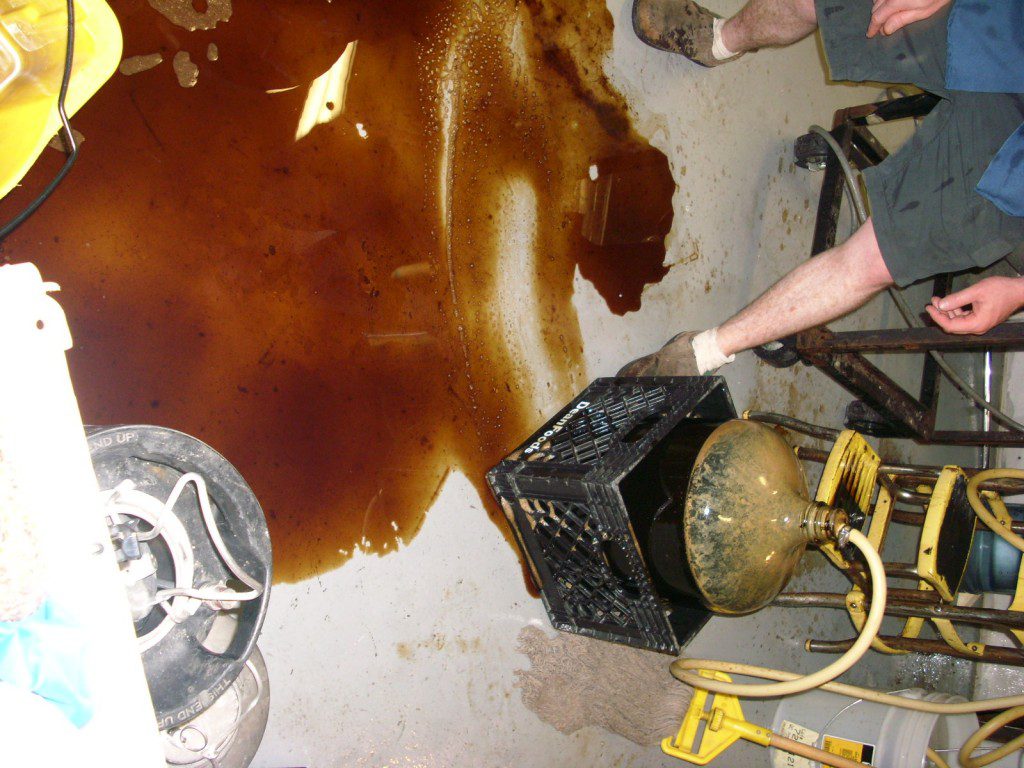
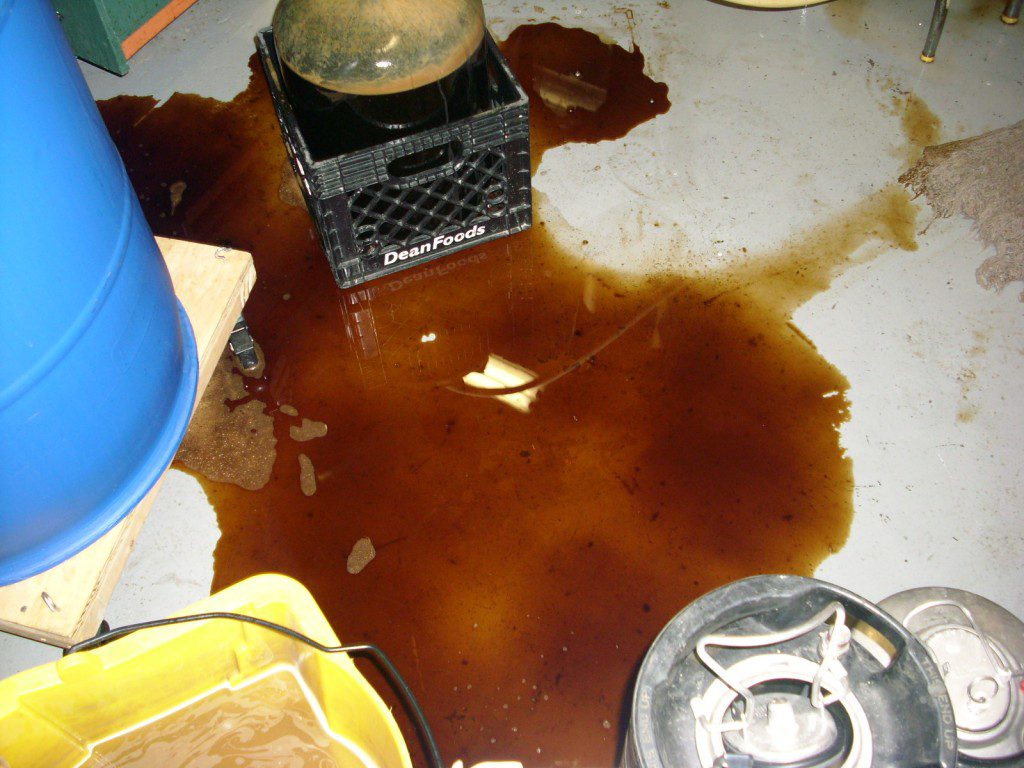
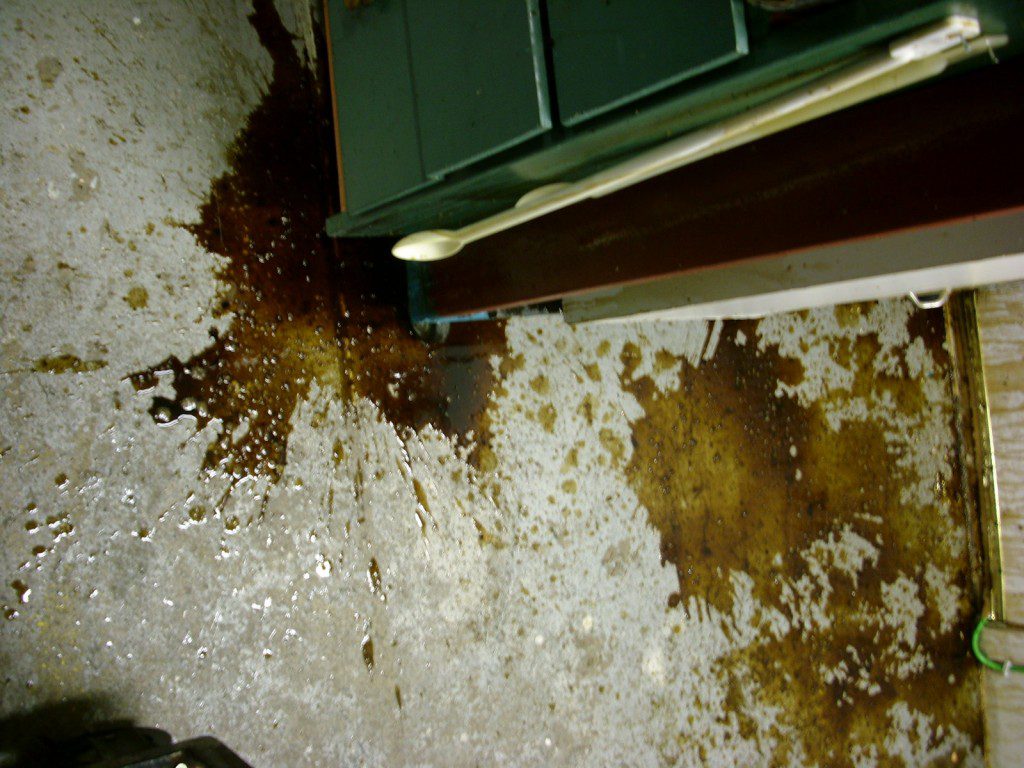
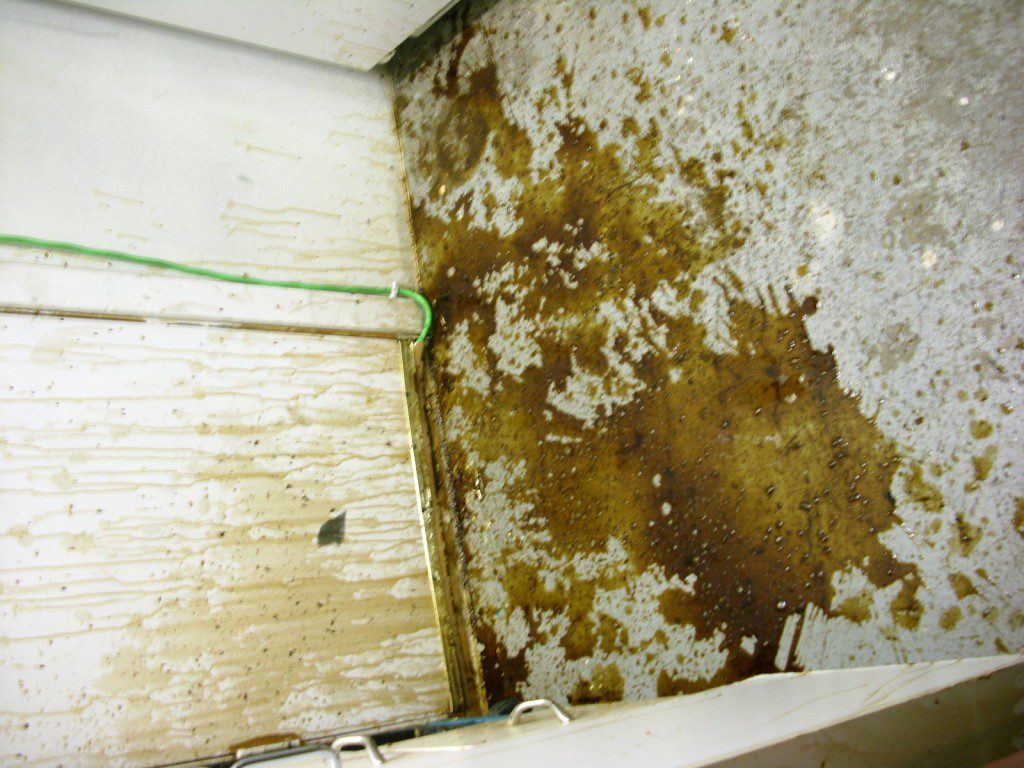
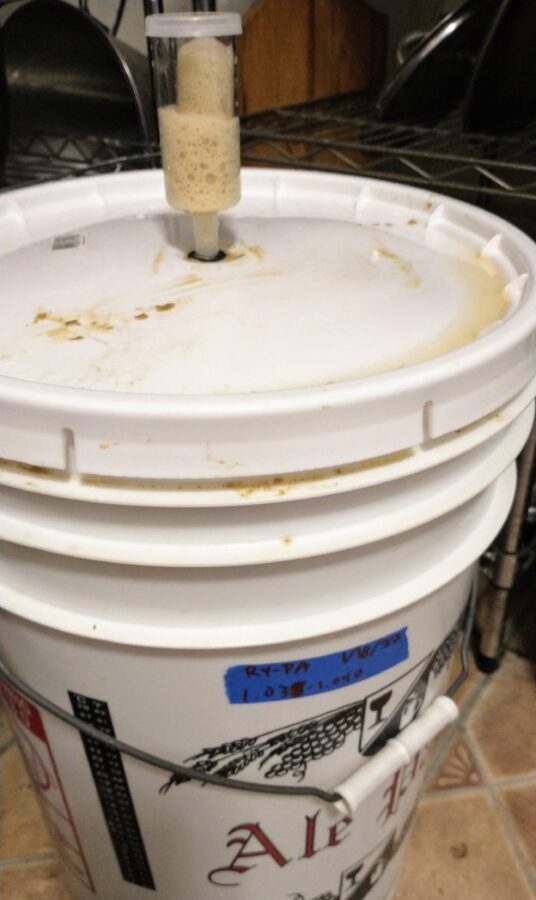
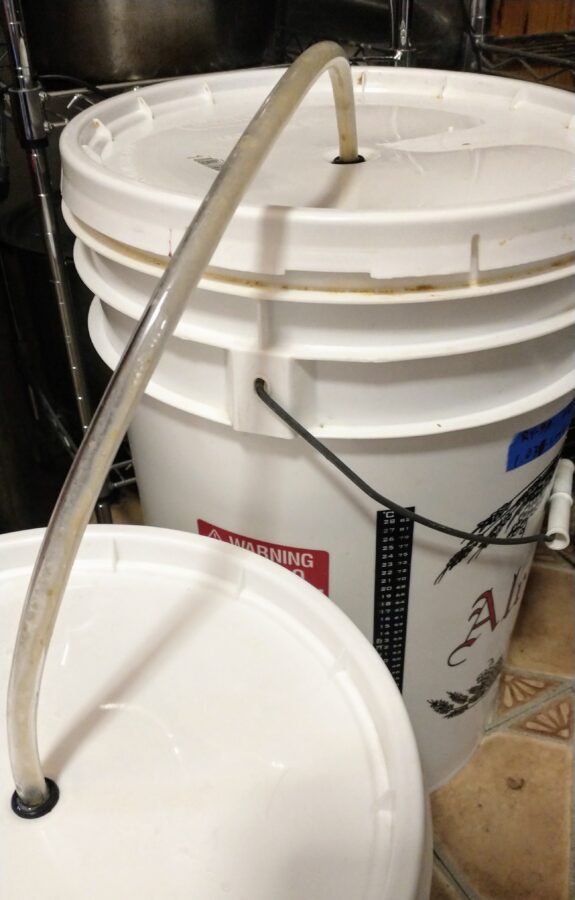
What happened?
Larry
Well, you know. Mishaps. Mayhem. Probably drinking. Truth told, those are vintage pics. We NEVER spill now. And I cannot tell a lie… that’s not true… but those were epic!