CANNING: How to Can Fresh Bluegill, Perch, and Other Small Panfish
- What equipment do I need to can fish?
- What do I do with my canned fish?
- Safe handling & processing tips for canning fresh fish
- Seasoning variations for canned fish
- How to Can Panfish
- How to Can Fresh Fish
Catching little panfish like bluegill, perch, pumpkin-seeds, and other small panfish can be “reel” fun… but trying to clean and fillet them is just crappie!
(Groan. Sorry. Not really, actually… because if you can’t make dad-jokes about fishing, what even are they for?)
There’s a better way, if you learn how to can your panfish. Save your biggest and best catch for fillets, and when you’ve had your fill of whole fried or roasted little panfish and want something different, can the little guys, bones and all. Really?
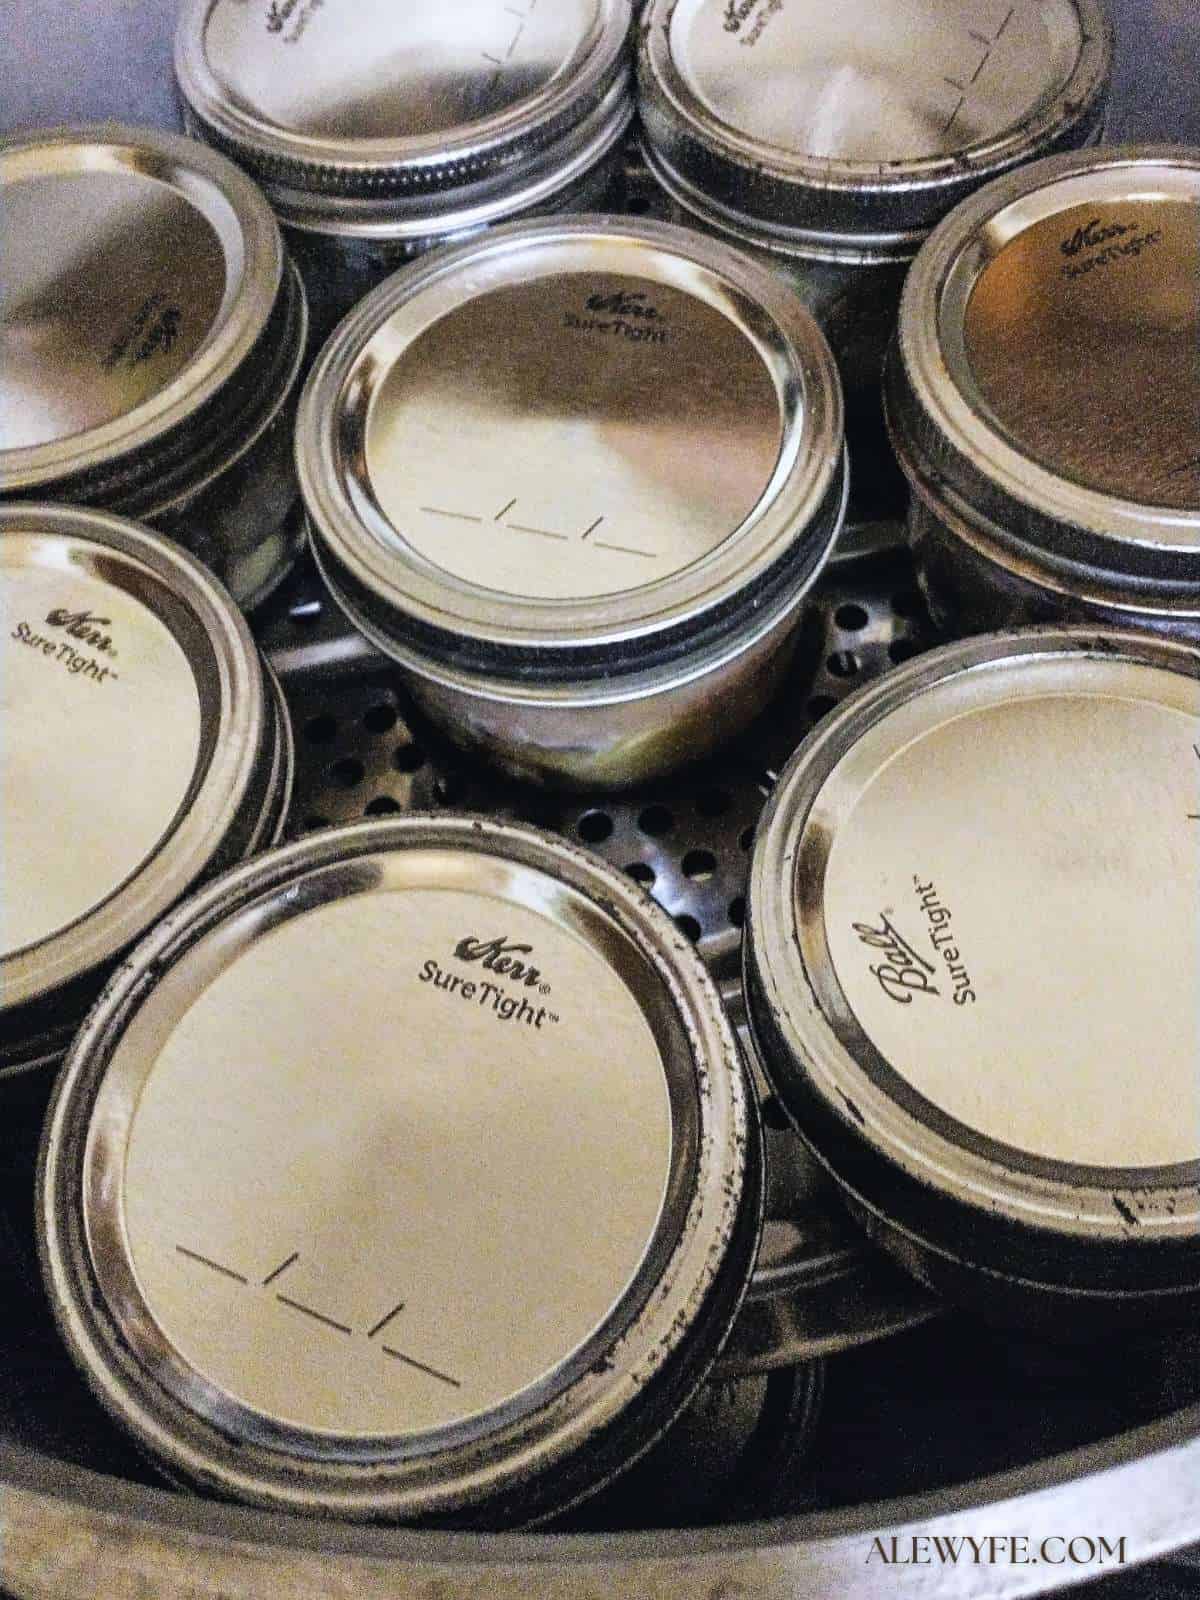
Yes, really! After their long stint in the pressure canner, the bones will be as soft and edible as those in canned salmon. Or, they’re as easy to pick out if you don’t like the texture… but the extra calcium is really nutritious!
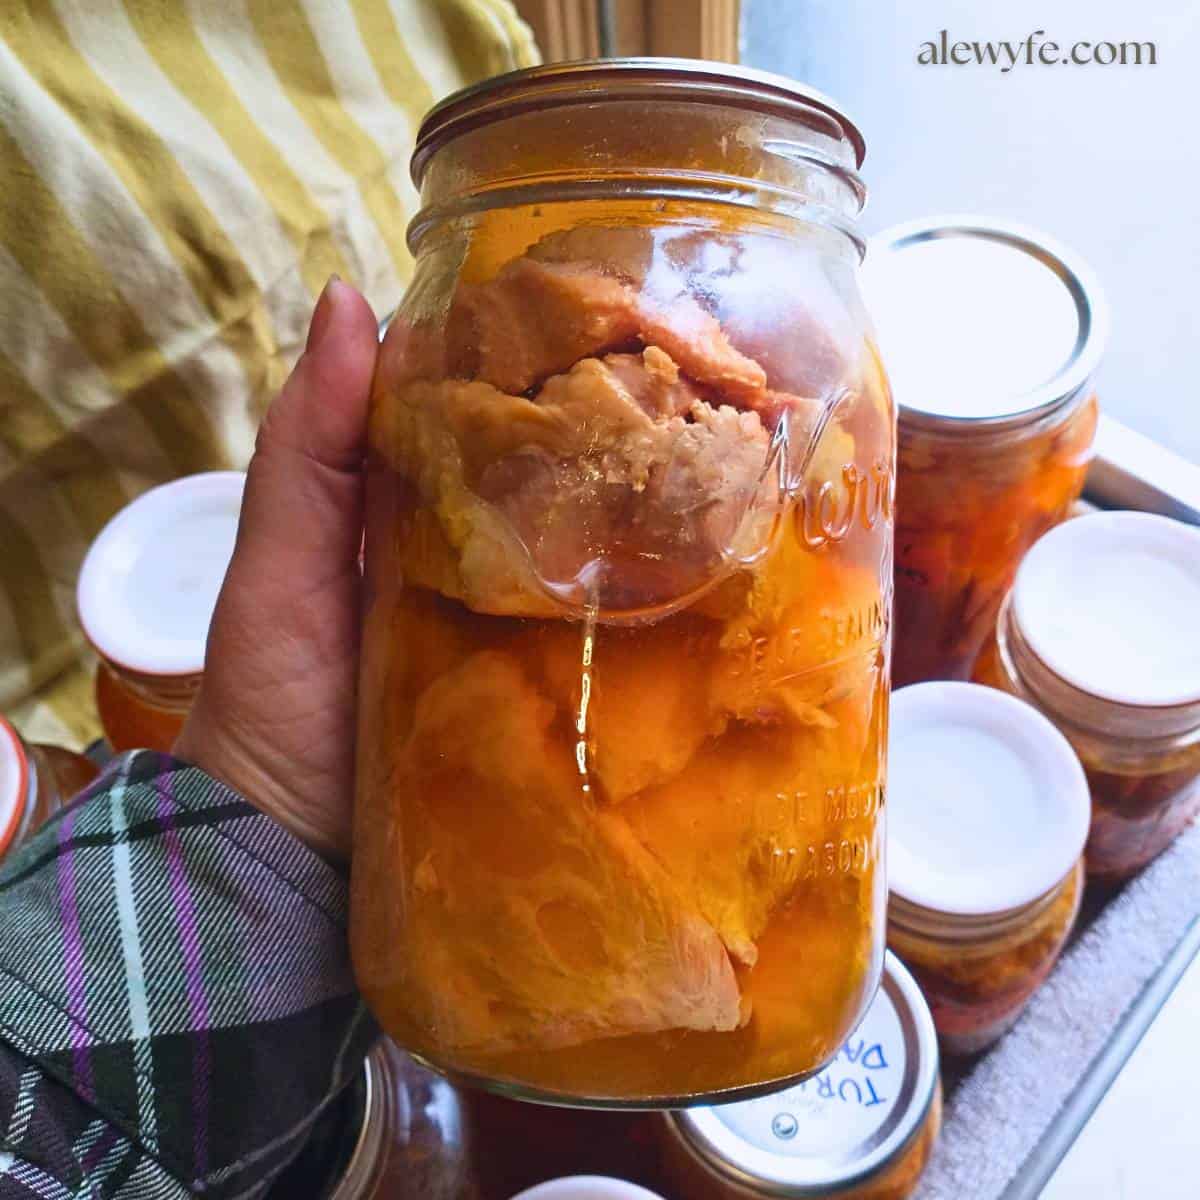
You can your fresh panfish whole if they’re very small, or portioned into in jar-sized chunks. After processing in your pressure canner you can easily flake the fish off the bones.

And once you put up your fish this way, it’s pre-cooked and ready to use in your favorite recipes. It’s especially nice for fish patties & burgers, croquettes, or even salads (it’s like tuna salad, but lighter in flavor).
And best of all, the jars of canned fish are shelf-stable, just like canned fish from the store. It’s a great way to free up freezer space (so you can go catch more fish). It also adds another layer of food-security to your pantry by diversifying the way you store your catch, protected against freezer failure or power outages.
You do need to prevent the jars from freezing and then thawing after they’re canned if you want them to stay shelf-stable. However, unless you live in an off-grid cabin in the Northwoods, you probably keep your house above freezing anyway (and if you do live up ‘dere in a dry cabin, put ’em in the root cellar, eh?).

What equipment do I need to can fish?
You’ll need a large actual pressure canner for this- it’s definitely not safe to try this with an Instant Pot or small pressure cooker, so please don’t risk it. Canning fresh fish and seafood requires careful attention to food safety and processing rules.
But it’s not hard, so if you have the proper canner, give jarring your smaller panfish a shot! You can of course also can fatty fish like salmon, trout, catfish, mackerel, and more, but you’ll find plenty of instructions on how to do that (but pro-tip… it’s exactly the same as what we’re going to do here).
You’ll also need mason jars and new canning lids with rings. It’s helpful to have jar-lifter tongs, but otherwise, the only specialized gear you really need is the pressure canner & jars.
You can read more about these and our recommendations in our guide to canning equipment if you don’t already have these or are new to canning.
What do I do with my canned fish?
Almost anything you make with canned tuna, salmon, or mackerel can be adapted to work with other canned fish like these. Try your favorite recipes for leftover or cooked fish, like fishcakes or sticks, chowder, and more.
We like to flake the meat off the bones and mix it with egg, breadcrumbs, leftover mashed potatoes, onion, and other seasonings to make fishcakes, fish burgers, and croquettes. Dip these in panko or breadcrumbs and bake, pan-fry, or deep fry them. For croquettes, you’d make a very thick bechamel sauce, and mix the flaked fish with cooked potato before breading and frying.
You can use it to make mock-tuna salads for sandwiches. Try flaking the fish into a fish soup or chowder, and more. Soft bones that are easily crushed after canning can be eaten. Discard any larger or still tough bones, but the meat will easily fall away from the bones after canning.
Safe handling & processing tips for canning fresh fish

It’s always important to process your catch promptly, but if you’re canning your fish it’s even more critical. Don’t give bacteria a chance to grow and spoil your catch! Bleed and gut your fish, and get them on ice ASAP. Rinse them with potable water (not seawater or lake water) before canning them.
You can either pressure-can your fresh fish immediately after cleaning them or freeze them (in bags or containers of water for best quality, head off to save freezer space) until you have enough to do a batch. If you are working with frozen fish, thaw them completely in the fridge before canning them.
It’s a long processing time- one hundred minutes, plus time to bring the canner up to pressure and then to cool down, so it’s most efficient of both time and energy if you have a full canner load. However, you can try it with just a few jars first to make sure it’s your cup of tea… err, kettle of fish?
If you are strictly following the USDA-approved method from the National Center for Home Food Preservation (which is a goldmine of potentially life-saving information that you should have bookmarked if you are still reading this), you will can your fish raw-pack and plain, with perhaps only a pinch of salt added to the jars for flavor.
Until you really, really, know your canning rules and what is safe (or just want to be sure) this by-the-book method is the way to go!
Seasoning variations for canned fish
You’ll see all sorts of rebel canning ideas online about canning fresh fish, from adding herbs, or lemon, or hot sauce, or garlic, or a spoonful of olive oil. We keep ours pretty plain, both for food safety concerns and the versatility of the finished product, but will sometimes add a clove of garlic, some cracked black pepper, or a thin lemon slice. You can also use Cajun seasoning or other seasoned salt instead of plain canning salt.
You can leave out the salt if you are on a salt-restricted diet. It improves quality and flavor, but isn’t there for food safety, and you can use any salt that isn’t iodized.
Whatever you do, don’t add sage, which turns bitter in a pressure canner. You’ll see that I added a clove of garlic to most of these jars… but that’s a deviation from the standard accepted procedure, so don’t take this as an endorsement for best practices, necessarily! When it doubt, leave it out.

Optional lemon brine rinse:
I also very briefly soak the fish in a light lemon brine before canning. You don’t want to heavily brine them, as this can change the density of the fish and the processing time… But a tablespoon or two each of salt and lemon juice in a quart or two of water isn’t going to do much but remove muddy flavors.
This will help ensure the fish is very clean and bright tasting. It also ensures they don’t dry out while you’re cleaning and prepping the fish for the jars. A true brine, like you would use before smoking fish (and which would require a slightly longer processing time) is much more concentrated (a cup of salt in just under two quarts of water).
If you are concerned about this, either just use plain water to rinse your fish before packing, or add 10 minutes to the processing time (the time for brined and smoked fish is 110 minutes, while fresh fish with salt in the jars processes for 100 minutes).
You can find full instructions for canning smoked fish in this post: How to Can Smoked Trout

Use your own judgement here (unless your judgement is bad, in which case you should probably keep it by-the-book, because botulism is no one’s idea of a good time and can be fatal), and as always, can at your own risk!
But it’s fine. You’ll be fine. Follow me, the NCHFP, and the directions for your particular canner… Keep calm and can fish on? No? Yeah, that doesn’t really work, does it. Let’s get on with the recipe and can some fish, shall we?
How to Can Panfish
Clean and prep fish:
- Follow safe handling practices with fresh fish, cleaning your catch and getting it on ice within two hours (see above).
- Rinse fish inside and out with potable water to remove blood and to avoid introducing bacteria.
- Remove the heads of the fish by cutting behind the gill plates with a sharp knife, and remove tails and fins with sharp kitchen shears or a knife.
- Keep remaining fish on ice or in the fridge as you work (I use a cold lemon water bath with a tablespoon of salt, but do not soak the fish for more than 30 minutes and keep it cold).
Pack fish into jars:
- Cut the fish into jar-sized pieces and pack into spotlessly clean wide mouth pint or half-pint jars.
- Small fish can be canned whole, but make sure that you leave one inch of headspace at the tops of the jars.
- Pack the fish tightly in the jars (they will shrink a bit during processing).
- Add one teaspoon of canning or sea salt to the pint jars or ½ teaspoon to the half-pints (I have added a clove of garlic to the bottoms of the jars, but this isn’t a strictly approved practice).
- Wipe the rims of the jars with a clean, lint free cloth or paper-towel soaked in vinegar to ensure the rims are clean and free of oil or debris that would interfere with the seal.
- Put clean, new metal lids (or reusable Tattler or Weck style lids if you are comfortable using those) on each jar, and tighten the rings finger-tight.

Pressure-can the jars:
- Place the jars in the rack of your pressure canner and add cool water to the canner. Note: because of the long processing time, make sure you add sufficient water to the canner- I fill mine up to just below the bands of the first row of pint jars.
- Check the instructions for your individual canner, but it will probably be quite a bit more water than you use for a normal pressure canning batch (several quarts at least) and the jars may float a little. This is okay.
- Check that the canner vent isn’t clogged and close & seal the lid. Bring the canner up to pressure over medium heat with the vent open, and once the canner is venting a steady stream of steam, set a timer for 10 minutes.
- When the canner has vented for 10 minutes, regulate the heat if necessary and drop the weight over the vent (or close the petcock if you have an unweighted dial-gauge canner).
- For a weighted gauge canner, can at 10 lb up to 1000 ft, or adjust to 15 at higher altitudes. See chart below for dial gauge canner:
| Altitude Feet | Weighted Gauge | Dial Gauge |
|---|---|---|
| 0- 1,000 | 10 | 11 |
| 1,001- 2,000 | 15 | 11 |
| 2,001- 4,000 | 15 | 12 |
| 4,001- 6,000 | 15 | 13 |
| 6,001-8,000 | 15 | 14 |
| 8,001-10,000 | 15 | 15 |
- Start your processing timer for 100 minutes only once the appropriate PSI has been reached, or when the weight of your weighted gauge canner is jiggling to indicate that the proper pressure has been reached.
- Watch or listen carefully, adjust heat very gradually as needed. Reset the timer to zero and restart processing time if you lose pressure below the correct processing pressure at any point.
- After the processing time is complete, turn the heat off. Once the pressure canner has cooled and returned to neutral pressure (the dial will drop to zero, and no steam escapes from the weight or petcock if jiggled) you should open the canner and remove the jars (follow your canner instructions for opening).
Cool and store canned fish:
- Let the jars cool in a draft-free place where they can rest overnight or for up to 24 hours.
- Don’t touch the rings until the jars have cooled and the seals are set (disregard this for reusable lids and follow manufacturer instructions to tighten rings immediately after processing).
- Remove the rings and check the seals on the jars after they have rested at least overnight.
- Promptly freeze or refrigerate any jars that did not seal and use within a few days- reprocessing these jars will cause a loss in quality and might not be safe.
- Gently wash all sealed jars with soapy water, label clearly, and store in a cool, dark place.
- Protect jars from freezing and safely discard the contents of any jars that lose their seals in storage and sterilize jars before reuse.
- For best quality, use any home-canned goods within 12-18 months, though they may be safe to consume as long as the seals are intact (assuming they were properly processed and stored).


How to Can Fresh Fish
Equipment
- glass canning jars, rings, and new lids
Ingredients
- 32 oz small panfish (approx. 8 oz per wide-mouth pint jar, process a minimum of 4 pints at a time)
- 4 tsp canning or fine sea salt 1 tsp per pint jar or ½ tsp per half-pint jar
Instructions
Clean and prep fish:
- Follow safe handling practices with fresh fish, cleaning your catch and getting it on ice within two hours (see above). Rinse fish inside and out with potable water to remove blood and to avoid introducing bacteria.
- Remove the heads of the fish by cutting behind the gill plates with a sharp knife, and remove tails and fins with sharp kitchen shears or a knife. Keep remaining fish on ice or in the fridge as you work (I use a cold lemon water bath with a tablespoon of salt, but do not soak the fish for more than 30 minutes and keep it cold).
Pack fish into jars:
- Cut the fish into jar-sized pieces and pack into spotlessly clean wide mouth pint or half-pint jars. Small fish can be canned whole, but make sure that you leave one inch of headspace at the tops of the jars. Pack the fish tightly in the jars (they will shrink a bit during processing).
- Add one teaspoon of canning or sea salt to the pint jars or ½ teaspoon to the half-pints (I have added a clove of garlic to the bottoms of the jars, but this isn't a strictly approved practice). Wipe the rims of the jars with a clean, lint free cloth or paper-towel soaked in vinegar to ensure the rims are clean and free of oil or debris that would interfere with the seal.
- Put clean, new metal lids (or reusable Tattler or Weck style lids if you are comfortable using those) on each jar, and tighten the rings finger-tight.
Pressure-can the jars:
- Place the jars in the rack of your pressure canner and add cool water to the canner. Note: because of the long processing time, make sure you add sufficient water to the canner- I fill mine up to just below the bands of the first row of pint jars. Check the instructions for your individual canner, but it will probably be quite a bit more water than you use for a normal pressure canning batch (several quarts at least) and the jars may float a little. This is ok.
- Check that the canner vent isn't clogged and close & seal the lid. Bring the canner up to pressure over medium heat with the vent open, and once the canner is venting a steady stream of steam, set a timer for 10 minutes.
- When the canner has vented for 10 minutes, regulate the heat if necessary and drop the weight over the vent (or close the petcock if you have an unweighted dial-gauge canner).
- For a weighted gauge canner, can at 10 lb up to 1000 ft, or adjust to 15 at higher altitudes. Start your processing timer for 100 minutes only once the appropriate PSI has been reached (11 PSI on a dial-gauge canner for up to 2000 ft, see notes for altitude adjustments), or when the weight is jiggling to indicate that the proper pressure has been reached. Watch or listen carefully, adjust heat as needed, and reset the timer to zero and restart processing time if you lose pressure below the correct processing pressure at any point.
- After the processing time is complete, turn the heat off. Once the pressure canner has cooled and returned to neutral pressure (the dial will drop to zero, and no steam escapes from the weight or petcock if jiggled) you should open the canner and remove the jars (follow your canner instructions for opening).
Cool and store canned fish:
- Let the jars cool in a draft-free place where they can rest overnight or for up to 24 hours. Don't touch the rings until the jars have cooled and the seals are set (disregard this for reusable lids and follow manufacturer instructions to tighten rings immediately after processing).
- Remove the rings and check the seals on the jars after they have rested at least overnight. Promptly freeze or refrigerate any jars that did not seal and use within a few days- reprocessing these jars will cause a loss in quality and might not be safe. Gently wash all sealed jars with soapy water, label clearly, and store in a cool, dark place. Protect jars from freezing and safely discard the contents of any jars that lose their seals in storage and sterilize jars before reuse.
Notes
Liked this? Try these related recipes!
- How to Can Smoked Trout
- Canning Navy Beans with Molasses & Ham
- How to Can a Whole Turkey (or three)
- How to Can Chicken
- Chipotle Barbacoa Beef or Venison (pressure-canning recipe)
- Garlic and Herb Potatoes (Easy Raw-Pack Canning Recipe)
- Canning Cajun Red Beans and Sausage
- Fun Guys – How to Can Marinated Mushrooms
I was wondering if I was the only one that had the crazy idea to can perch! I’m glad I’m not however the link to the USDA guide is no longer active.
Hi Rebecca… thanks for letting me know! The NCHFP just redid their website (it’s a lot better now, but that’s a good reminder to check my links). I’ve updated the link in the post for their instructions- I appreciate your note and feedback. Happy canning!