HOME: Venetian Plaster Projects
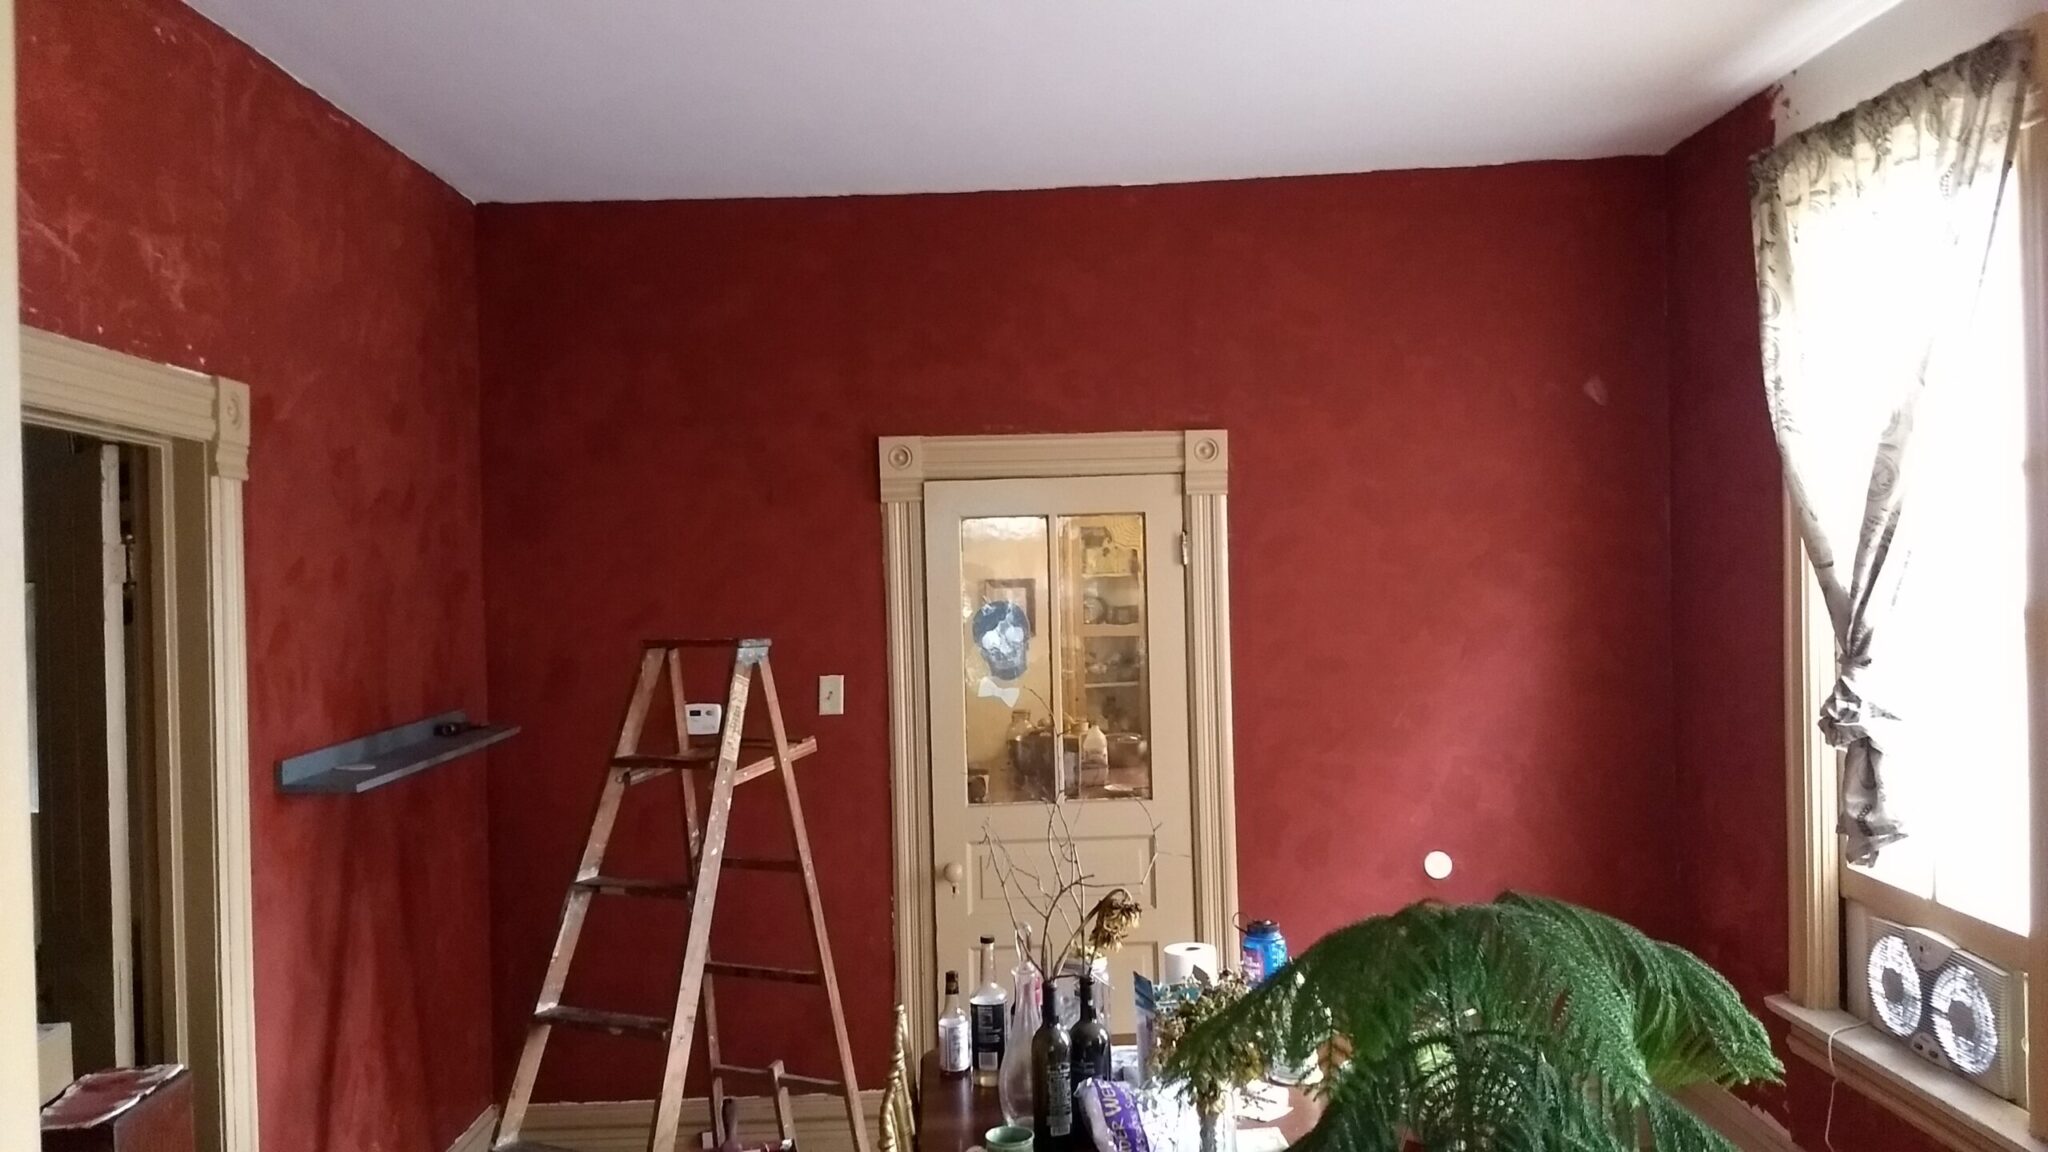
Alewyfe Inn: Dining Room
(Behr Venetian Plaster with custom tint)


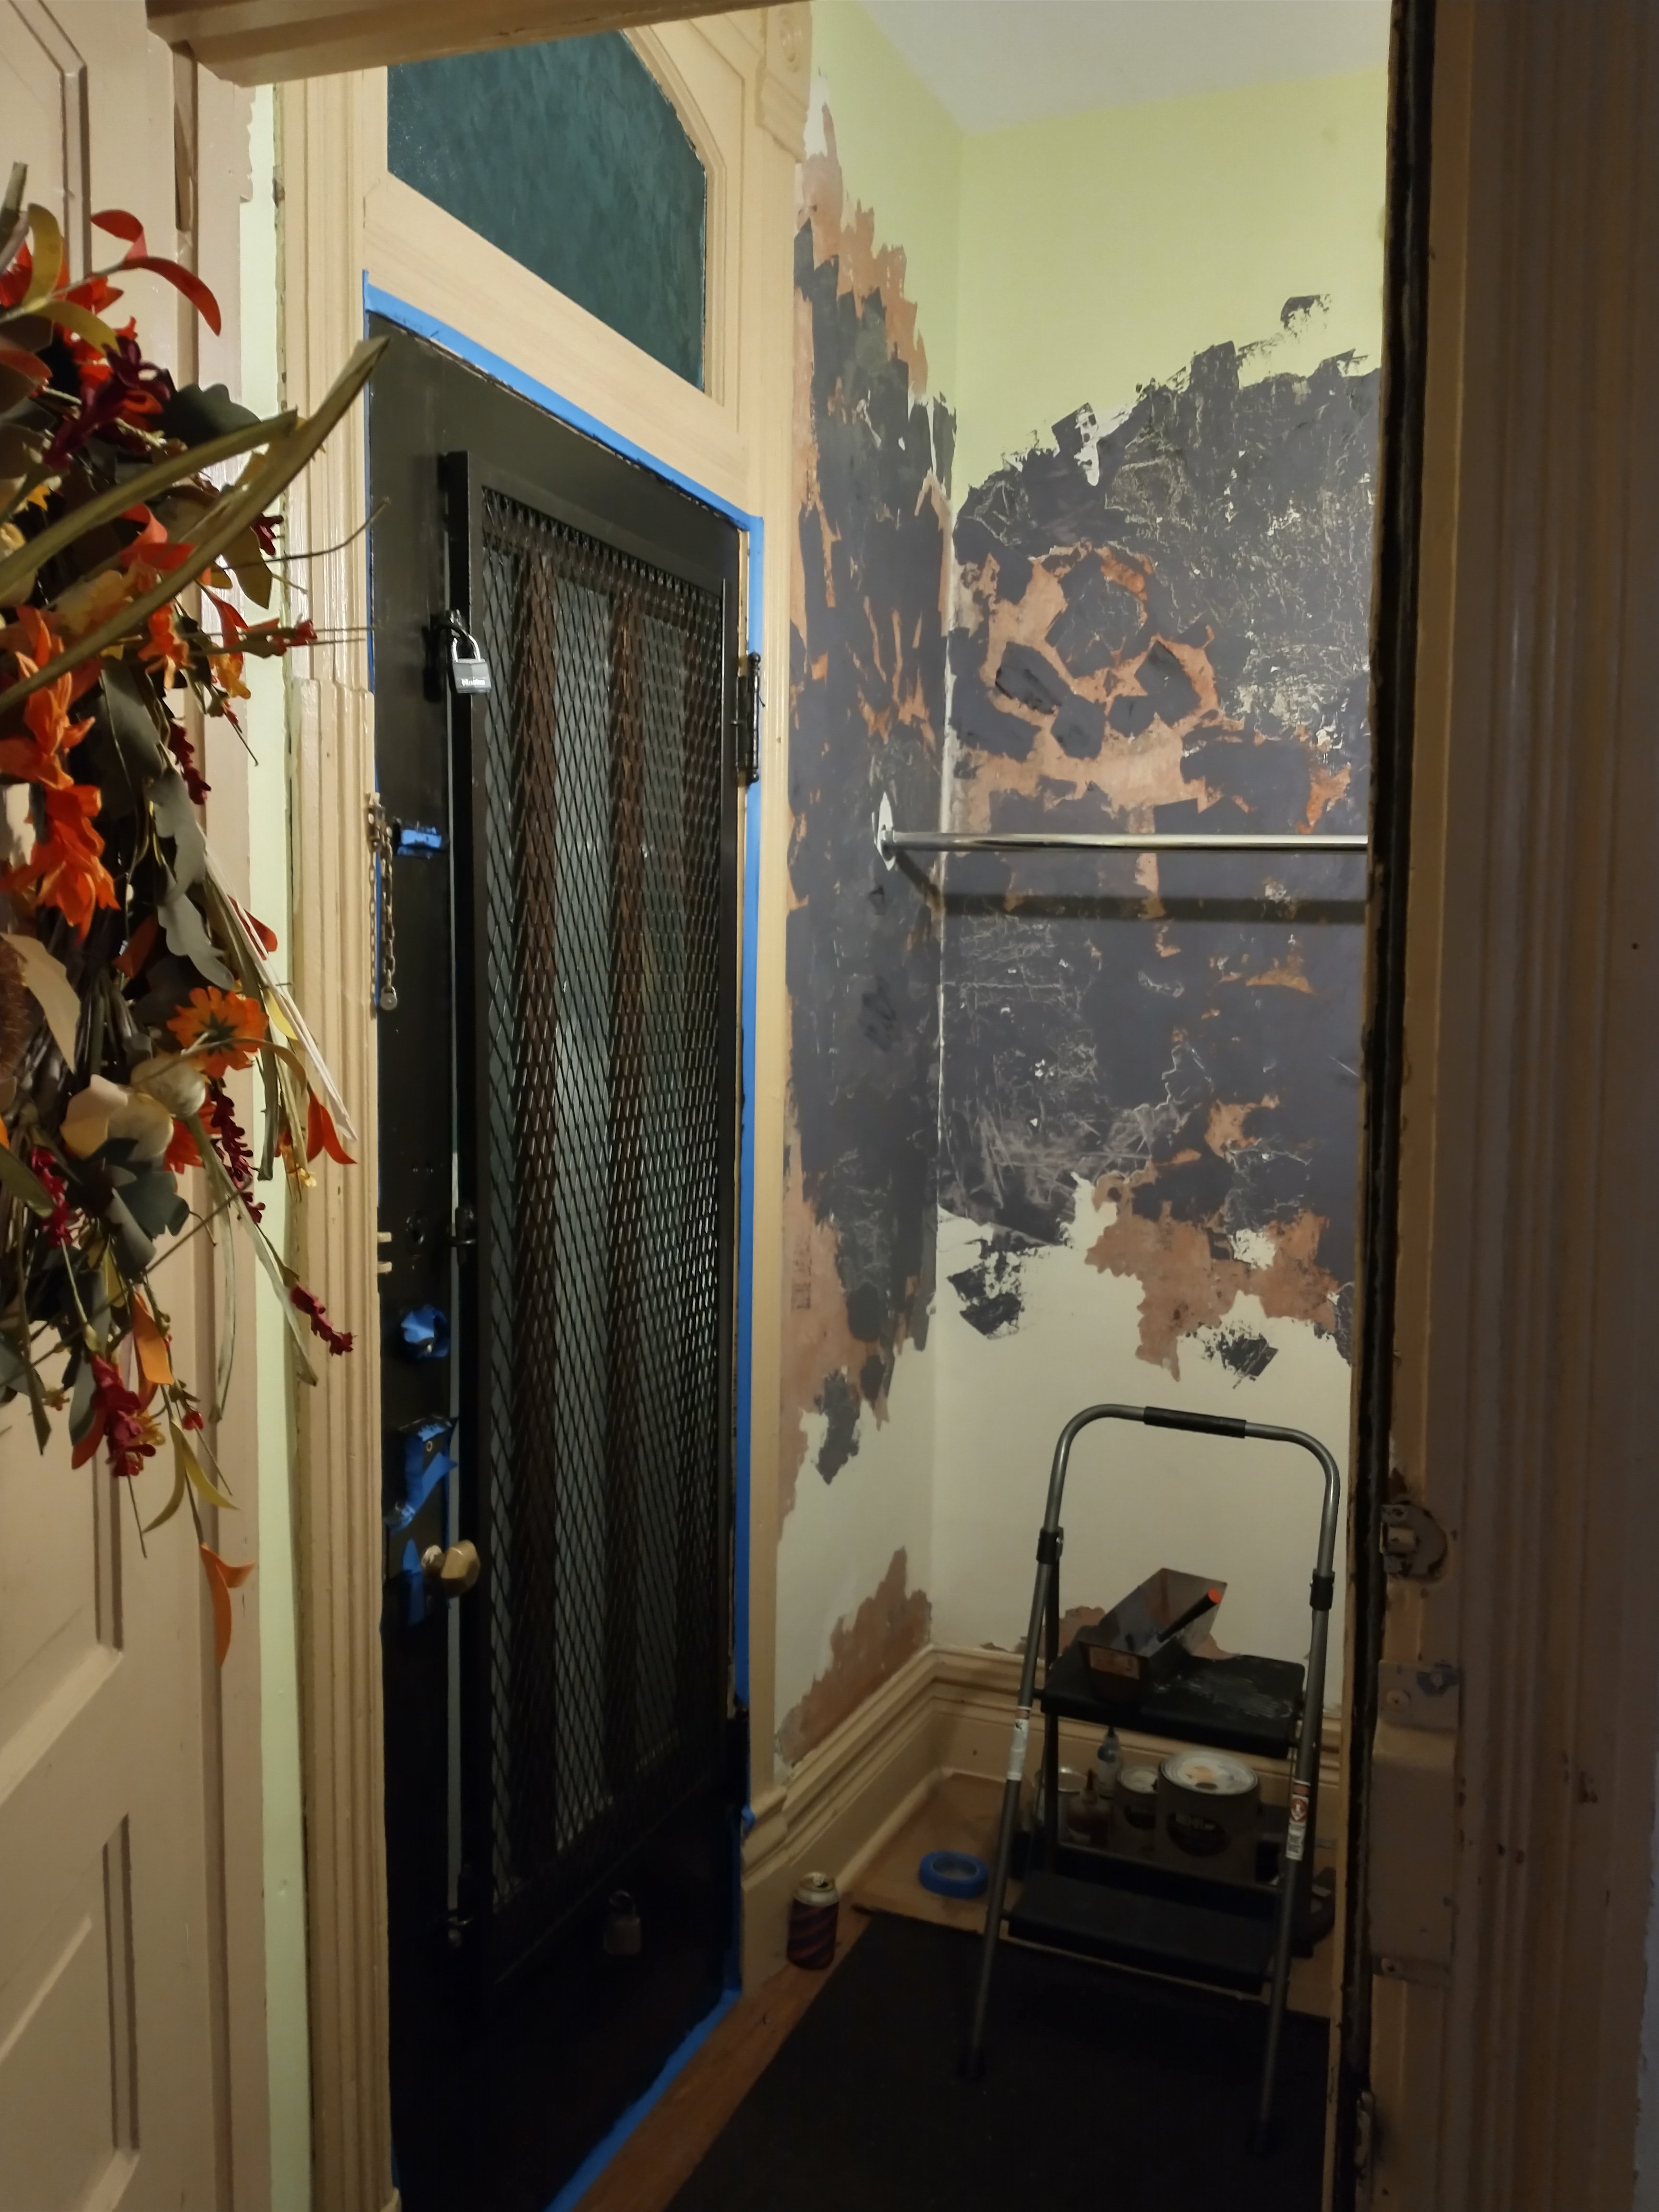
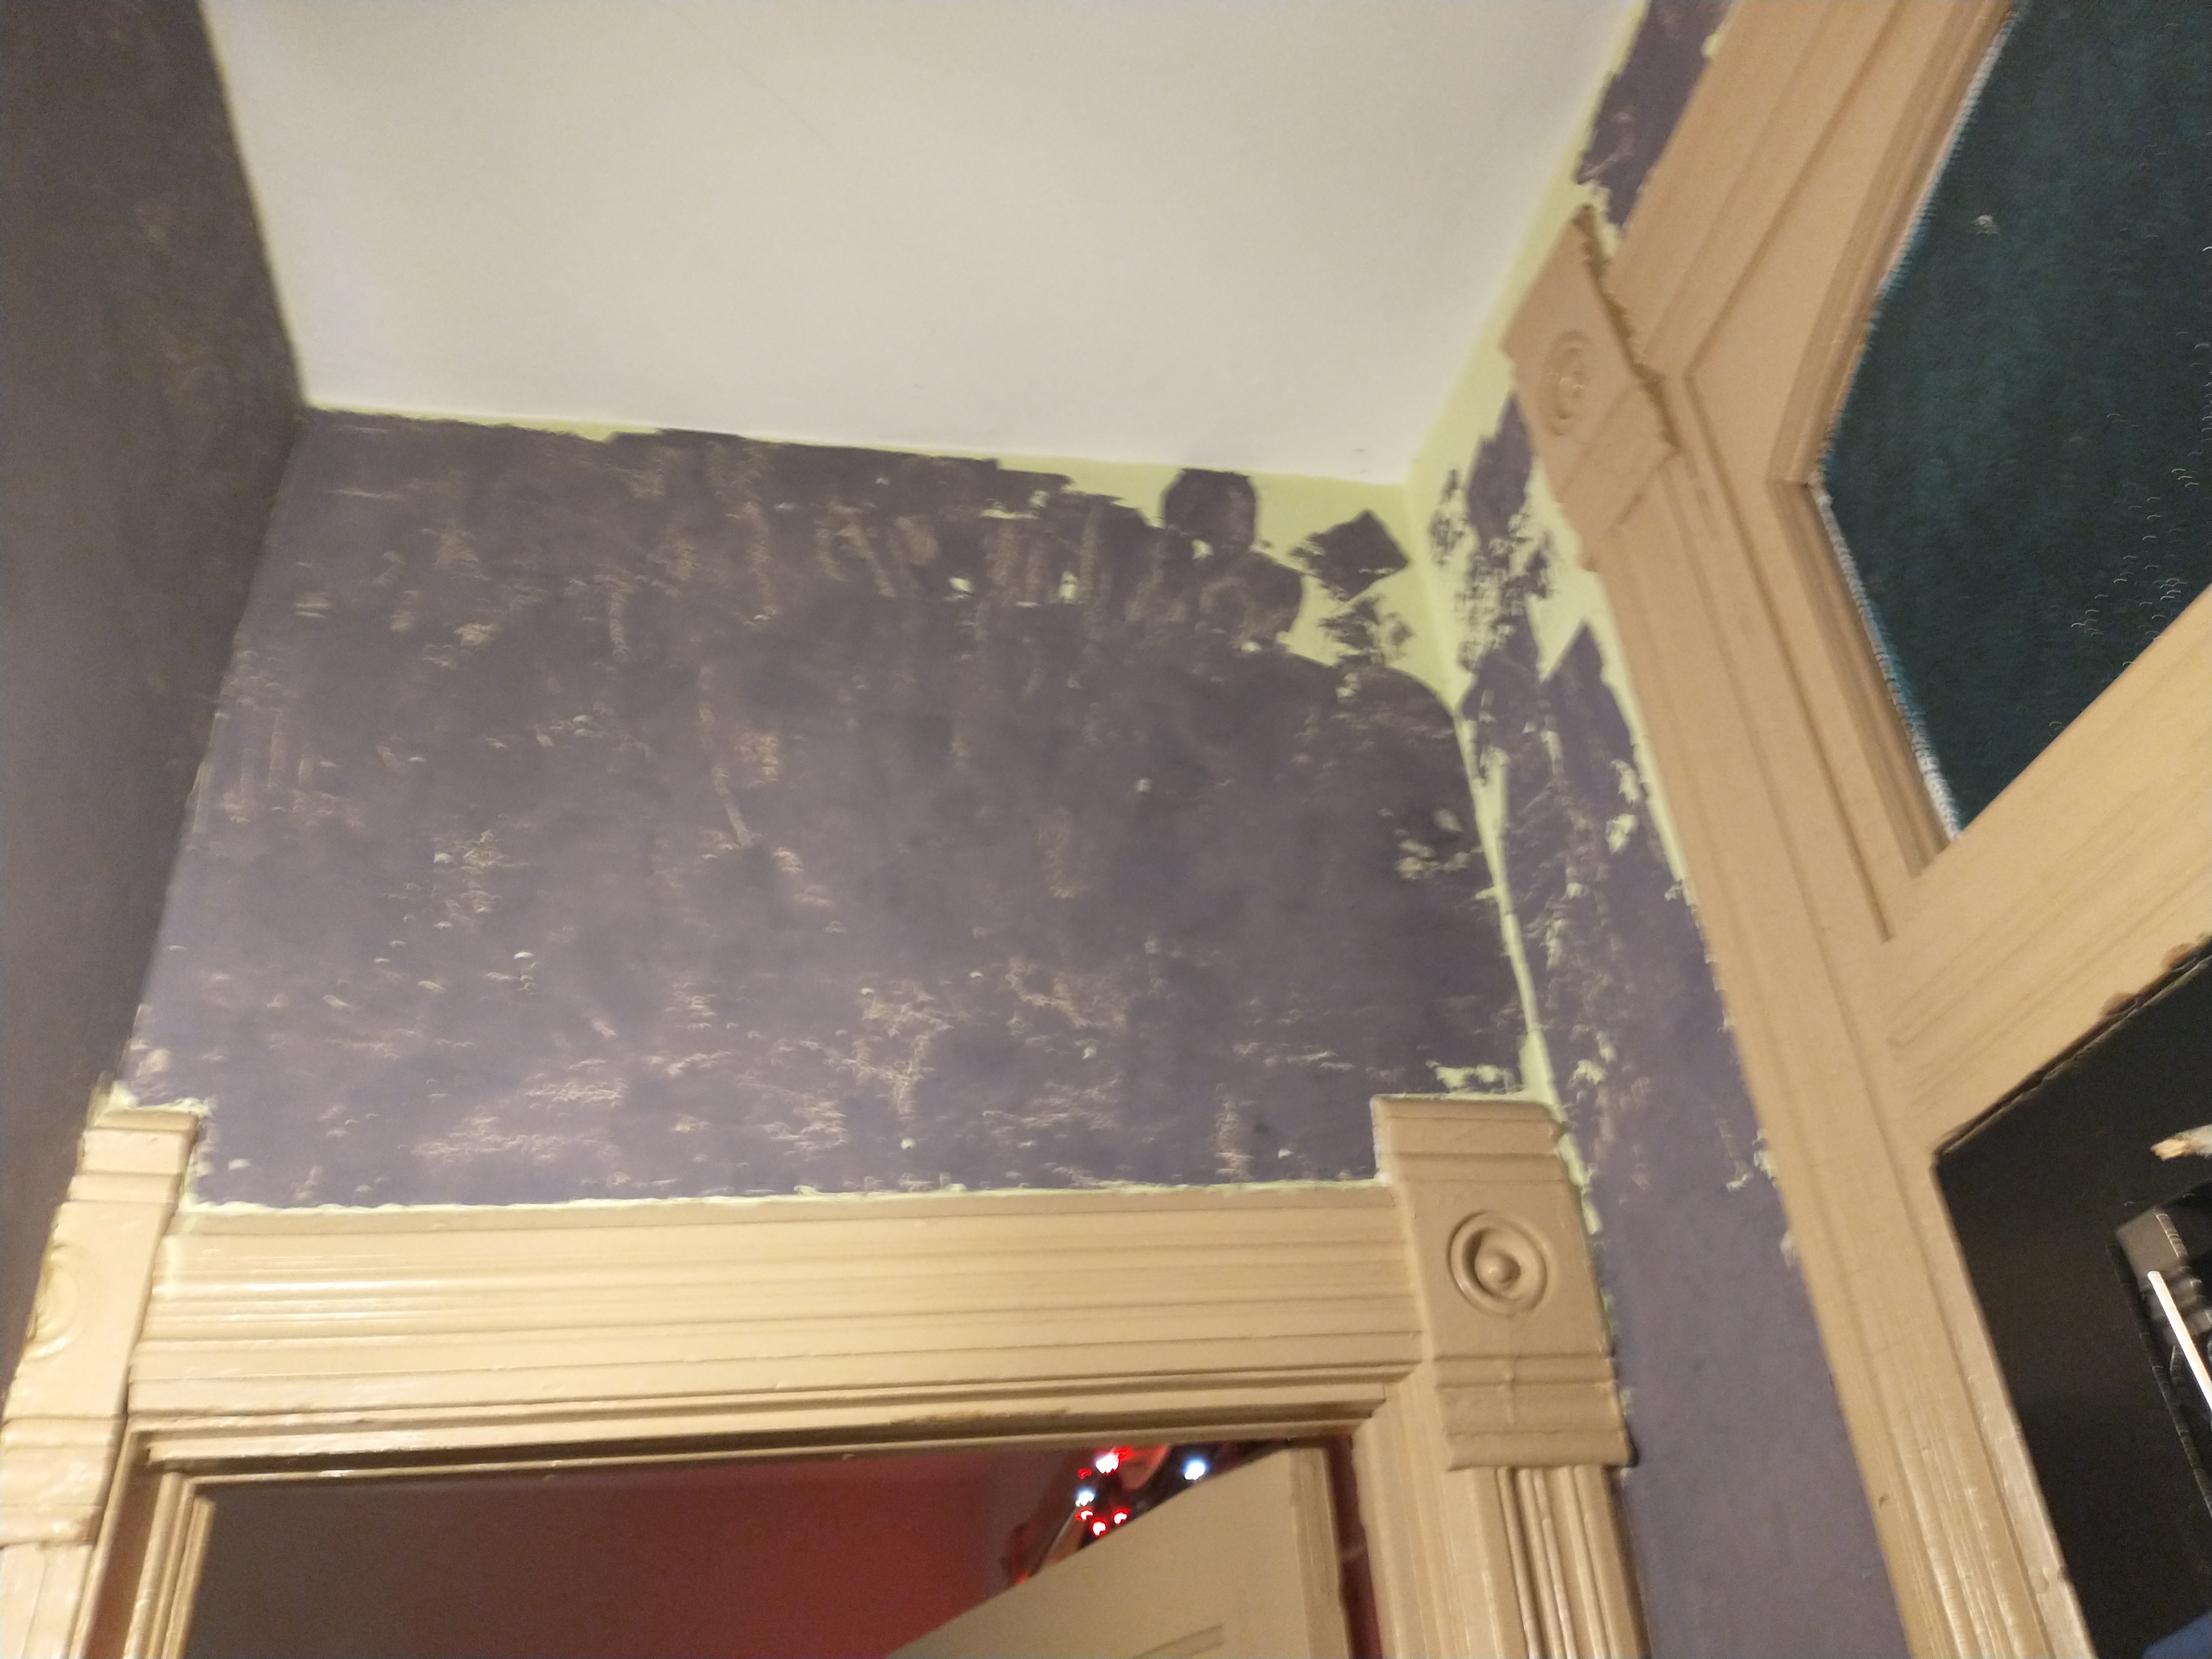
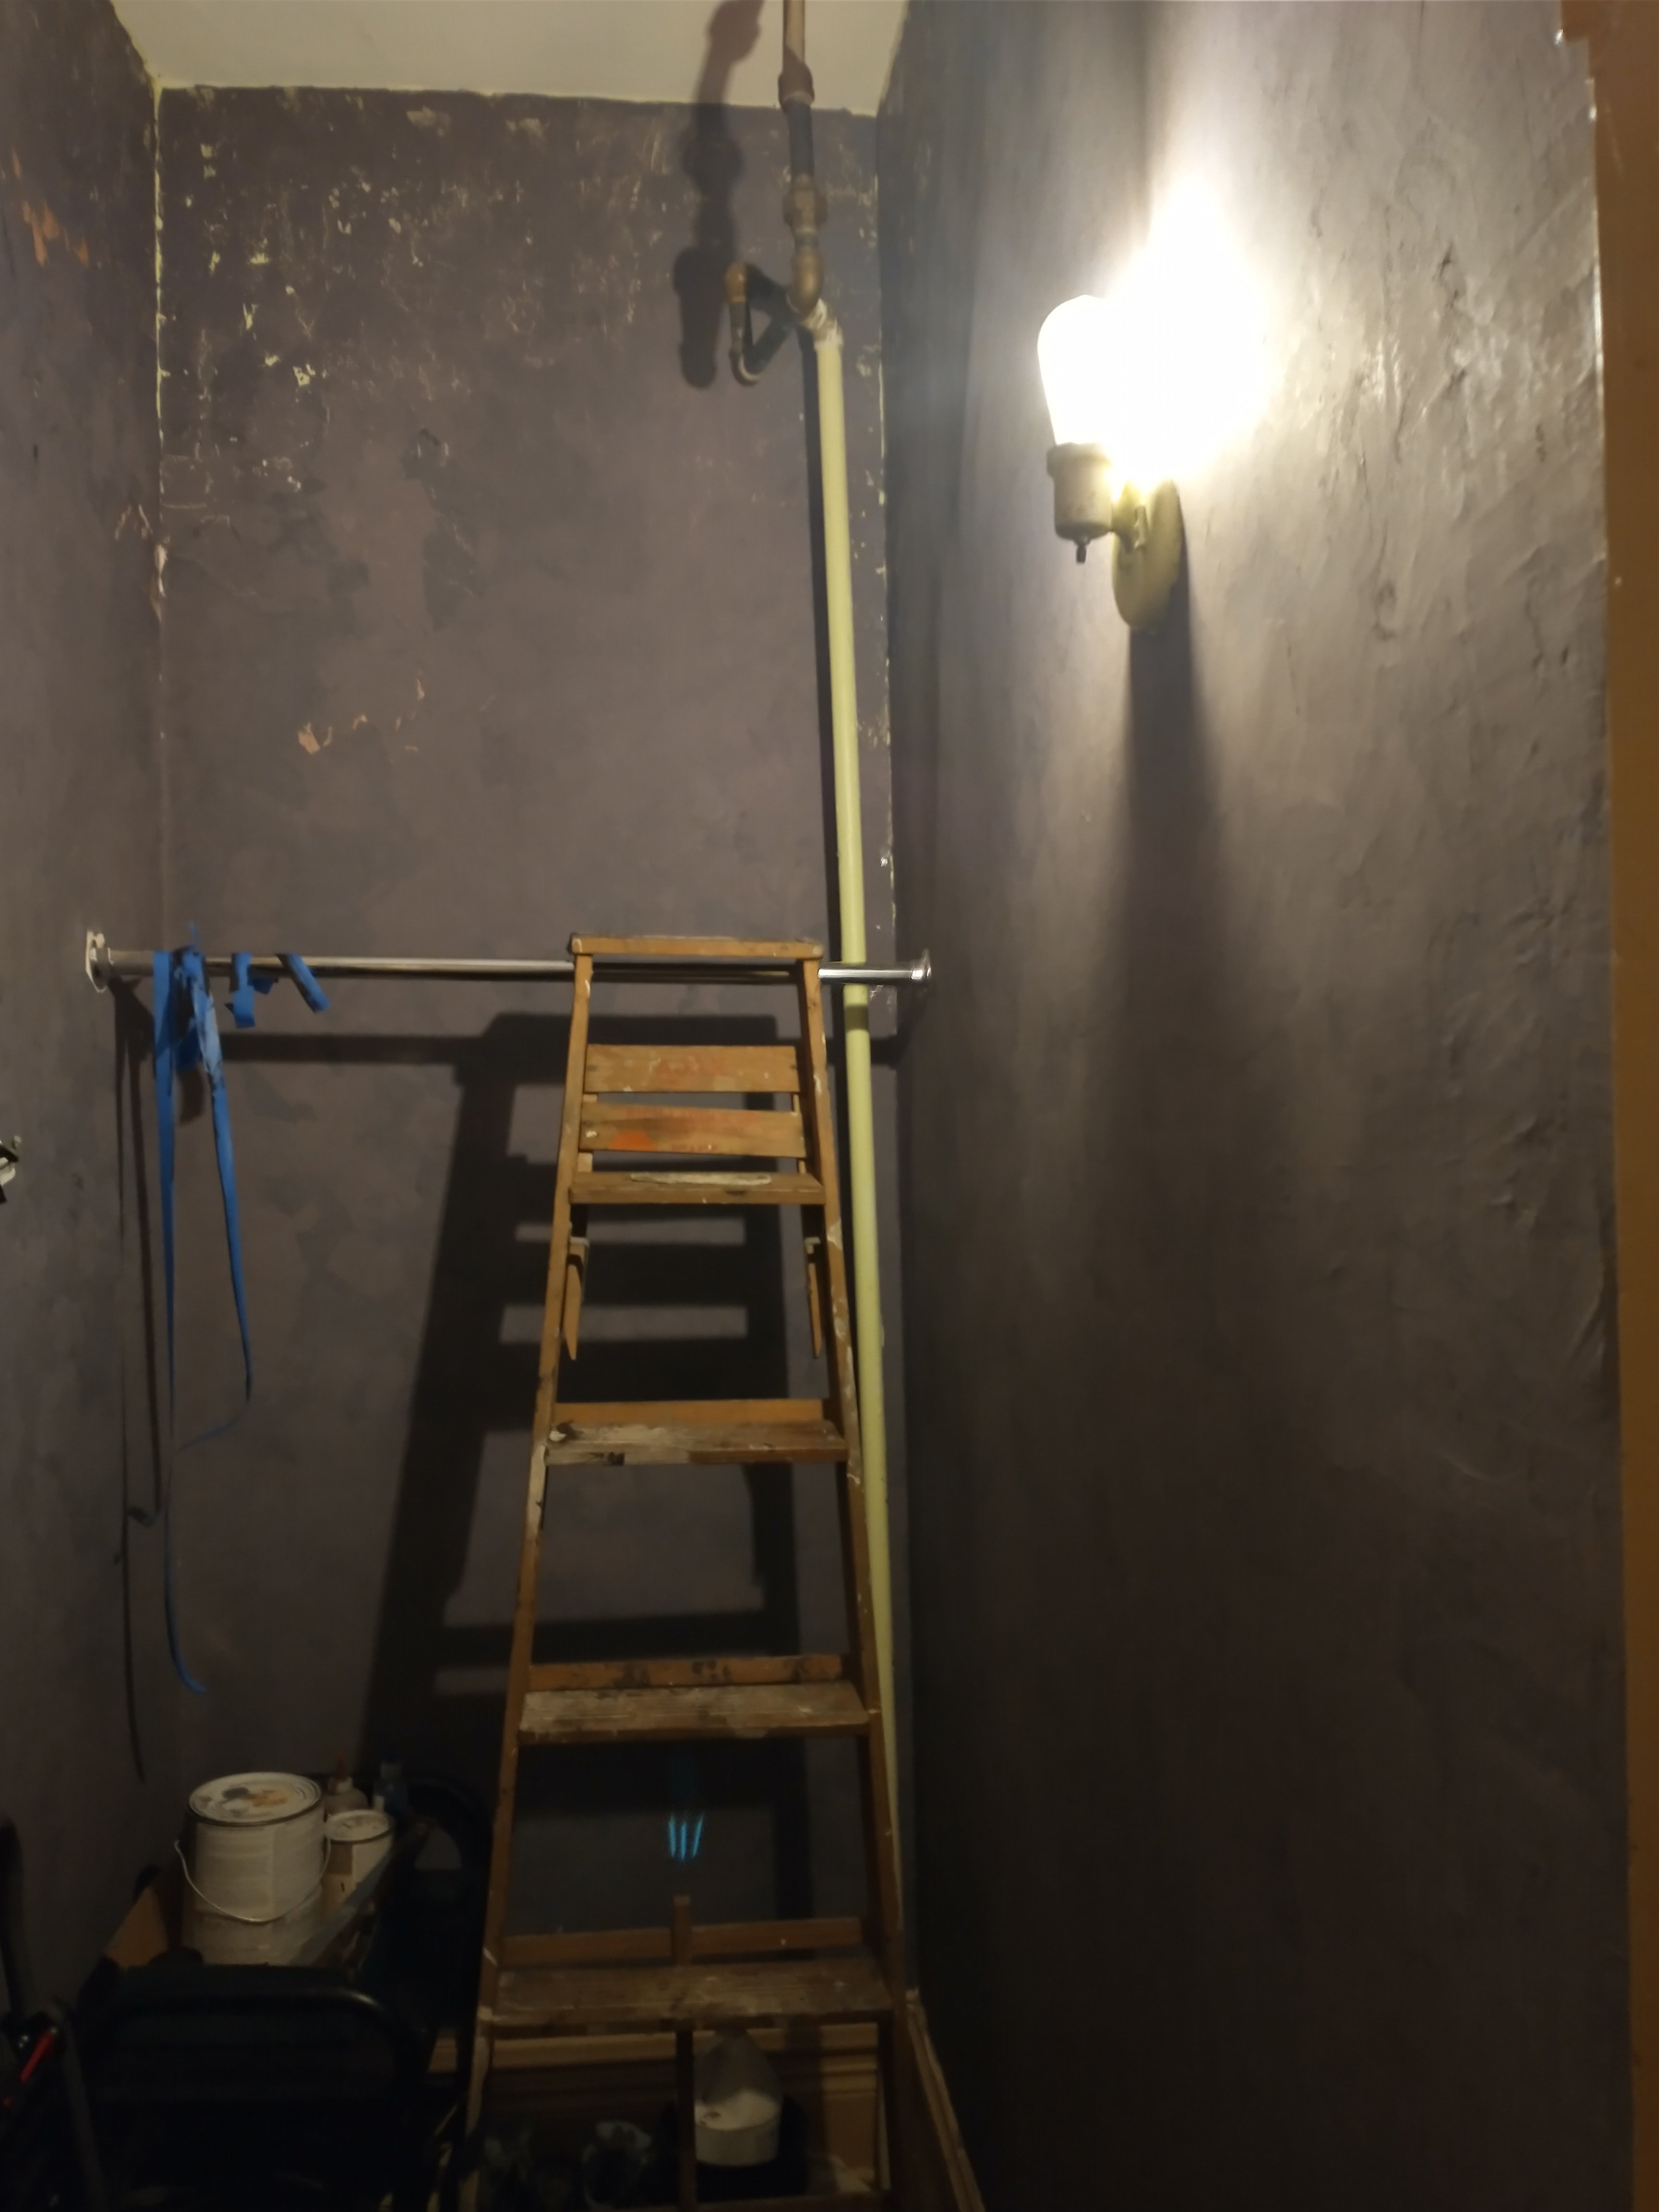
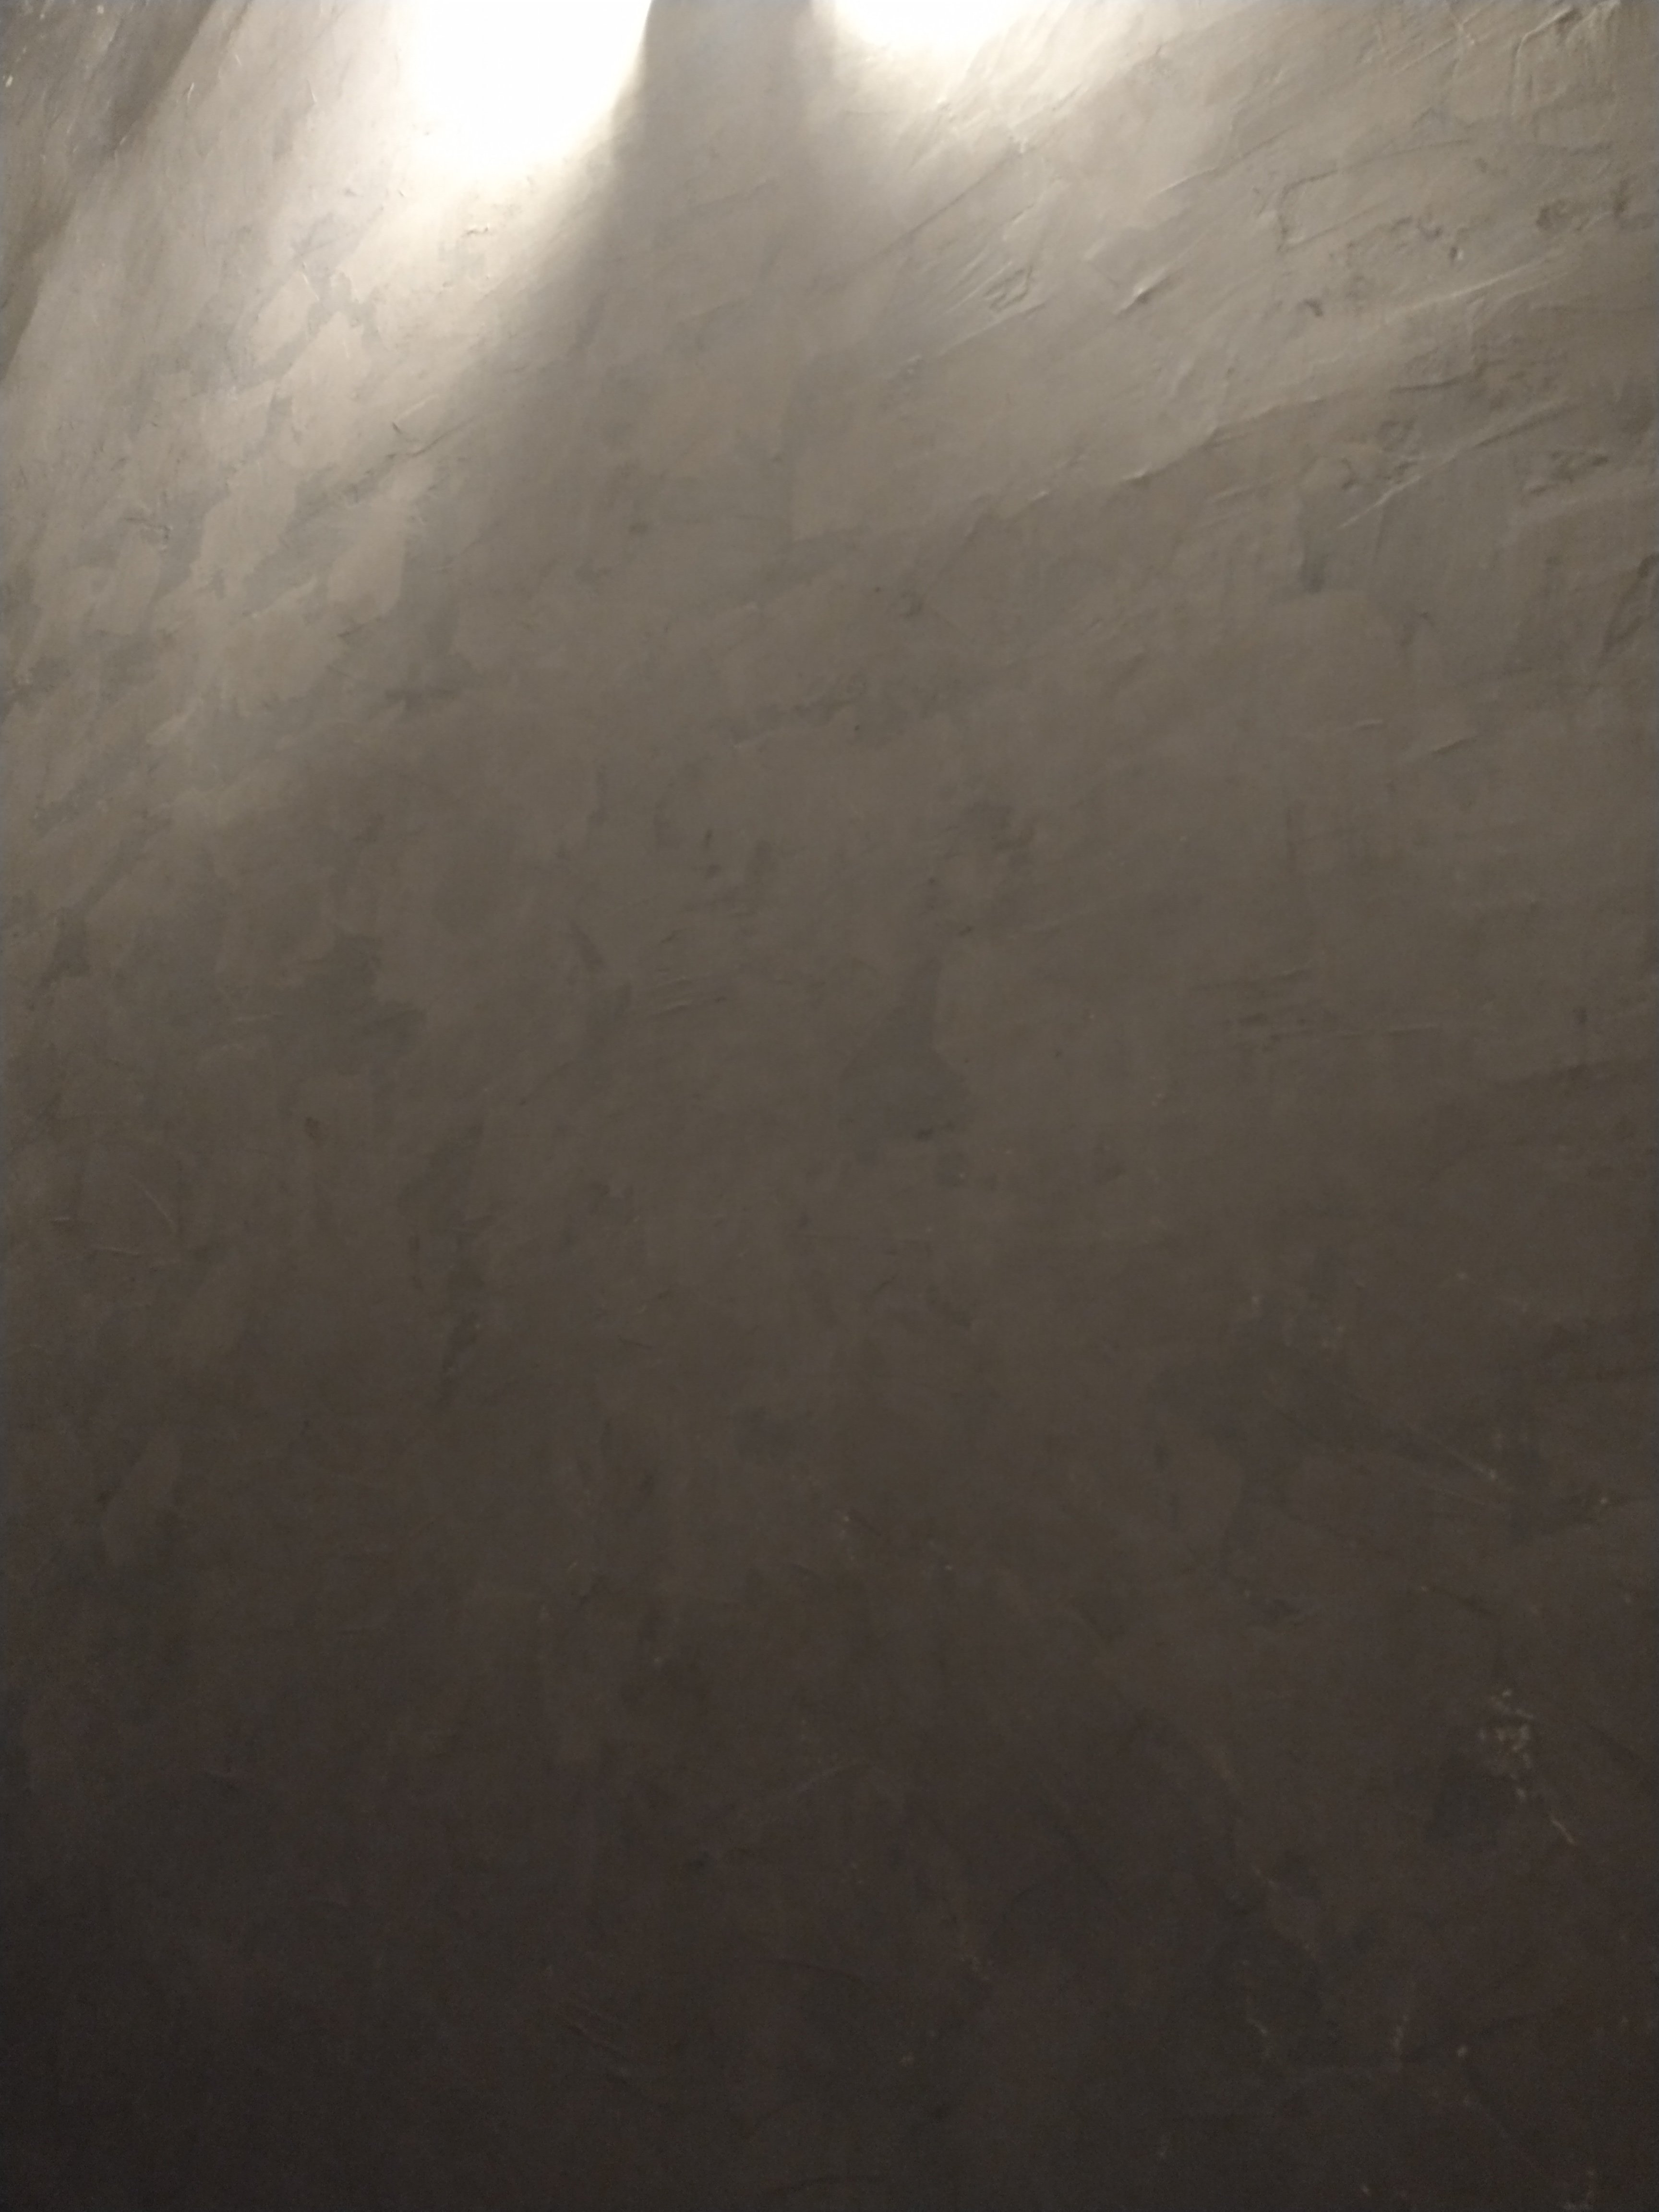
Plain white walls are for galleries… Give me warm, dramatic spaces at home. This was my first venetian plaster project, but definitely not the last. I am in love with the richness and texture and changing interplay of light and shadow on these walls. It is a lot of work, but worth it! If you have flat drywall, it will bring some of the warmth of plaster walls, and if you have plaster walls like ours, embrace the variations in your wall surface rather than trying to create a perfectly flat surface.
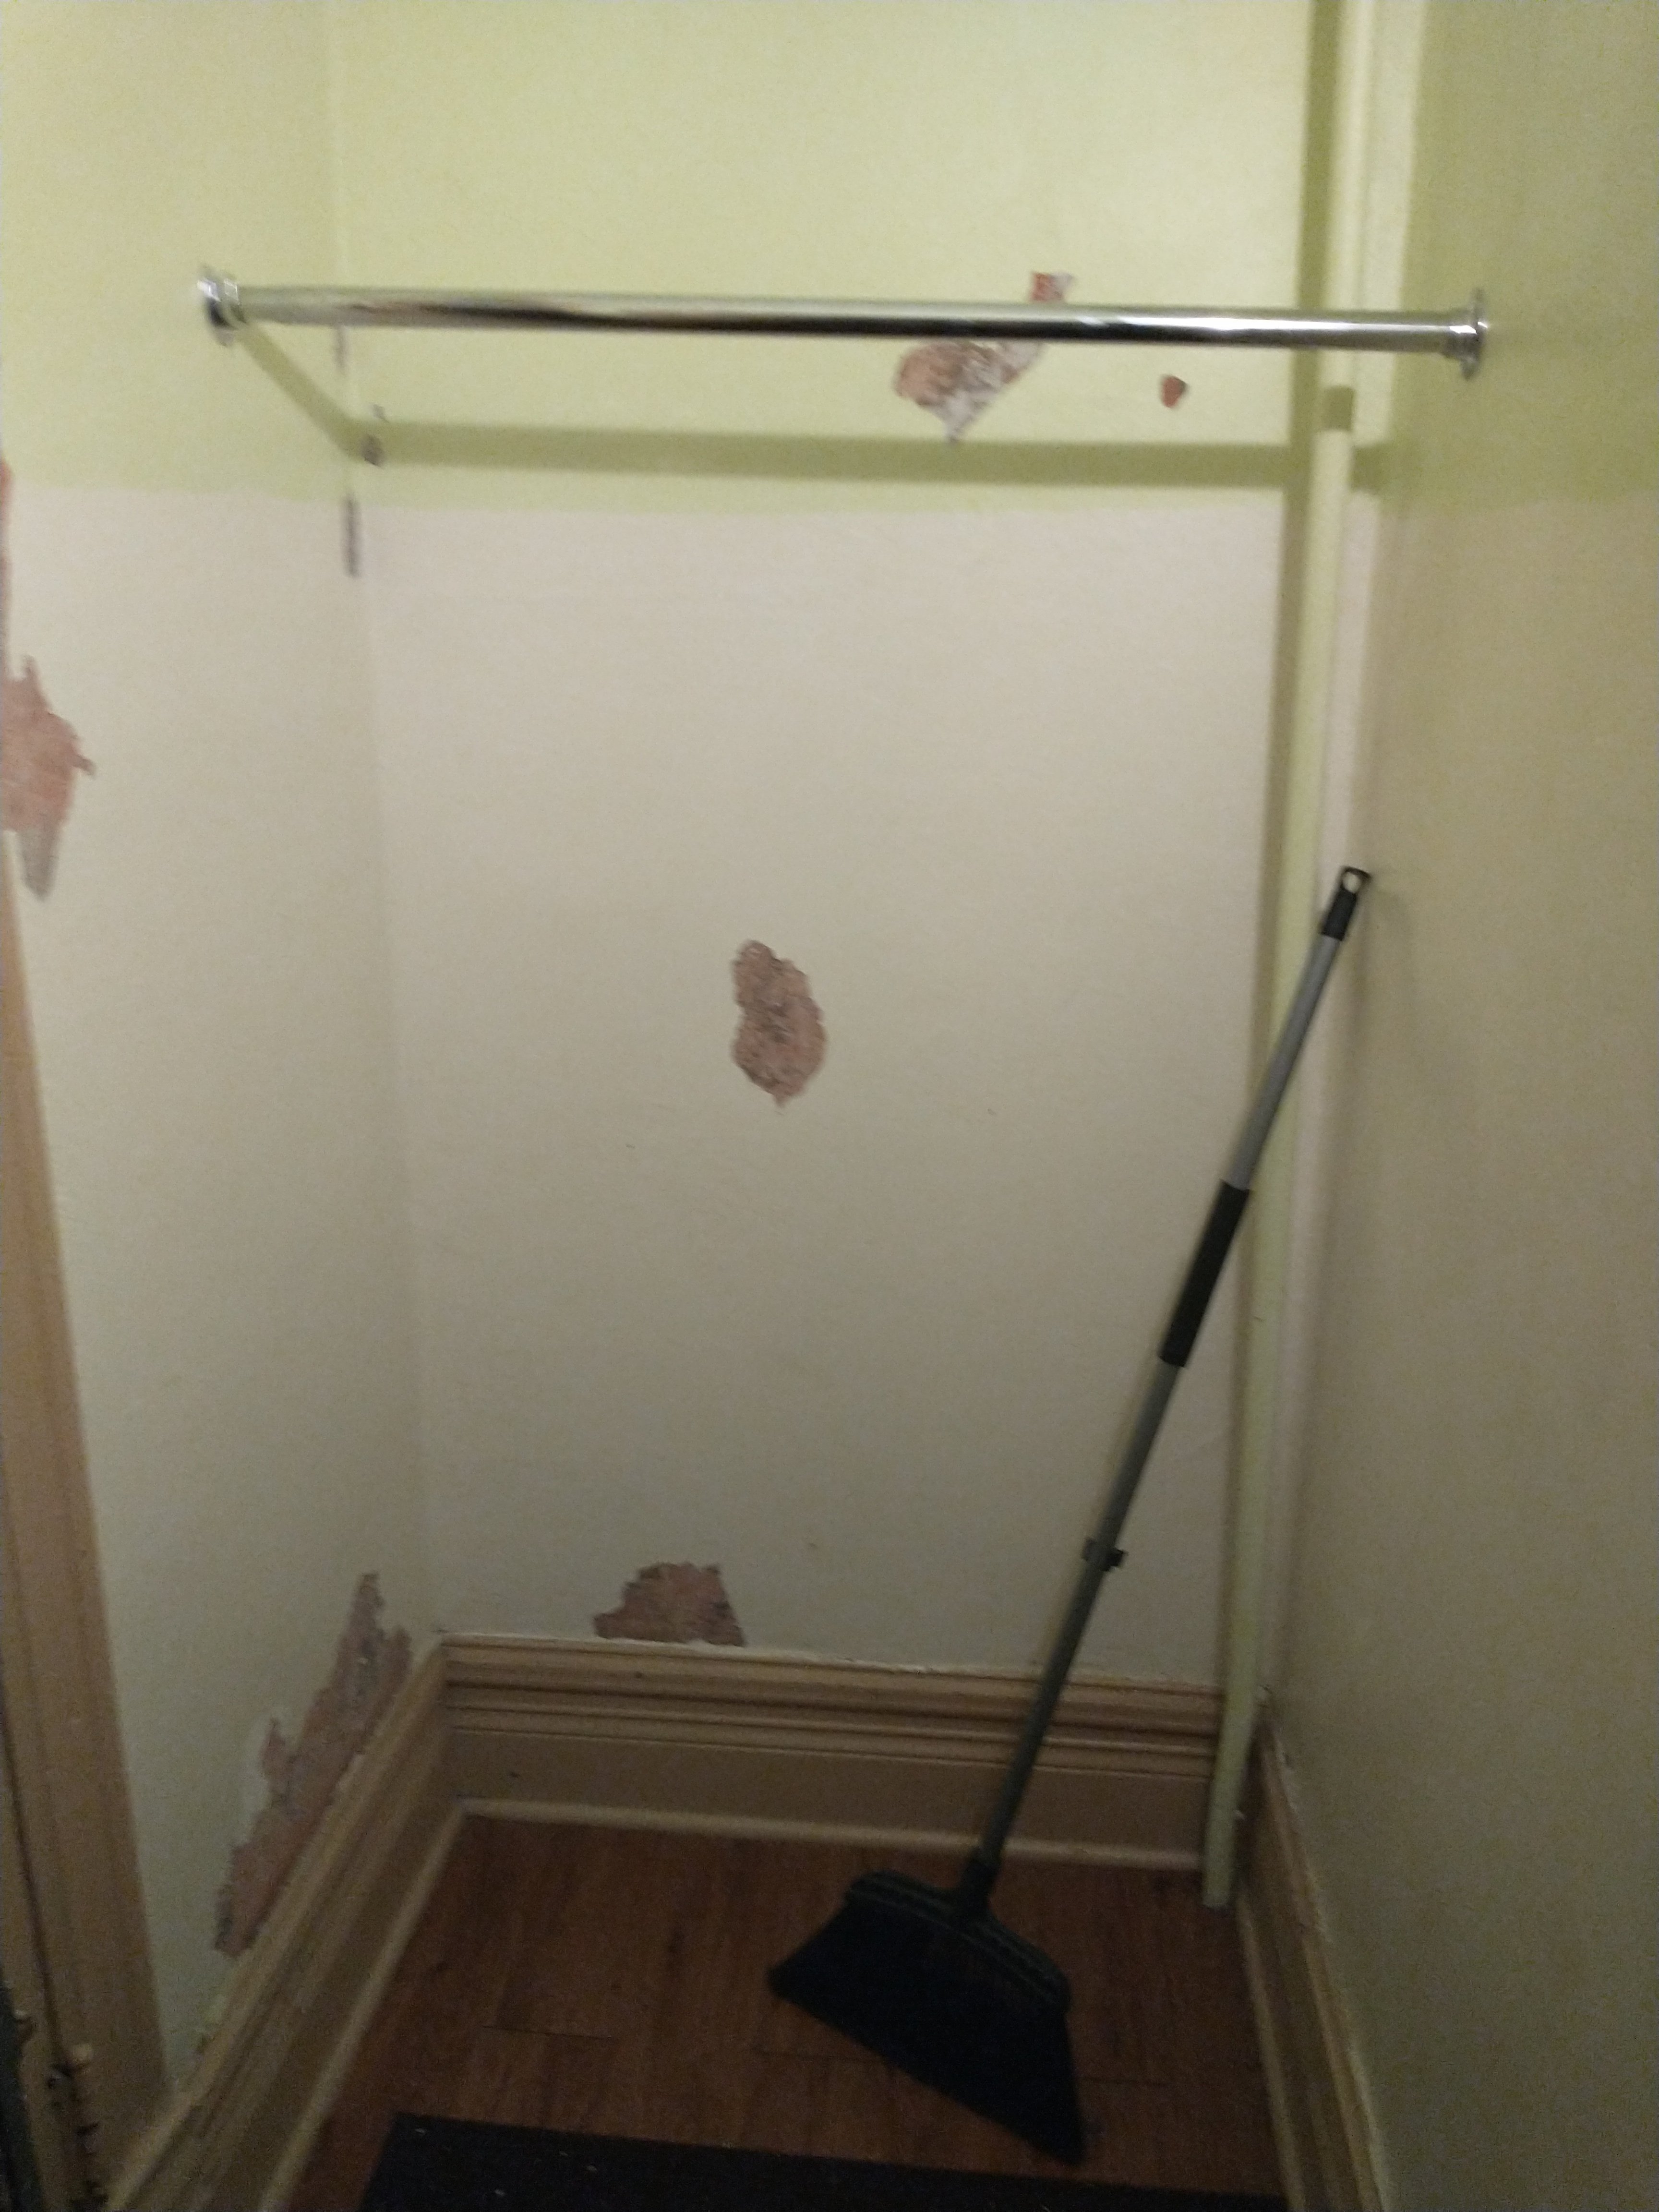
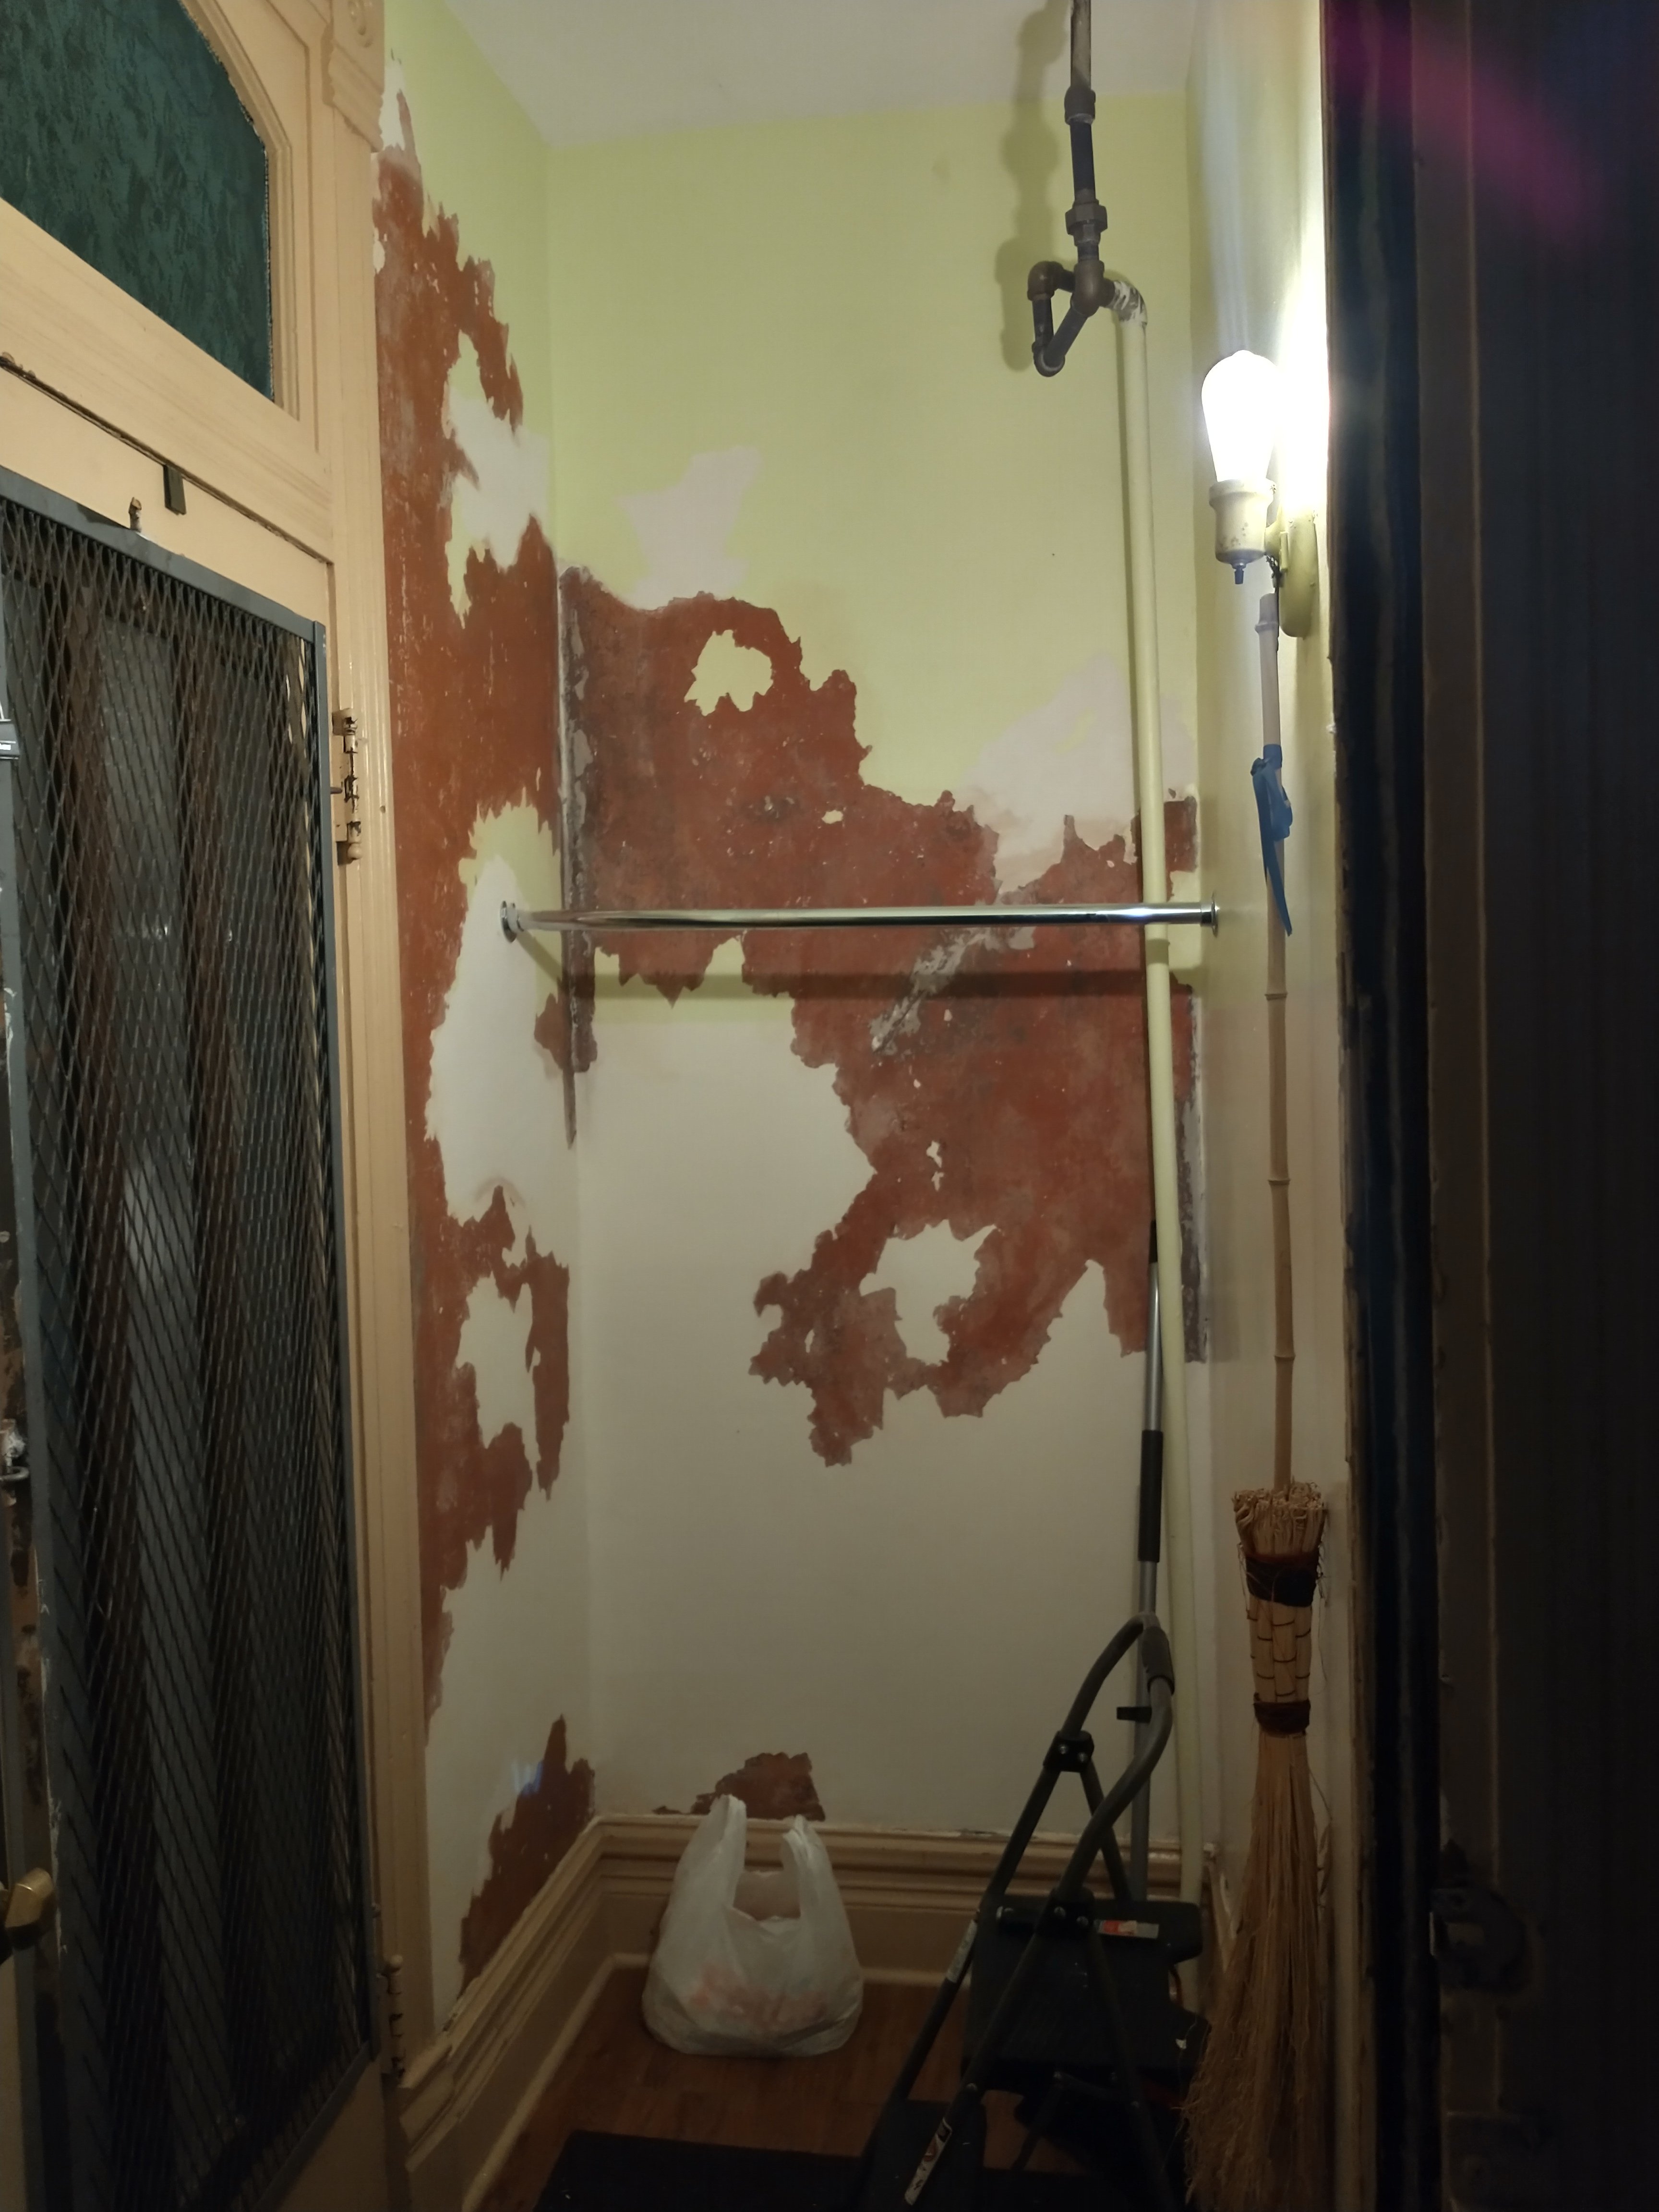
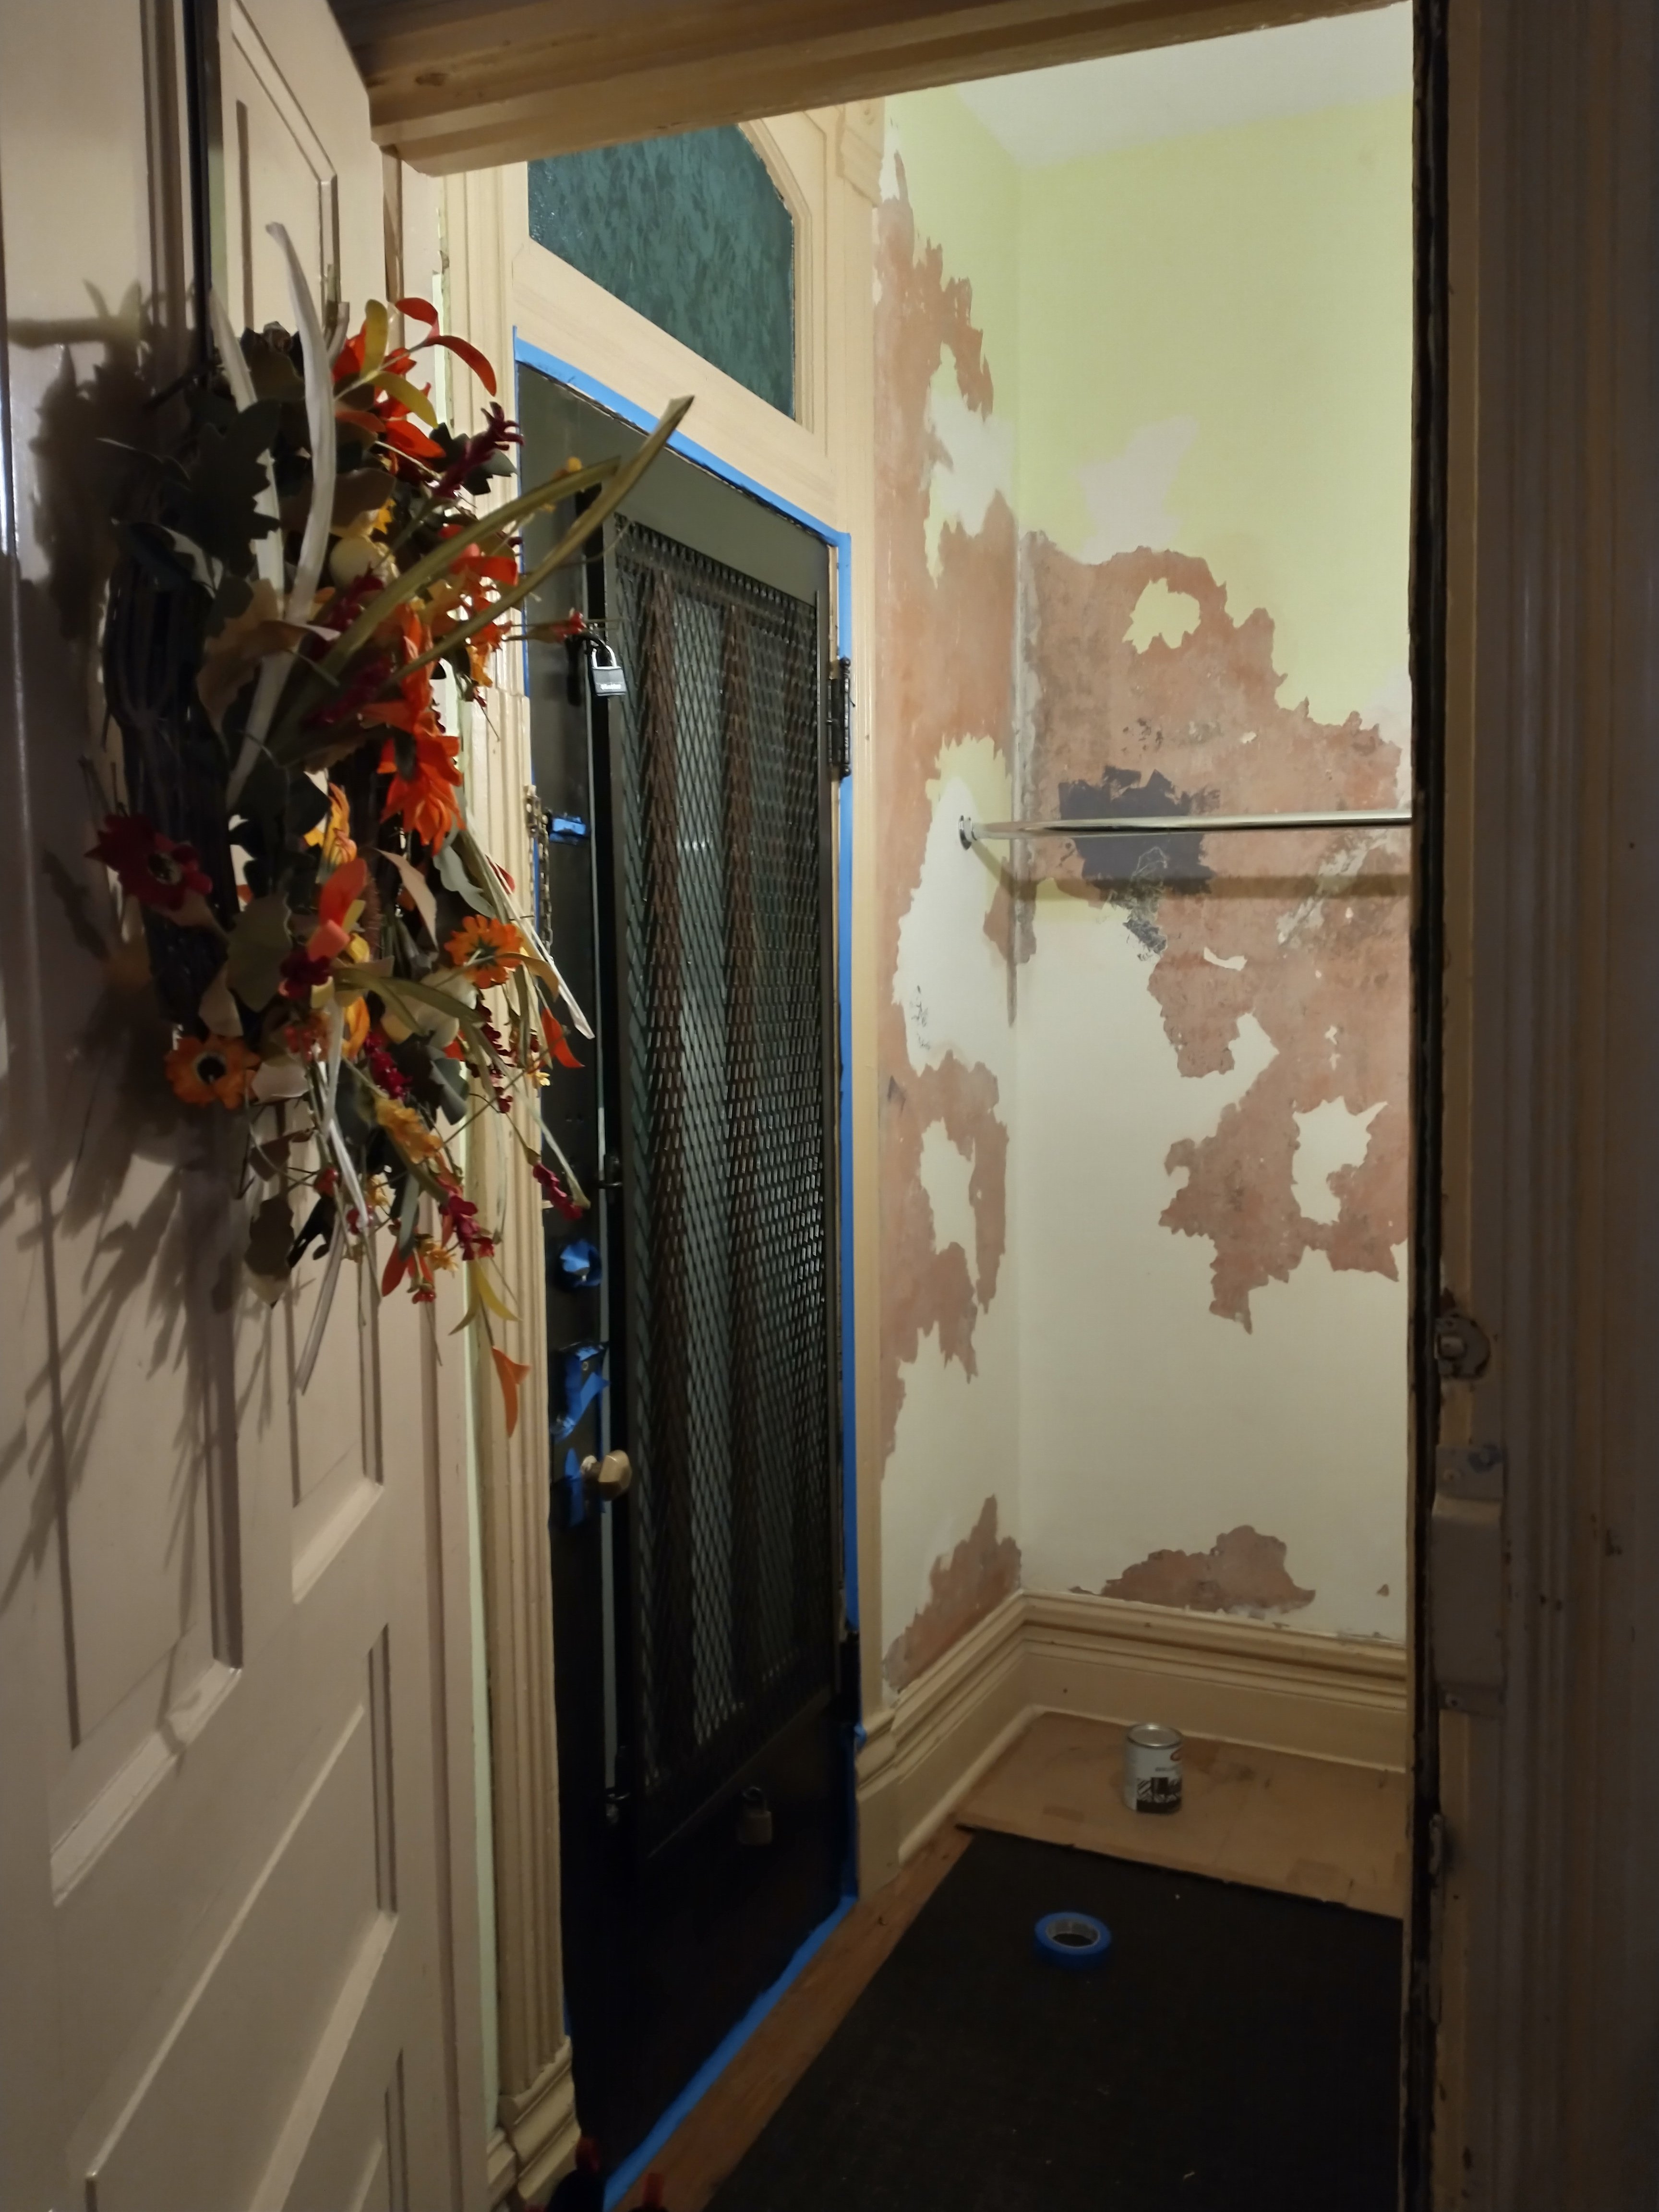
The finish is hand-troweled in at least two coats onto the wall surface with a wide drywall trowel (I use a couple different widths for a more varied effect, and to help when working around trim and tight spaces). You’ll want a drywall mud tray or plaster hawk, as you need to periodically scrape the built up finish from the trowel surface. The first coat goes on thinly- don’t try to cover the whole surface. Like any paint project, you need to start with a sound surface, so scrape, scrub, and spackle as needed, but don’t worry about small pinholes- the finish is thick and will easily cover small tack holes. Larger holes should be repaired and given time to dry, and secure any loose plaster with buttons and mesh as needed. Tape off trim unless you have a very steady hand (and even then, drips happen- easier to tape than to try to scrape them off later). Protect the floors with a dropcloth, builder’s paper, or a large sheet of cardboard that you move with you as you work.
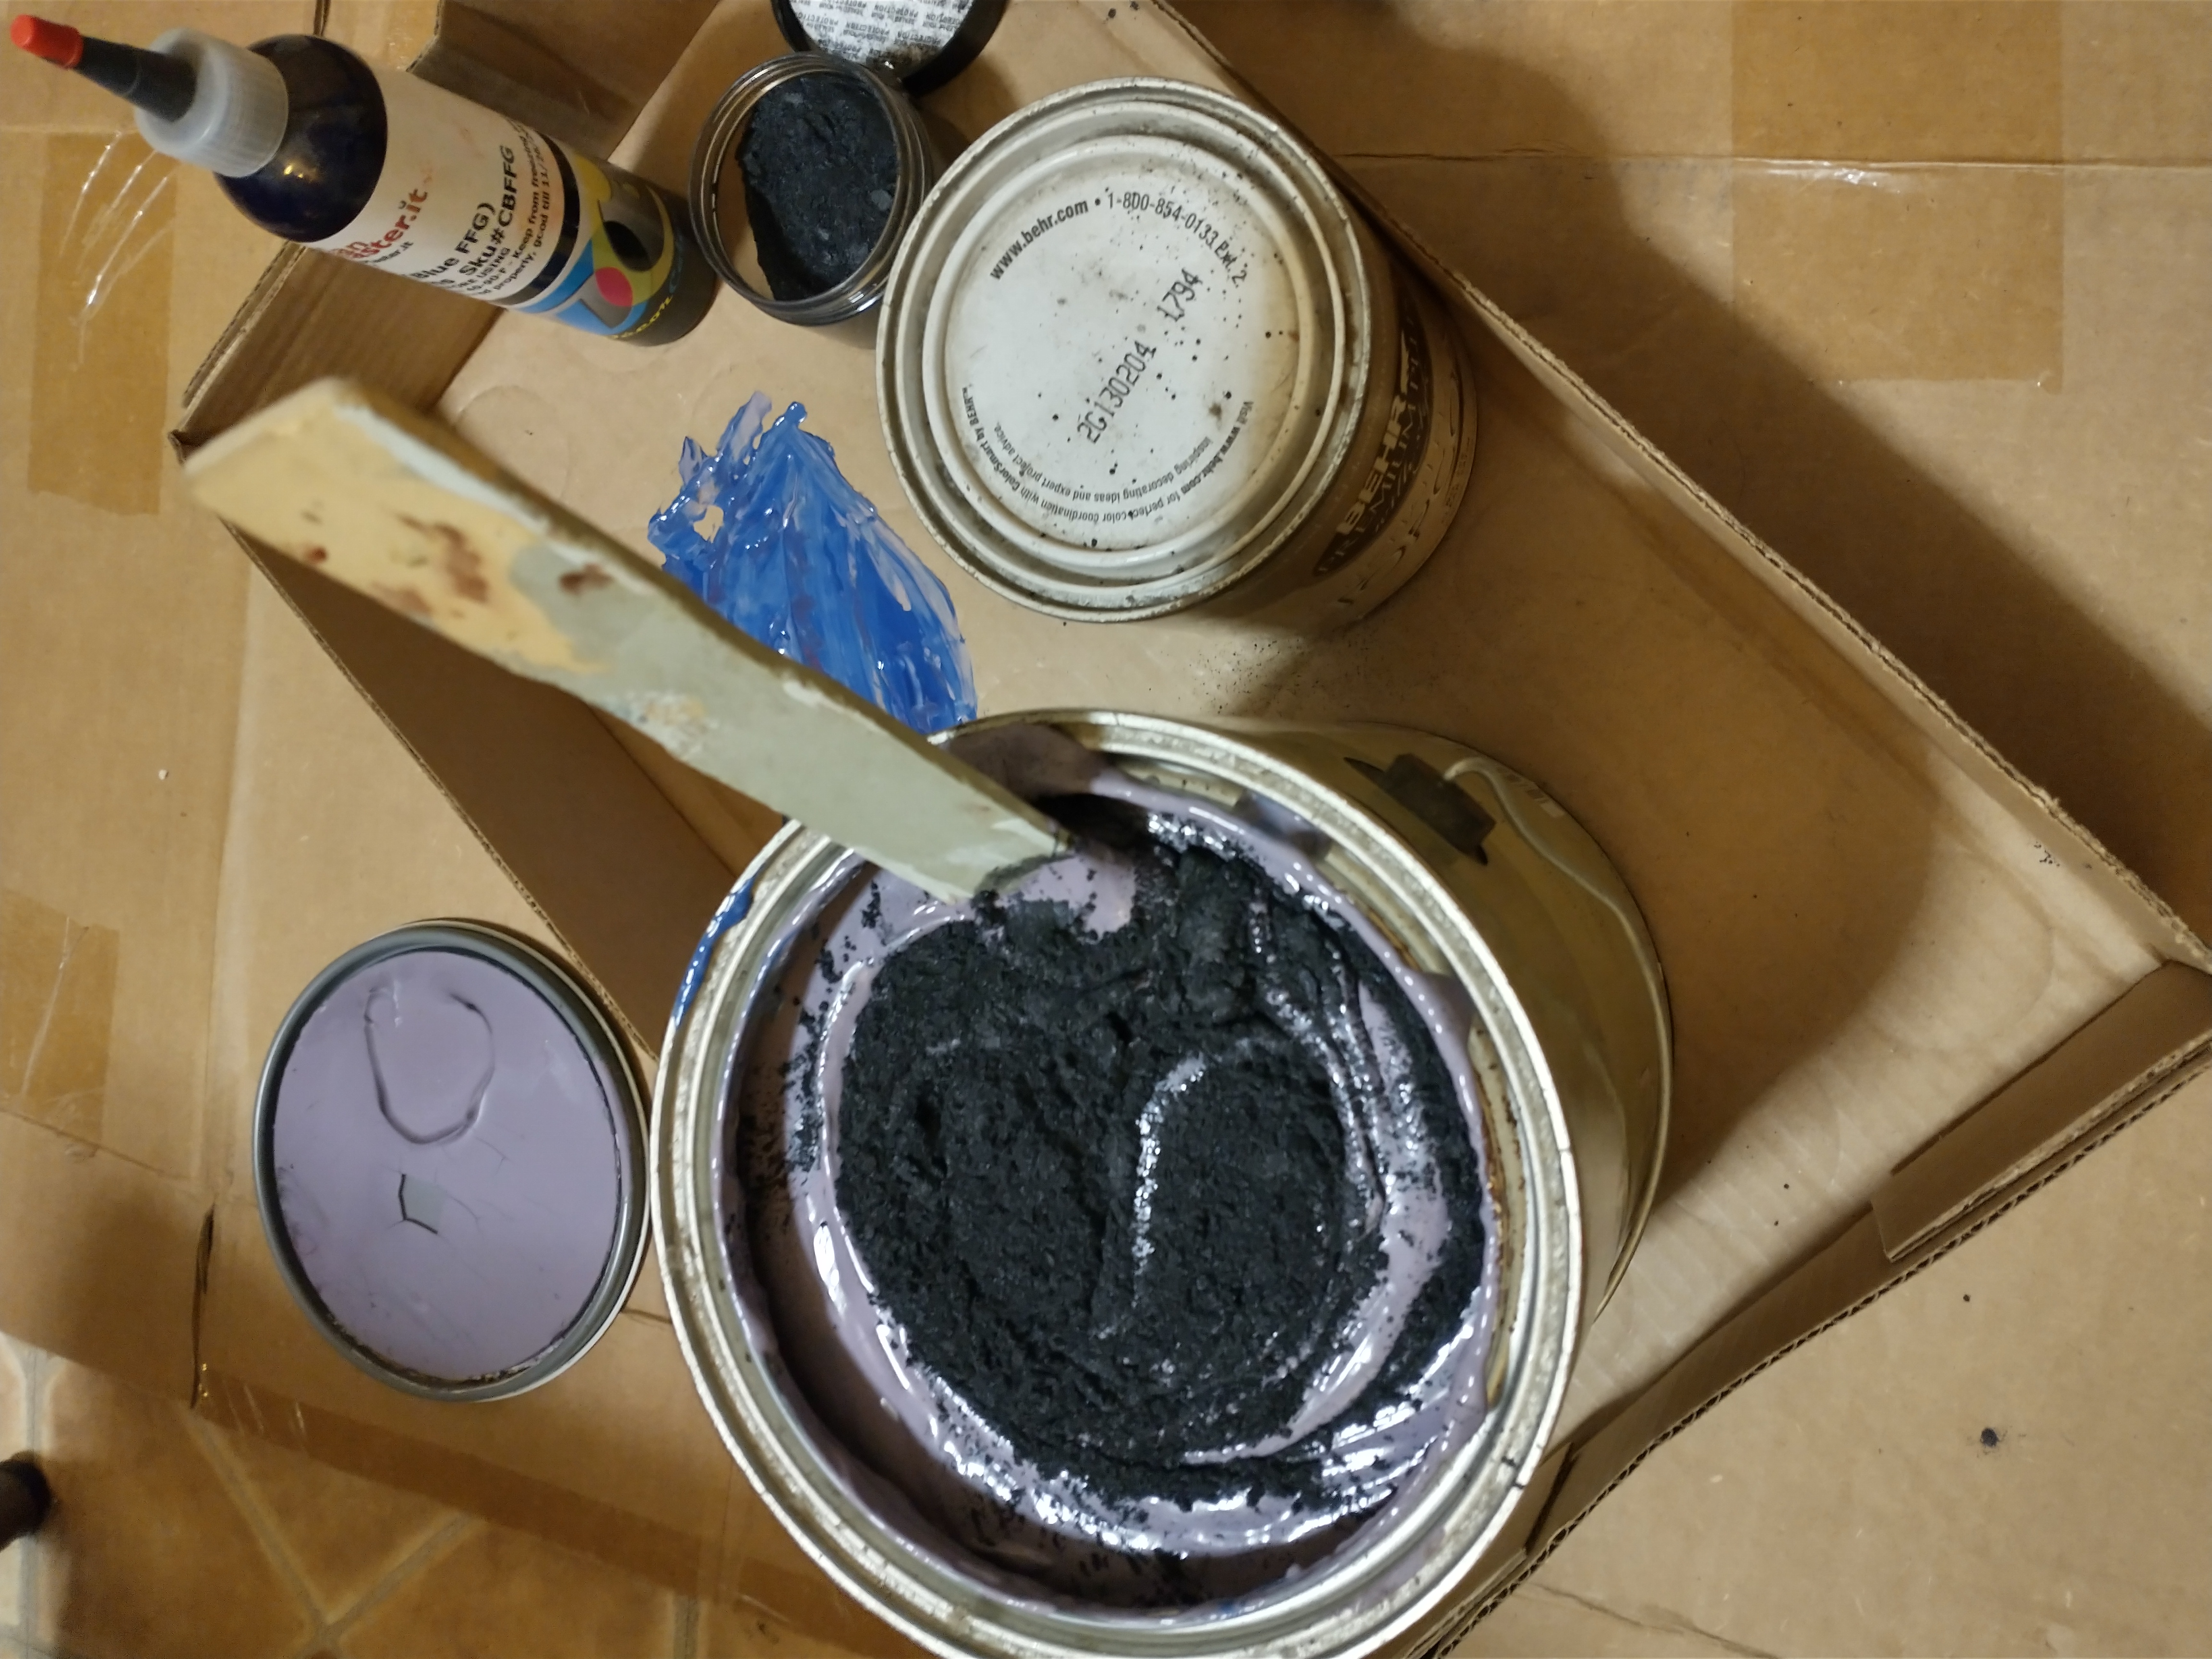
Then the fun part! Go back over the surface, reworking and covering the bare spots with more layers, varying the angle of application and size of trowel if you want a more mottled effect. I experiment with adding tint to the plaster and mica powders to the trowel to really add depth. Let the surface dry between coats (probably not a problem- it’s a time-consuming process- this room took several days, spread out over a few weeks when I had time to work on it- a luxury of the synthetic product… real lime plaster with stone dust is a lot less forgiving).
Alewyfe Inn: Foyer