CHICKENS: The Alewyfe Ultimate Guide to Chicken Coop Waterers
- Read on to learn more about them in our guide to chicken coop waterers, and how to build the best chicken waterer for almost free!
- Common Types of Chicken Coop Waterers
- Advantages and Disadvantages of Each Style of Chicken Coop Waterer:
- Why did we choose bucket waterers for our chicken coop?
- How-To Build a Bomb-proof
- Bucket Chicken Coop Waterer
- for Your Flock
- Avoiding Winter Water Woes in your Coop
- Waterers for Baby Chicks and Pullets

Your chickens need clean, fresh water at all times to stay healthy, and choosing the right chicken coop waterer is one of the most basic challenges with good chicken husbandry.
We’ve got over a dozen years of city chicken keeping experience on top of our rural upbringing and have tried a lot of different options before coming up with our favorite chicken coop waterer, which is what we recommend for most backyard chicken keepers and other small flocks too. Finally, no more nasty waterers!
Read on to learn more about them in our guide to chicken coop waterers, and how to build the best chicken waterer for almost free!

Common Types of Chicken Coop Waterers
-
Open Tub or Water Dish
-
Vacuum Font-style Waterers
-
PVC Pipe with Cups or Poultry Nipples
-
Bucket Waterer with Cups or Poultry Nipples
Types of Poultry Nipples:
Vertical or Gravity-type Undermount Nipples:
Horizontal-mount Nipples with Spring:
Advantages and Disadvantages of Each Style of Chicken Coop Waterer:
1. Tub or dish:
Pro: Cheap or free, with no moving parts to freeze or break. If you get the heavy black rubber tubs, they freeze more slowly than other containers because they are insulated from the cold, and rubber or metal tubs don’t break easily when you knock the ice out of these chicken coop waterers. You can put them on a heated base if they’re made of metal, rubber, or heavy ceramic. Avoid plastic dishes which get brittle in the sun and crack easily when frozen.
Con: POOP SOUP. Your chickens will make a mess in here as soon as you put it out. If the container isn’t very large, they can spill it, and baby chicks can fall in and drown. They will kick bedding in even if it’s elevated on a block and generally make a mess, and can get sick from contaminated water if you aren’t diligent about keeping it clean.
2. Vacuum Font-style Waterer:
Pro: The vacuum font chicken coop waterers can be cleaner than a dish and are available in different sizes to suit different size flocks. The metal ones can be used on a heated base to keep from freezing. Easy for young chicks to learn how to use, though you may still want to put marbles or pebbles in the base to keep very tiny chicks from falling in. Common and easy to find at most farm and pet supply stores.
Con: Metal ones will rust, and glass or plastic ones will crack if they freeze when full. Chickens and other animals can knock these over and kick dirty bedding in or poop in them, even if they’re elevated on a block. They’re better than a dish, but not by much. If chicks knock this over in their brooder, it’s a big mess and they can get chilled (ask me how I know- luckily our dog came in to let us know immediately that the babies were screaming and could we please fix it? before they got too cold).
3. PVC Pipe with Cups or Poultry Nipples
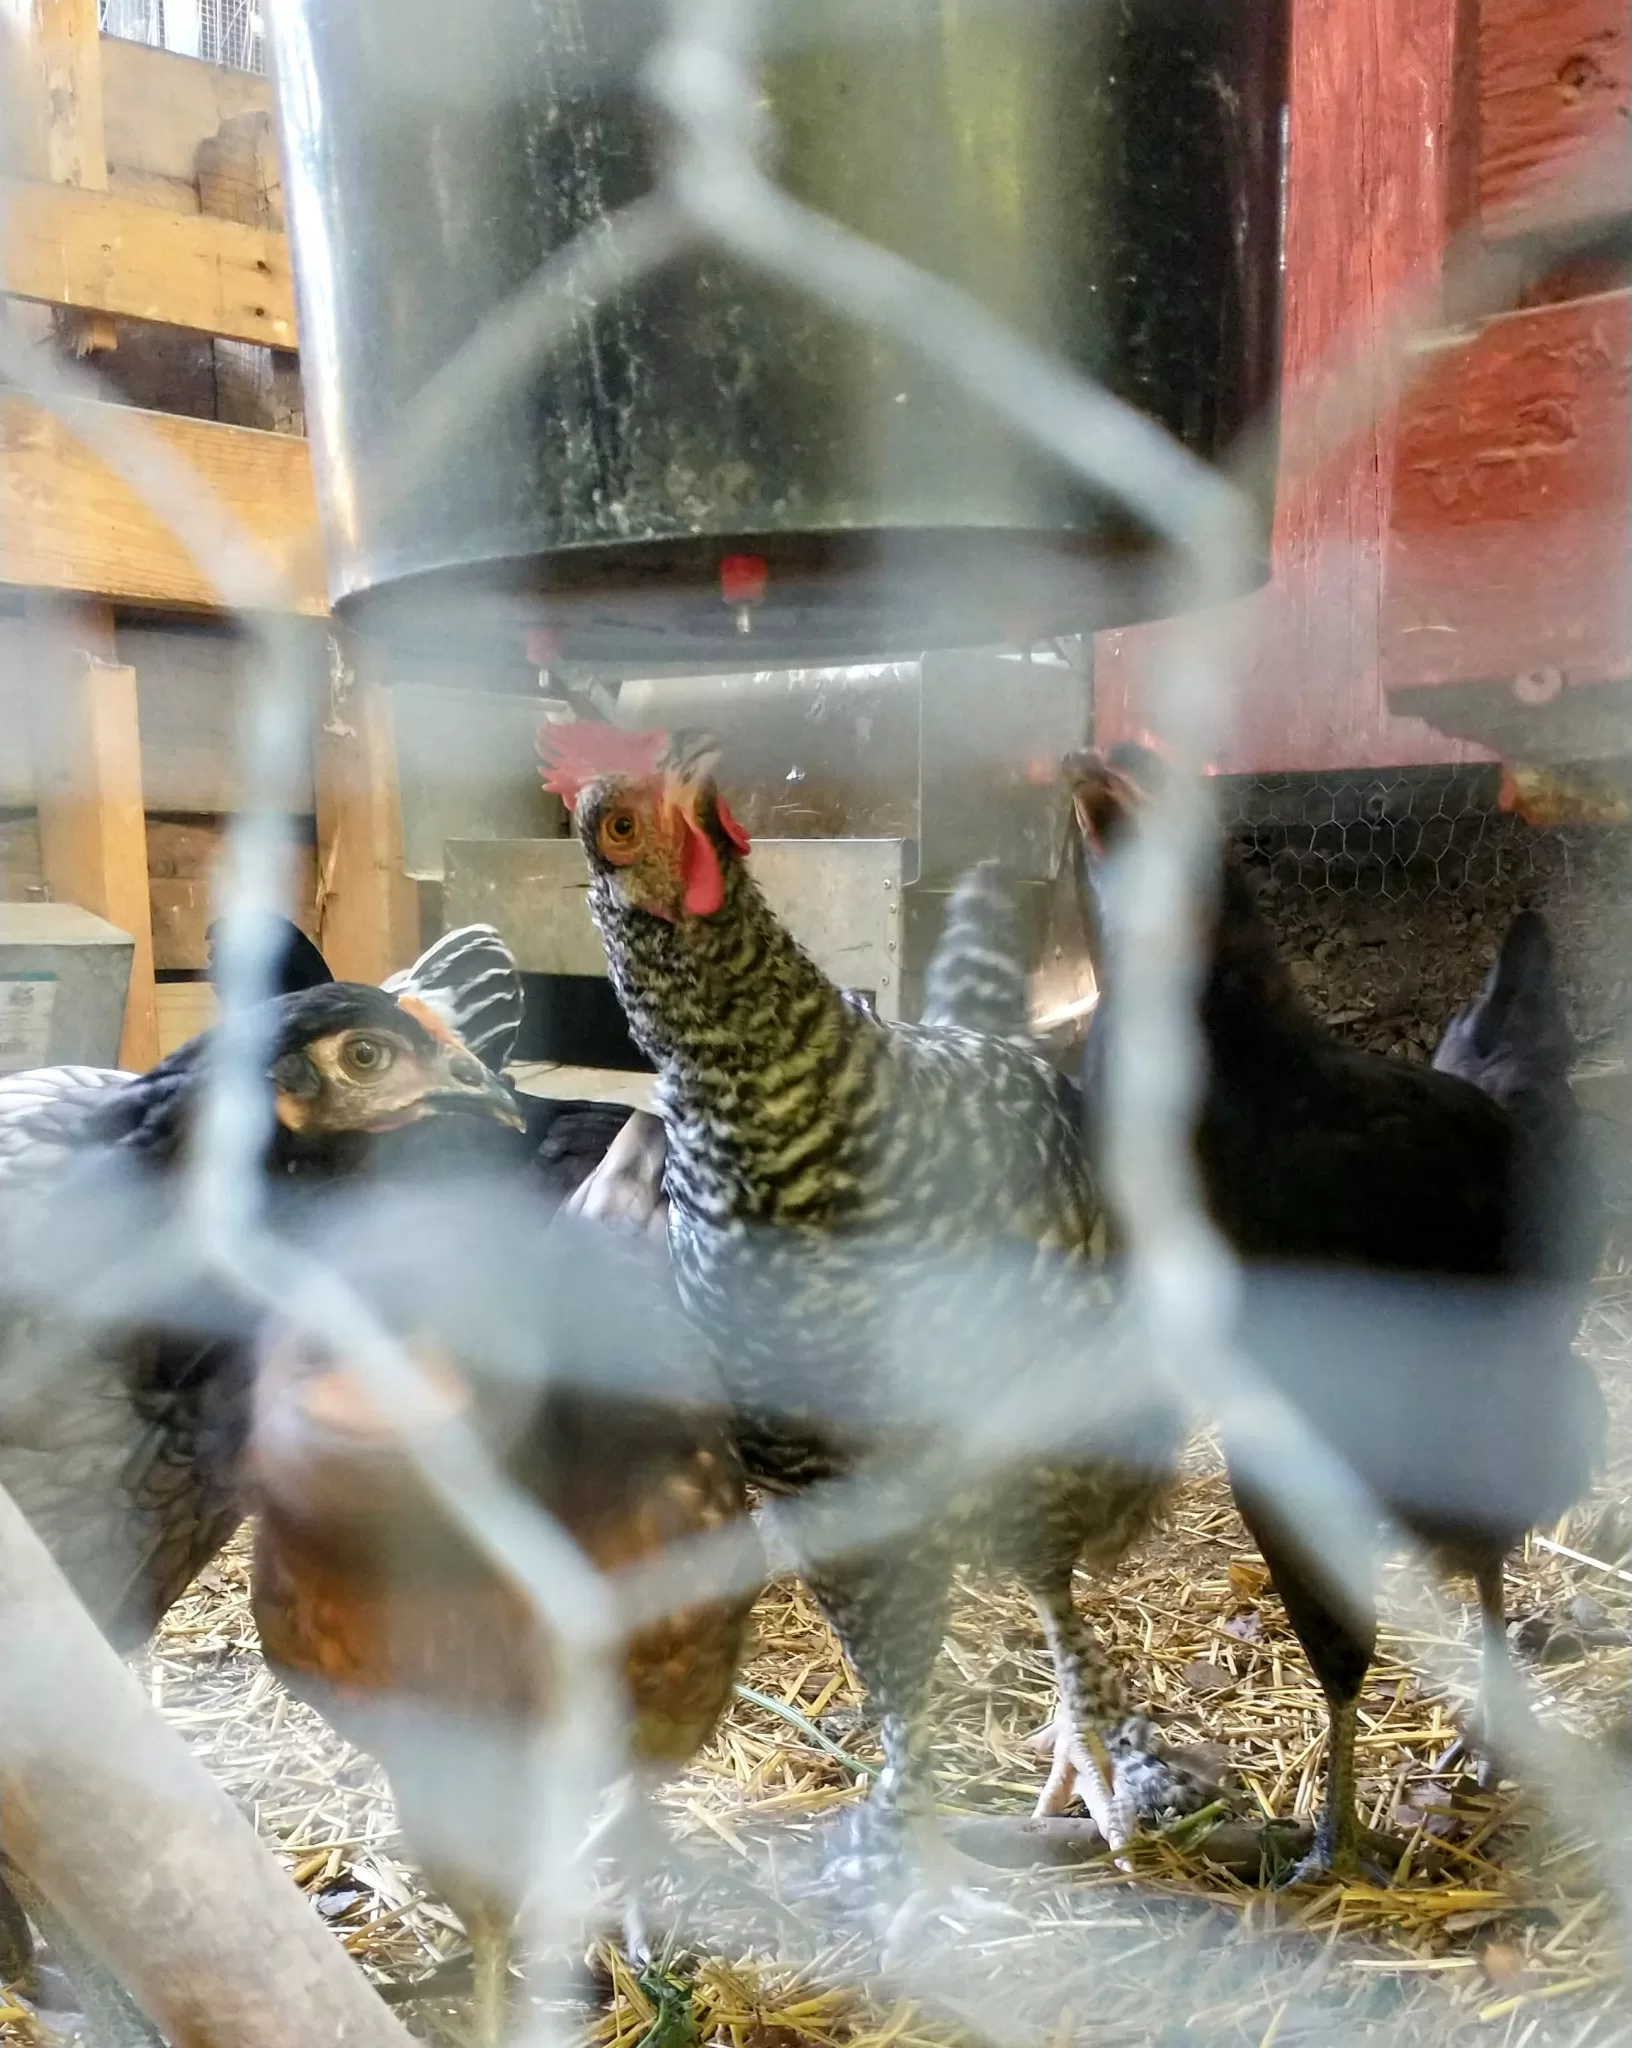
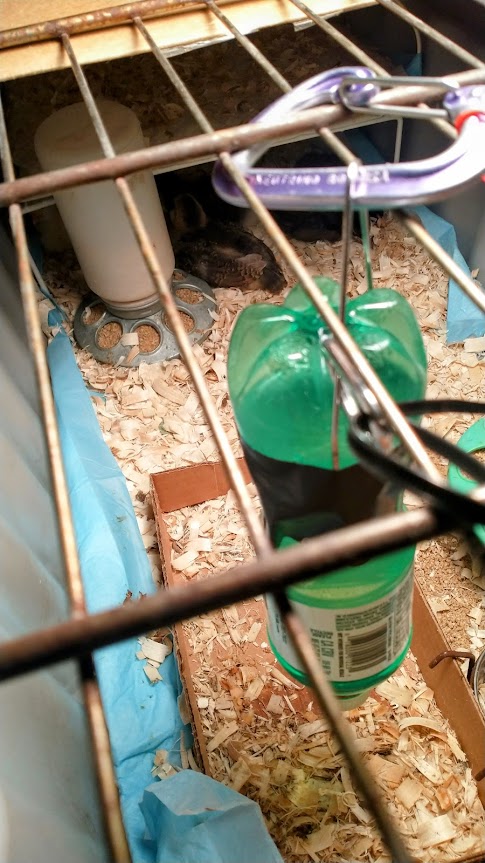
4. Bucket Waterer
Pro: Convenient, inexpensive, easy to DIY, see other reasons listed below! If you use the horizontal nipples with a gasket and inside threading, you can use other thin-wall containers (like ice cream buckets or Costco-size mayo jugs) for smaller coops, broody coops & brooders, and isolation pens.
Con: Need to train birds to use them (once one bird learns, they’ll all follow but you want to make sure they all learn before you remove other waterers). Spring-style horizontal nipples drip less than vertical ones but are more prone to catastrophic failure (this hasn’t happened to us but we’ve read reviews of others where it has). Check the reviews for the supplier before purchasing and have back-up nipples on hand in case you need to replace one.
Why did we choose bucket waterers for our chicken coop?
 This style of chicken coop waterer combines the convenience of the PVC built-in waterer with the durability, portability, and cheapness of the open tub or font style. It doesn’t require power or running water to the coop, is off-grid friendly but looks good enough for a city coop. Food-grade buckets are cheap (or free! Bakeries and delis often have extras that they will give you if you’re willing to wash out icing or don’t care that it smells like dill pickles) and the HDPE plastic is much more inert and durable for outdoor use. Ours has frozen solid many times without cracking… they’re really tough!
But the best reason, both for your birds’ health and your sanity… No more poop soup!
How-To Build a Bomb-proof
Bucket Chicken Coop Waterer
for Your Flock
1) Drill It!
Take your a 3 or 5 gallon bucket, drill holes in the bottom for the vertical or the sides near the bottom for the horizontal style nipples (horizontal can sit on a shelf or cinder block, vertical needs to be hung from a chain in the coop). The packaging that comes with your poultry nipples should tell you what size drill bit to use. When in doubt, choose a bit just smaller than the inner threading, but not so small that the plastic will crack when you thread the nipple in the hole.
2) Seal It!
You’ll want to use some plumber’s tape on the threads of the nipples when you screw them in so they’re less likely to leak. Fill it with water and check for leaks… adjust the threading if needed, add more tape, or some food-safe silicone caulking, though that shouldn’t be necessary! If you do use caulk, make sure the surface is dry and has time to fully cure before refilling with water, and get aquarium-safe or food-grade sealant (regular silicone caulk from the hardware store may have additives that are toxic).
If you’re using a thin-wall container and horizontal nipples, add the silicone or rubber gaskets and thread on the back/inside fitting until it is just finger-tight (don’t over-tighten or you may crack your container).
3) Hang It!
There’s a chain with s-hooks or a carabiner going from the rafters of our covered run through the wire handle of the bucket to hang it, or you can use a sturdy hook from the ceiling, on the wall of your coop, or from a sturdy fence post, as long as the waterer has enough space to hang freely and level and the hook is sturdy enough to support the weight of the bucket full of water (water weighs eight lbs. per gallon, so your hook needs to be able to support 30-40 lbs for a five gallon waterer). Heavy-duty closet bar support brackets work well for hanging these, or *very* sturdy plant hooks. You want to make sure it’s strong because a falling bucket full of water could seriously injure your birds!
Make sure your birds can easily reach the nipples underneath or on the side. 18-24″ of clearance from the bedding is a good start but may depend on your birds. If you have a mixed flock you may want to mount buckets at multiple heights, or provide perches or blocks underneath for young birds or bantams to reach without straining.
4) Fill It!
We use a paint-bucket style lid with a pour spout hole on top so we can fill it with a hose or watering can (we use an OXO watering can with a skinny spout that is perfect for refilling these) instead of taking it down to refill it. You want to make sure the bucket has a lid to keep debris out and make sure it’s not a breeding ground for mosquitoes. The lid should fit tightly but not be completely sealed- air needs to get in at the top to let water out of the bottom, or it will form a vacuum and your birds won’t be able to drink. If you are using a tightly fitting lid, drill a few small holes in the top or one larger one covered with screen, or leave it open just a crack at the top.
5) Check and Clean It!
Check daily to make sure they have fresh water and top up as needed. Periodically clean out thoroughly to make sure algae and bacteria are not growing inside, especially if you use any additives in your water. We don’t put electrolytes in these, as the mixtures usually contain glucose and could gunk up the waterers or grow bacteria if they’re not cleaned out daily.
If you want to offer those supplements to your birds during hot weather or times of stress, a smaller nipple waterer made from a soda bottle, or a font-style drinker that you change daily works well. Livestock should always have plain water available when offering supplements, and your bucket waterers full of clean fresh water are the best way to make sure your flock stays hydrated.
Avoiding Winter Water Woes in your Coop
Waterers for Baby Chicks and Pullets
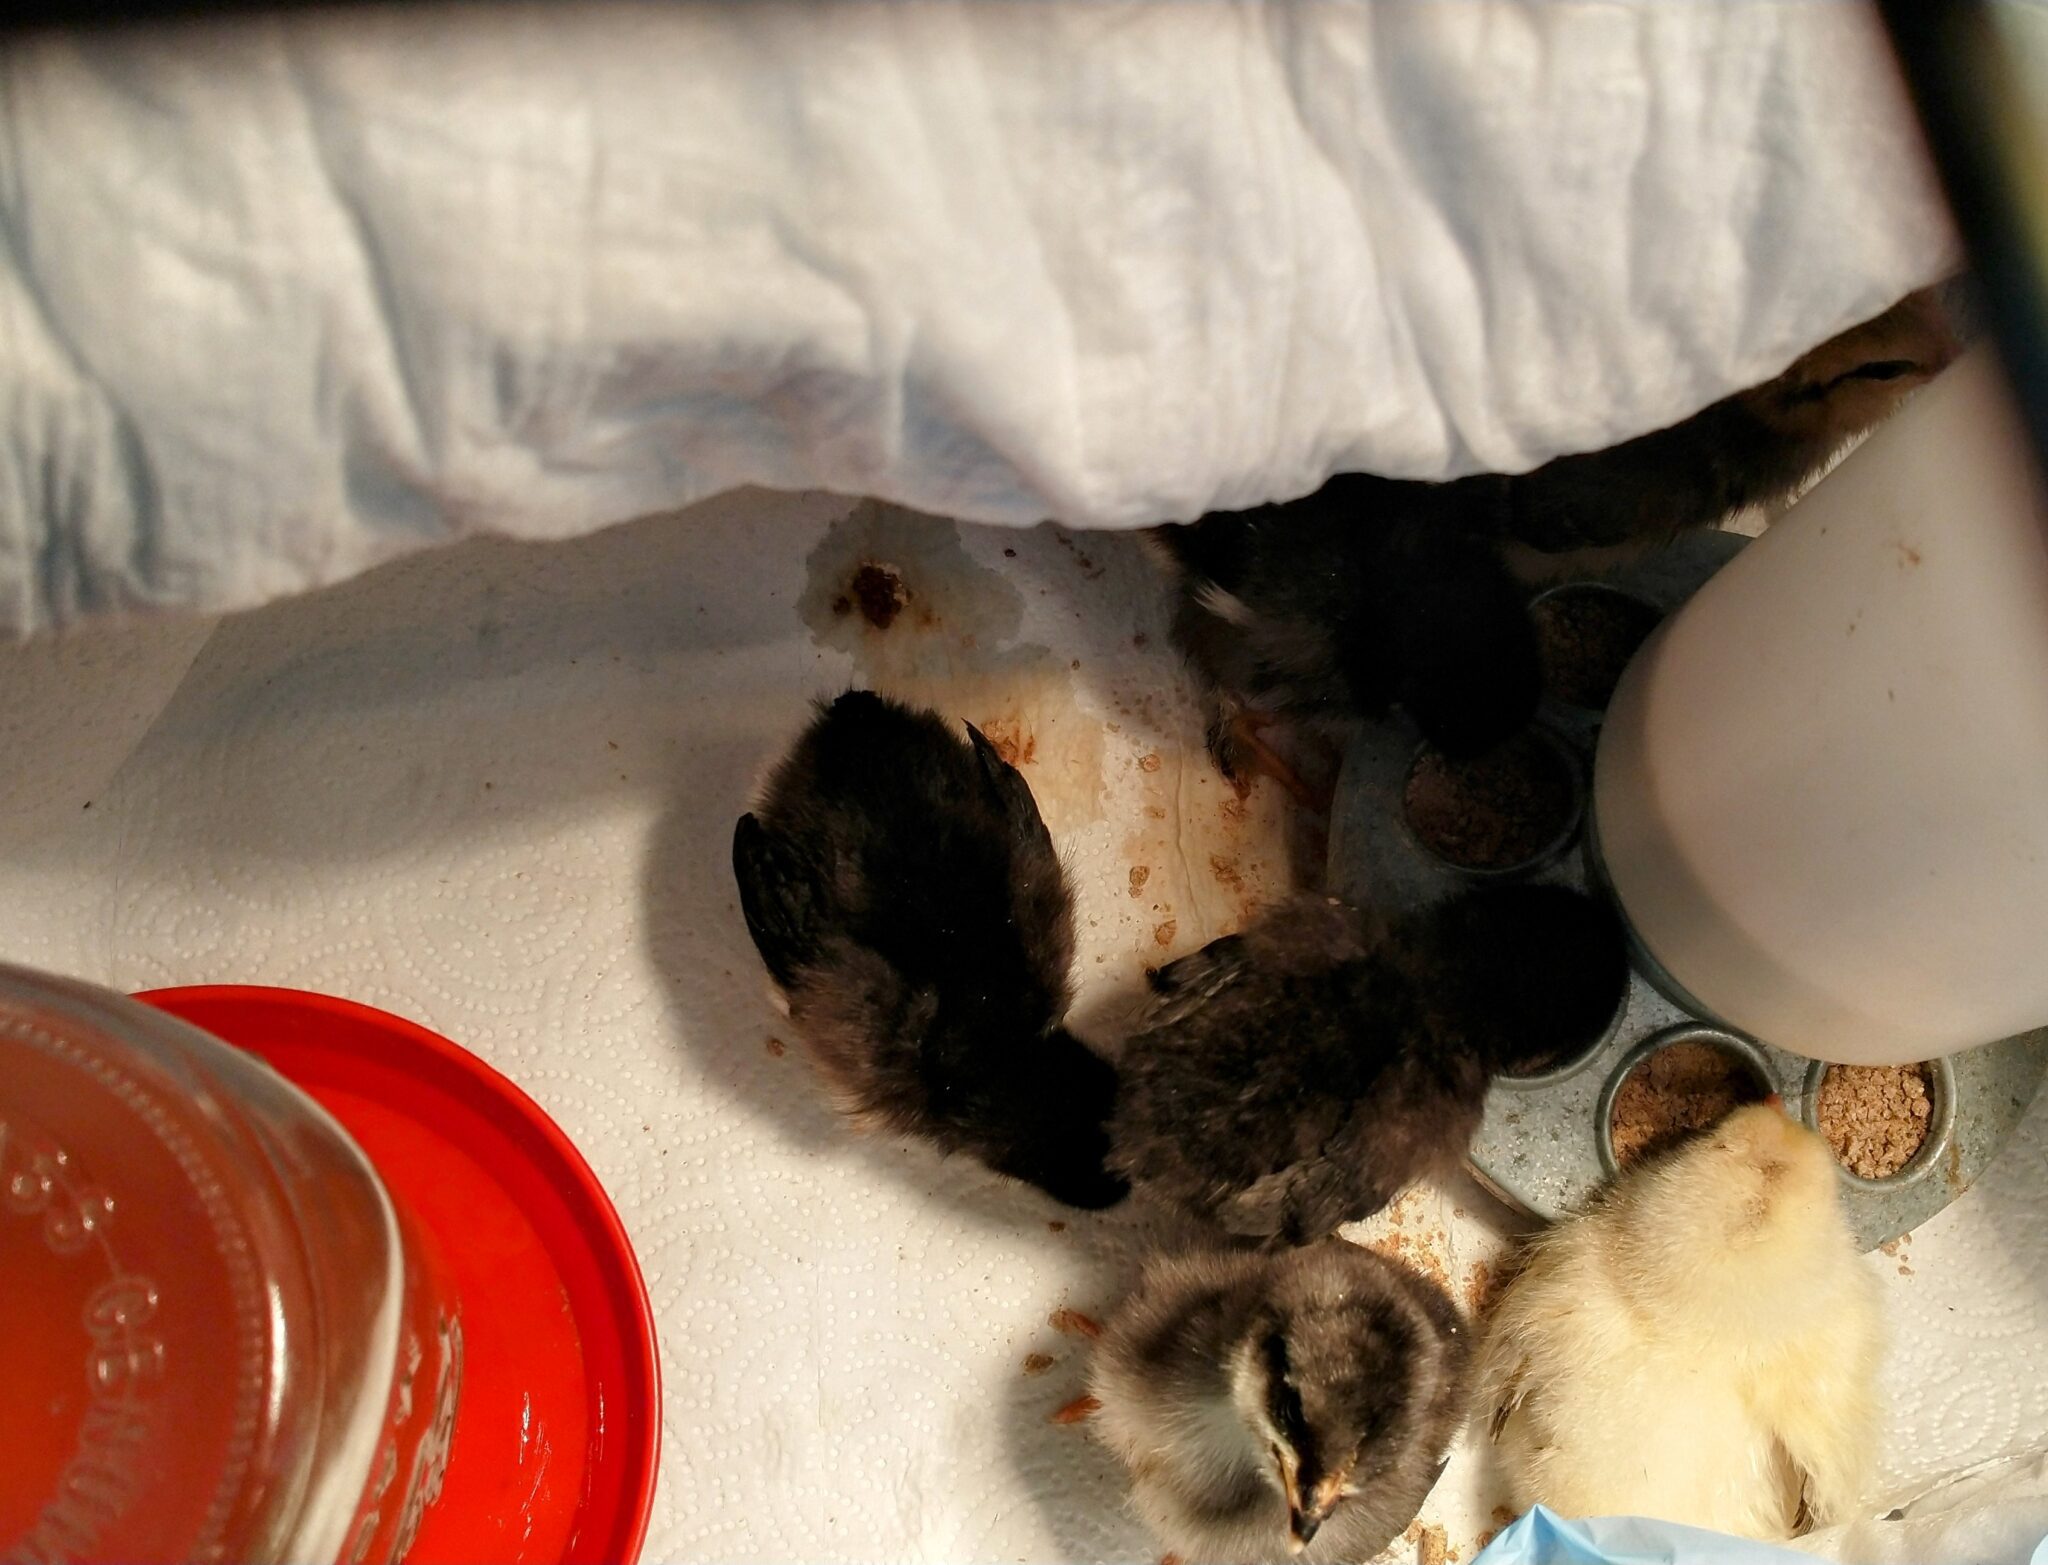
 maintenance. The horizontal nipples that mount in the side of a container have a spring instead of a gravity seal, and it’s almost impossible for baby chicks to drink from, and even our bigger pullets prefer the gravity nipples when we have both in their coops, until they’re at least old enough to go outside.