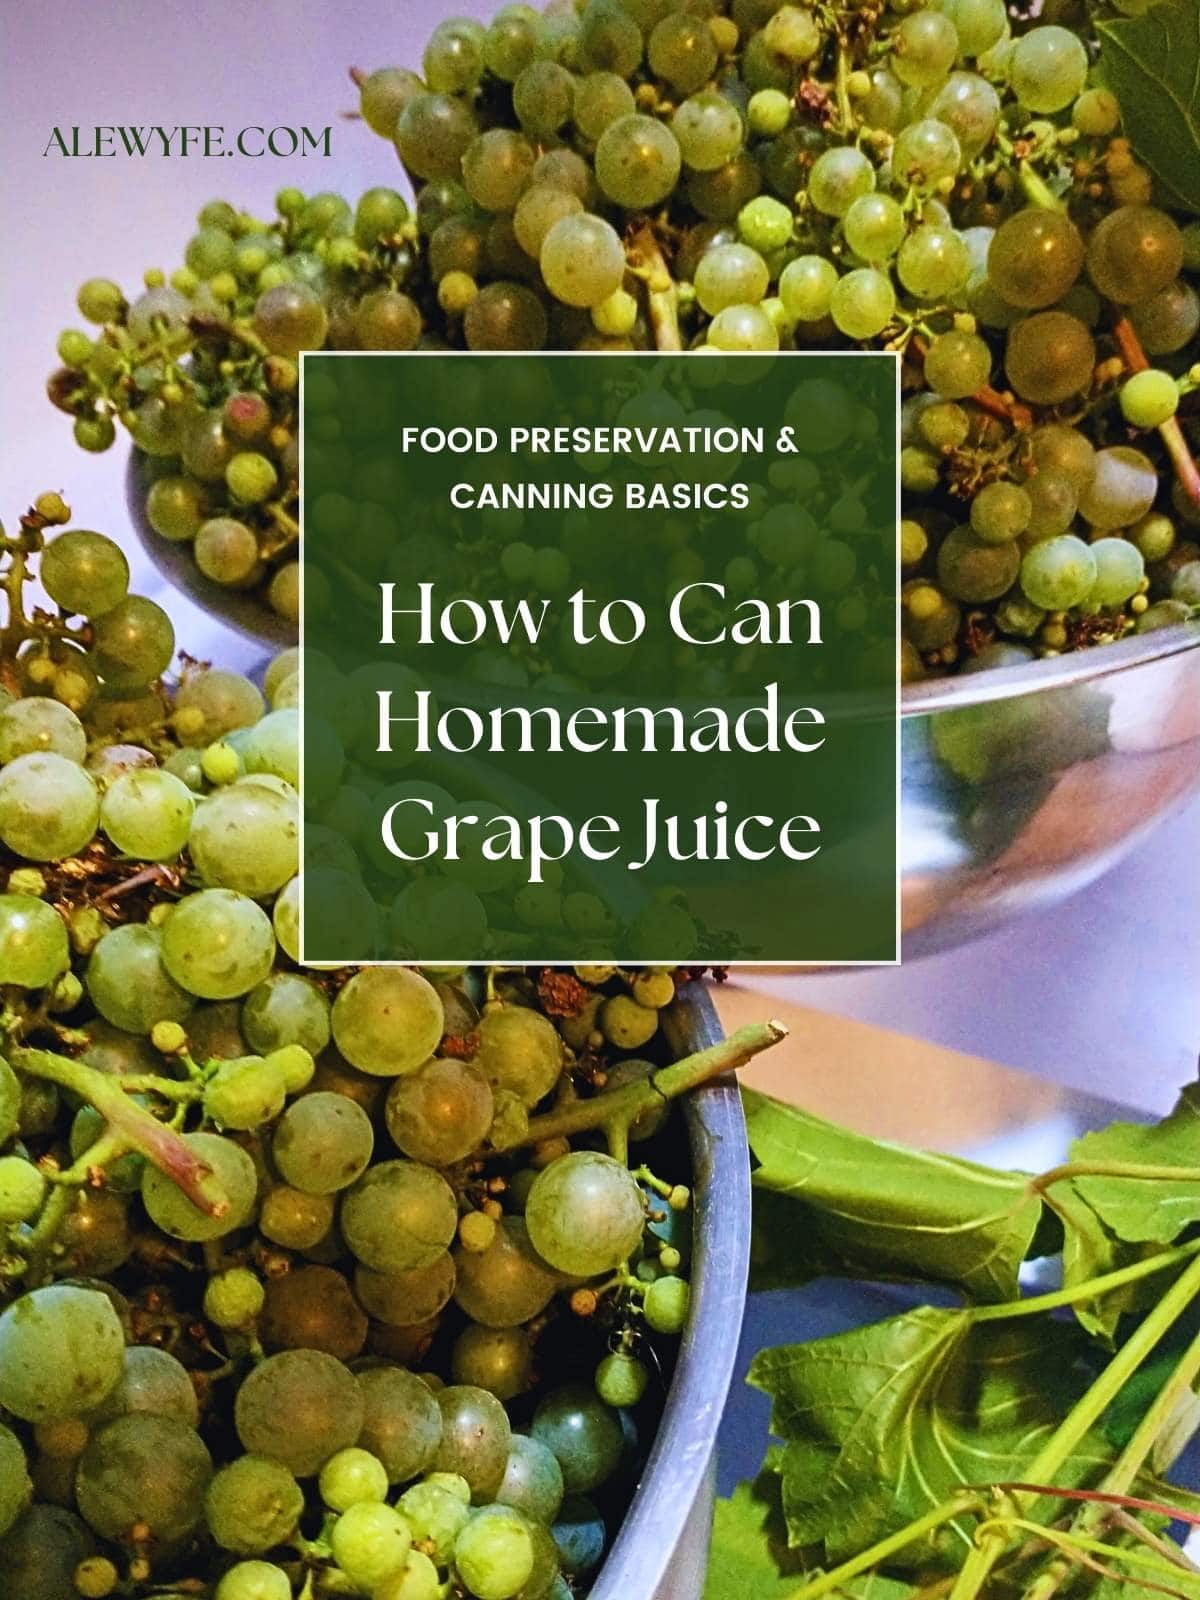
If you have a bumper crop of grapes, or just want to make your own juice from scratch, you can make and can your own homemade grape juice.
And best of all, you don’t need a juicer or a pressure canner! All you need is some basic kitchen equipment that you probably already have at home.
“But… I don’t have a juicer?” Me neither. You don’t need one, or a fruit press! You don’t need a pressure canner either… you can safely water bath can homemade grape juice, assuming you don’t just drink it all right away! Because grape juice is acidic, you can totally water bath process your grape juice safely and easily. You can even freeze it if you have room and can’t be bothered with the canning part.
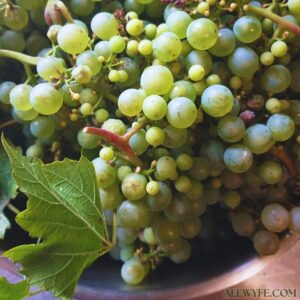
No joke, we had so many grapes this year from our grapevine. This was our first big harvest of white grapes from the garden off of the vine we planted a few years ago. We had a few fruits last year, but the birds got to them all before I could. Unfortunately, our Himrod “seedless” grapevine… wasn’t. The grapes are smaller than they should be, and quite seedy.
Maybe our plant died back below the graft while it was still potted up (and heeled in) that first winter before I planted it out? Maybe we got a bad cutting or a sport of the variety with small seeds? But no worries, all is not lost. While I’m a little disappointed that they’re not great fresh eating grapes, they’re tart and flavorful and will make great juice or jelly.
If you want to can your juice and don’t know what tools you’ll need to do that, take a look at our guide to basic canning tools. You probably already have everything you need (except maybe mason jars and new lids, if you aren’t already stocked up on canning supplies) in your kitchen!
Homemade Grape Juice Ingredients
Fresh or Frozen Grapes:
You need fresh grapes to juice, of course. If you don’t have time to process them right now, and you have space in your freezer, you can freeze your washed grapes for a while before juicing them. This may actually improve your juice yield, as the ice crystals that form in the frozen fruit pierce the cell walls and make it easier for the grapes to give up their juice!
Freezing your grapes also helps if you have a staggered grape harvest (or are trying to save store-bought grapes that are not getting eaten fast enough) or want to wait for a cooler day to make and can your juice.
Often the best weather for ripening fruit is the worst weather for canning and fruit processing… take advantage of any freezer space you might have and save this task for a cool day. It’s not hard, but why heat up your kitchen if you don’t have to!
You can use any type of grapes to make your juice, whether green, red, or black, seeded or seedless, wild or cultivated, even wine grapes. They’ll all have their own unique flavor and color, unlike the pretty ubiquitous red or white grape juice from the store (mostly Concord for the red or Niagra grapes for the white). Wild grapes make a very foxy juice on their own, and may need sugar to be palatable, but also make a great jelly.
Water:
You will want to add a little bit of water to the pot so that your grapes don’t scorch before they start releasing juice. Start with adding about one cup (8 fluid ounces) of water for every gallon of fresh grapes (that’s four quarts).
You can always dilute the juice further if it’s too strong, but it’s best to start with a minimal amount. It’s also usually better to can your juice in a concentrated form, so that you can dilute it later as needed if it’s too sweet. This way you will use less jars and lids, and take up less storage space in your pantry!
Sweetener:
You can can your fresh juice without any added sugar, but if your grapes are very tart (like ours were) you may want to sweeten them a bit. Use granulated white sugar or honey to taste, or another neutrally flavored sweetener of your choice.
If you use artificial sweeteners, do not use aspartame or saccharine based sweeteners, as they will either become bitter or lose their sweetness in the canning process (Splenda is ok). You can find more information about substituting sweeteners when canning in this article from the University of Michigan Extension office.
Variation: How to Make Cran-Grape Juice
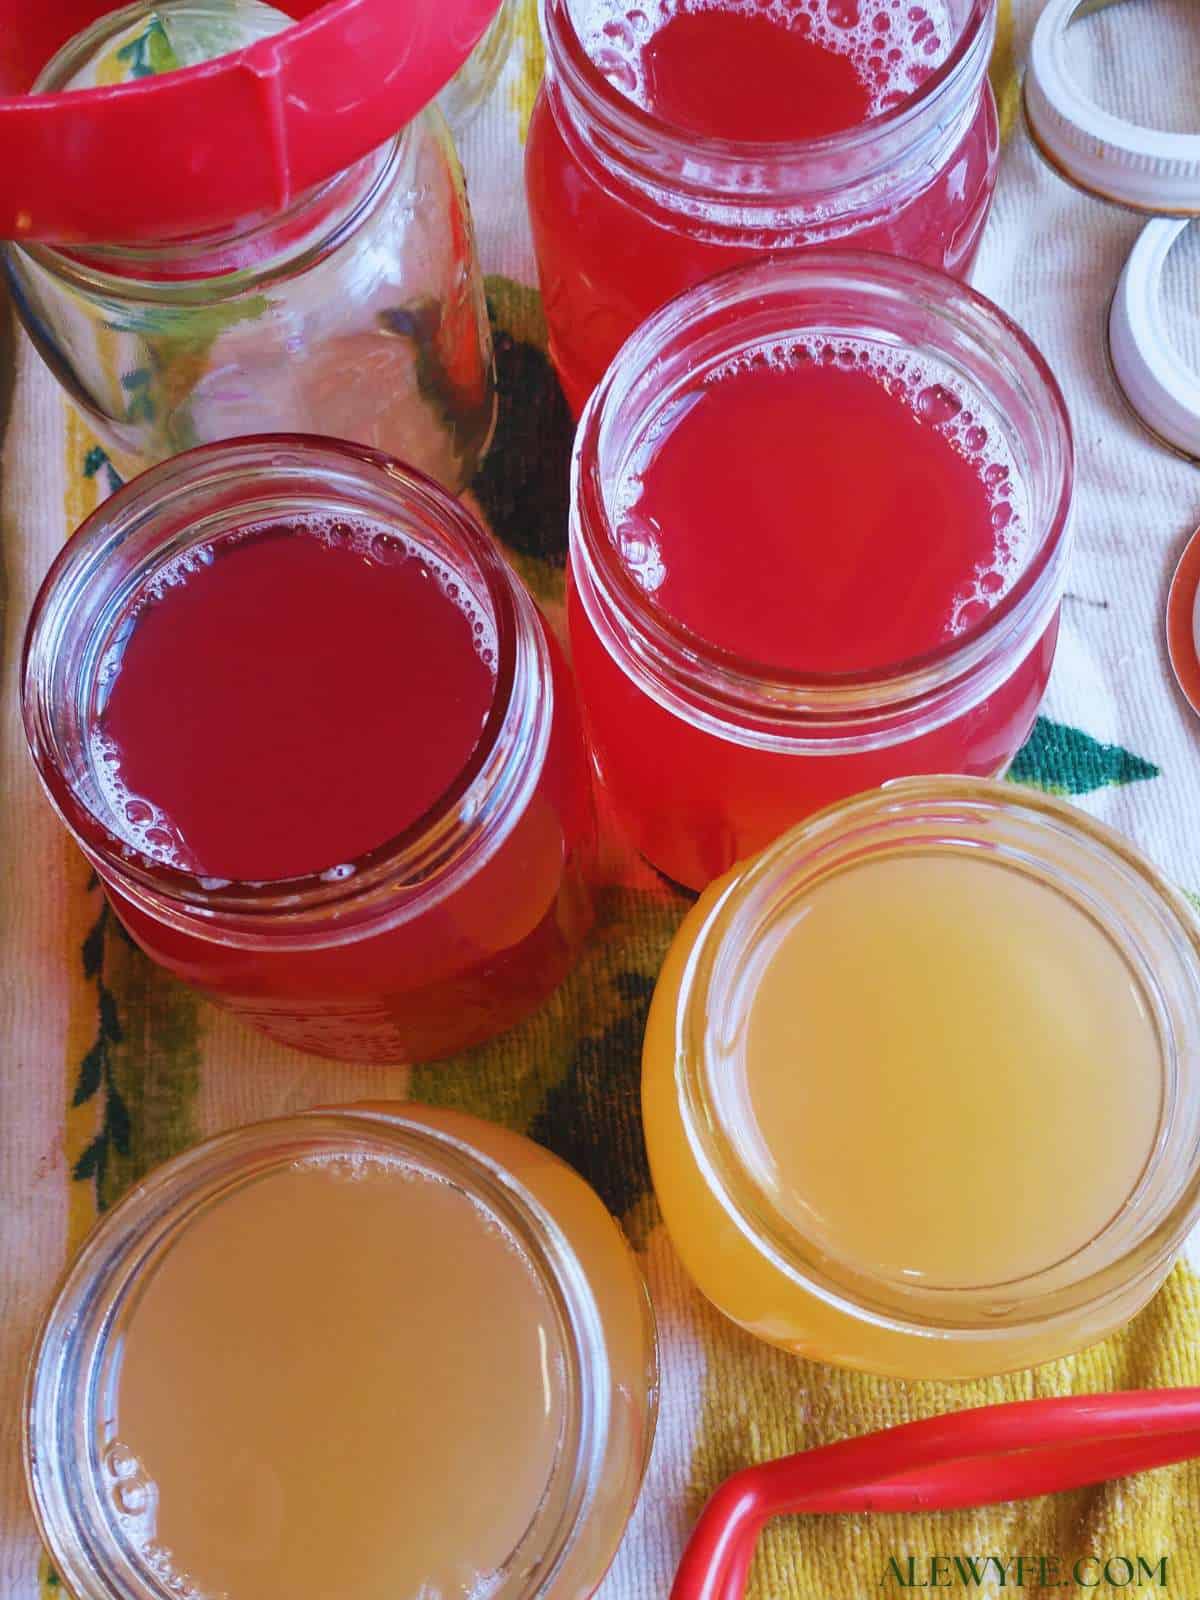
You can make your own cran-grape juice by cooking fresh or frozen cranberries (but not dried cranberries, which often have added oil) with the grapes to get an extra tart and brighly colored cranberry grape juice. You could also make and strain the cranberry juice separately and combine them before canning, like I did.
You could combine the cranberries with the grapes and cook them together, but I like to do them in a separate pot and then combine the juices to taste to have a little more control over the final flavor.
I also like to save the cooked cranberries and either puree and strain them to add to applesauce or fruit puree for fruit leather, or add them to baked goods, like muffins. Their flavor is pretty mild afterwards, as most of it ends up in the juice, but unlike the grapes which are seedy (unless you have seedless grapes) and mostly spent skins, the cooked cranberries still have a fair amount of nutritional value (although if you have chickens, they’d also appreciate them as treats).
I did them separately so I could add the cooked cranberries (after pureeing them with an immersion blender and pushing them through a wire strainer to remove most of the seeds) to a batch of applesauce I was making the next day, which added a rosy color and a bit of tart flavor to the sweet sauce.
Equipment Needed for Canning Grape Juice
Jelly or Stock Pot:
This pot needs to be large enough to hold all your fruit (though you can work in batches if you need to). Ideally you want a pot with a heavy thick bottom to prevent scorching.
Don’t use an aluminum pan to cook your juice, as the grape juice is quite acidic and will react with your pan, discoloring it and your juice and leaving metallic off flavors. Stainless steel or enamel-lined pans are best.
Colander or Strainer:
You need at least a coarse strainer to strain the pulp and any seeds from your juice, although it’s nice to also pour it through a fine strainer and then a finer mesh one, if you have those.
I have conical ones that stack over a pot or large mixing bowl, which is suuuper handy. With this setup, you can strain your juice all in one go without clogging your fine mesh strainer, but you don’t need that setup to make juice. If you don’t have a fine mesh strainer, no worries!
You can even use a regular colander or pasta strainer!
Just strain the cooked grapes once to get out the big pieces, then rinse out your strainer.
Then line your colander with fine cheesecloth, a jelly or nut milk strainer bag or fine mesh nylon brewing bag, or even a clean thin towel (like a flour sack towel) and strain your juice a second time.
This will catch any smaller particles that passed through your coarse strainer, and give you sparkling juice without much sediment.
Save the fruit pulp for your compost, worm bin, or chickens, if you can… if your grapes are seedless, you could even use the pomace for fruit leather, though you’ll want to blend it with other fruit as most of the sugar and flavor are in the juice.
Thermometer:
You’ll want a digital or calibrated manual dial-type kitchen thermometer for this recipe, so you know when you have heated the juice to 185-190 degrees F… you can use a meat thermometer or a glass candy or cheesemaking thermometer.
You can even use an infrared household one if you take the reading while actively stirring (so it reads closer to the actual temperature, which may be higher at the bottom of the pot on the heat source and not just the surface temperature).
This is just below boiling temperature (which is 212 F). If it boils, don’t panic, but immediately reduce the heat or remove the pot from the burner until it cools down to the desired range.
Water Bath Canning Equipment:
You’ll want a large stockpot or water bath canner with wire rack, clean mason jars and new lids, jar funnel and jar tongs. If you aren’t familiar with water bath canning, take a quick look at our guide before canning your juice:
Method: How to Make Fresh Grape Juice (without a Juicer)
Wash, destem, and then heat grapes and a small amount of water over gentle heat to 185-190 deg F and hold for 10 minutes. Do not boil.
Strain the mixture through a colander or sieve, pressing gently to extract as much juice as possible.
Strain juice again through cheesecloth, jelly bag, nut milk bag, or fine mesh chinoise strainer to remove small sediment. *you can skip this step until after step 4 to only strain it once, but straining will be slower.
Chill the juice and refrigerate for 12-24 hours to precipitate tartaric acid crystals and more sediment.
Strain juice (again, or for the first time) as in step 3 to remove crystals and sediment.
Heat juice up to 185-190 degrees F and low-temp pasteurize it by holding temp for at least 5 minutes. Do not boil.
Pour into clean canning jars, top with fresh lids, and process the jars in a boiling water bath canner.
Process pint or quart jars for 15 minutes (start timer after the water is at a rolling boil). Turn off heat, remove lid, and let jars rest for 5 minutes before removing from the water bath.
Leave jars to cool on a wire rack or towel for at least 8-12 hours. Check for seals, and refrigerate or reheat and reprocess any unsealed jars within 24 hours. Use new lids if you are reprocessing.
Or, if you are not canning the juice but using it right away or freezing it, you can skip the last two steps and chill your juice.
What are these White Crystals in my Grape Juice?
If you can your grape juice immediately without the chilling step, you may notice tiny white crystals in the bottom of your jars. This doesn’t mean your juice is bad! Those are tartaric acid crystals, and while they won’t harm you (the same ingredient is used as a flavoring or food additive and in wine making), they will make your face pucker!
You can avoid getting these little Sour Patch gems in your jars by making the juice a day ahead, and chilling it in the fridge to let it mellow. This “cold crash” step is a neat bit of science.
The tartaric acid crystals, pectin, and any other sediment that went through the first straining will form and precipitate or settle out. The next day, you can either carefully decant your clear juice off the top, or carefully pour it through a fine mesh strainer. This extra “cold crash” step will also give you a clearer juice as well as removing most of the tartaric acid crystals from your juice.
Then before you can your juice, you bring it back up to 185-190 degrees F, then jar your juice, and can it in your boiling water bath.
Why is my Homemade Grape Juice Cloudy?
Some haze is natural in unfiltered fresh juices, and nothing to be concerned about. However, if you heat your grapes or juice mixture to a boil before you are water-bath canning them in jars, you may end up with a cloudier juice… and if you boil it too long, you may end up with jelly!
This is because many fruits naturally contain pectin, which is activated by boiling, and creates a mesh-like crystalline structure that in large concentrations is a thickener, but in small amounts creates a hazy effect that prevents light from passing directly through.
How to Use Pectic Enzyme for Clear Juice
Commercial juice producers get crystal clear grape juice by adding a pectic enzyme to the grapes, which helps break this down, yielding clearer juice and a higher volume of total juice. If you want to experiment, you can try this yourself! You can buy pectic enzyme from any homebrewing or winemaking supplies. Note: If you plan to make grape jelly with any of your juice, don’t add the enzyme, as you WANT your juice to gel.
Try adding this to your grape mixture before you heat it (follow the directions on the package for dosage, but probably about 1/2-1 tsp per gallon of crushed fruit). Ideally, you’d need to mash up the grapes well for this to work. If you aren’t a winemaker with a grape crusher, and most of us aren’t, you can use a potato masher, sturdy whisk or spoon- avoid using a blender or food processor, especially if your grapes have seeds.
The commercial juice makers make a pomace of their de-stemmed crushed berries, pectic enzyme, and either rice hulls (sure, these are fine) or more often, paper pulp (yuck) to help keep the juice flowing when it’s pressed, and let it sit long enough for the enzyme to break down a lot of the pectin in the grapes before heating them and pressing out the juice.
Welch’s? More like Squelches, ammirite? Anyway, it’s *probably* fine, but if you prefer your grape juice crystal clear, but without a side of the same stuff that the newspaper is printed on, you can make your own!
Are you a big ole nerd like me and want to read 18 pages of academic food science prose on grape juice production chemistry, methods, and techniques? Have I got a (dry) read for you!
The rest of you can just keep scrolling to the recipe, it’s fine.
Don’t get too hung up on this, unless you like experimenting with fun food science projects at home. Cloudy juice still tastes delicious… just avoid boiling your juice mixture while you are heating the fruit to extract the juice, and again when you reheat the chilled juice before packing it into jars and canning it in your boiling water bath.
What to Do with your Fresh Grape Juice?
You don’t have to can your fresh juice. If you just have a small batch you can drink it fresh (use it within a week and keep it cold in the fridge so it doesn’t ferment or spoil). You can also freeze it, make popsicles or sorbet, or add it to a homemade wine or mead (though it’s best to use a juicer or fruit press on your grapes and not heat the juice for fermenting).
But if you have a few quarts or more of fresh juice, it’s really easy to can it so that you can enjoy it year round!
Once you’ve made your grape juice, you’re most of the way to making homemade grape jelly, if that’s something you want to do! Grape jelly can also be water-bath canned. You’ll need to cook it down further with pectin and more sugar, but otherwise the canning process is pretty similar and straightforward once you’ve made the clarified grape juice.
And that’s it! You did it, you made homemade grape juice, and it’s fresher and richer tasting than anything you can buy in a can or jar from the store.
pectic enzymeoptional, see post for usage instructions
Instructions
Wash the grapes in cool water. Remove and discard the stems and any moldy or shriveled grapes.
Heat grapes and a small amount of water in a large pot over gentle heat. Use about one cup of water per gallon of grapes.
Using a thermometer to monitor temperature, heat the grapes, stirring occasionally, until the mixture is 185-190℉. Hold there for 10 minutes. Turn down the heat if it goes over or starts to boil, and turn it up if it drops below the desired range.
Strain the heated grape and juice mixture through a colander or sieve, pressing the pulp with a sturdy spoon, ladle, or spatula to extract as much juice as possible.
Strain the juice again through cheesecloth, a jelly bag, nutmilk bag, or fine mesh chinoise strainer to remove small sediment. (*you can skip this step until after step 4 to only strain it once, but it will be slower)
Chill the juice and refrigerate for 12-24 hours to precipitate tartaric acid crystals and more sediment.
Strain (again, or for the first time) as in step 3 to remove sediment and tart crystals from your juice.
Heat juice up to 185-190 deg F and low-temp pasteurize it there for at least 5 minutes.
Immediately pack the juice into hot jars to can (see canning instructions), or chill and refrigerate or freeze the juice to use fresh.
Canning Instructions
Pour into clean canning jars (using a canning funnel if you like). Wipe the rims of the jars and then top with fresh lids and tighten the canning jar rings finger tight.
Place the jars in your boiling water bath canner and make sure they are covered with at least an inch of boiling water over the tops of the jars. Place the lid on the canner and listen until it is vigorously boiling again. Once the pot is boiling, start your processing timer.
Process the jars at a full boil for 15 minutes for either pints or quarts. After the processing timer goes off, turn off the heat and set a timer for 5 minutes.
After 5 minutes, using jar tongs or a canning rack remove the jars from the canner and place on a folded kitchen towel or metal grid cooling rack. Do not place hot jars on a cold counter (especially stone, concrete, or metal) or they may crack and break from thermal shock! I always use a sheet pan lined with a folded kitchen towel just to be safe.
Leave jars undisturbed to cool completely before checking for seals… I usually leave them overnight and check them in the morning. Wait at least 6-8 hours and no more than 24 before checking them, so that you can safely reprocess or refrigerate any jars that didn't seal. If you reprocess, use a new lid and don't put cold jars into a hot canner.
Wash or rinse the outside of the jars and remove the metal rings (they may be sticky, as some juice escapes during processing- this is normal and fine) before labeling and storing them in a cool, dark pantry or cupboard. Best used the first year, though it will remain safe to consume for much longer as long as the seal is intact (with some possible loss of color or quality).
There’s nothing wrong with your lovely Himrod green “seedless” grapes. Either someone in your area is growing seeded grapes, or (more likely) you have wild grapevine in the area.
Bees cross pollinate them, and they all end up with seeds.
Ikeep threatening to put a tent over my “seedless” green grapes, with beehive ins8
Oh, that totally makes sense! There are probably wild grapes in the park near us, and maybe also on some vacant lots? Good to know! They still work great for juice and jelly (and the pyment that I have going right now) so I probably won’t fuss with them, since the fence they’re on would be impractical to cover. Thanks for the info!


Trying out the recipe want try green grape juice with honey..
Sure, I bet that would taste great!
There’s nothing wrong with your lovely Himrod green “seedless” grapes. Either someone in your area is growing seeded grapes, or (more likely) you have wild grapevine in the area.
Bees cross pollinate them, and they all end up with seeds.
Ikeep threatening to put a tent over my “seedless” green grapes, with beehive ins8
Oh, that totally makes sense! There are probably wild grapes in the park near us, and maybe also on some vacant lots? Good to know! They still work great for juice and jelly (and the pyment that I have going right now) so I probably won’t fuss with them, since the fence they’re on would be impractical to cover. Thanks for the info!